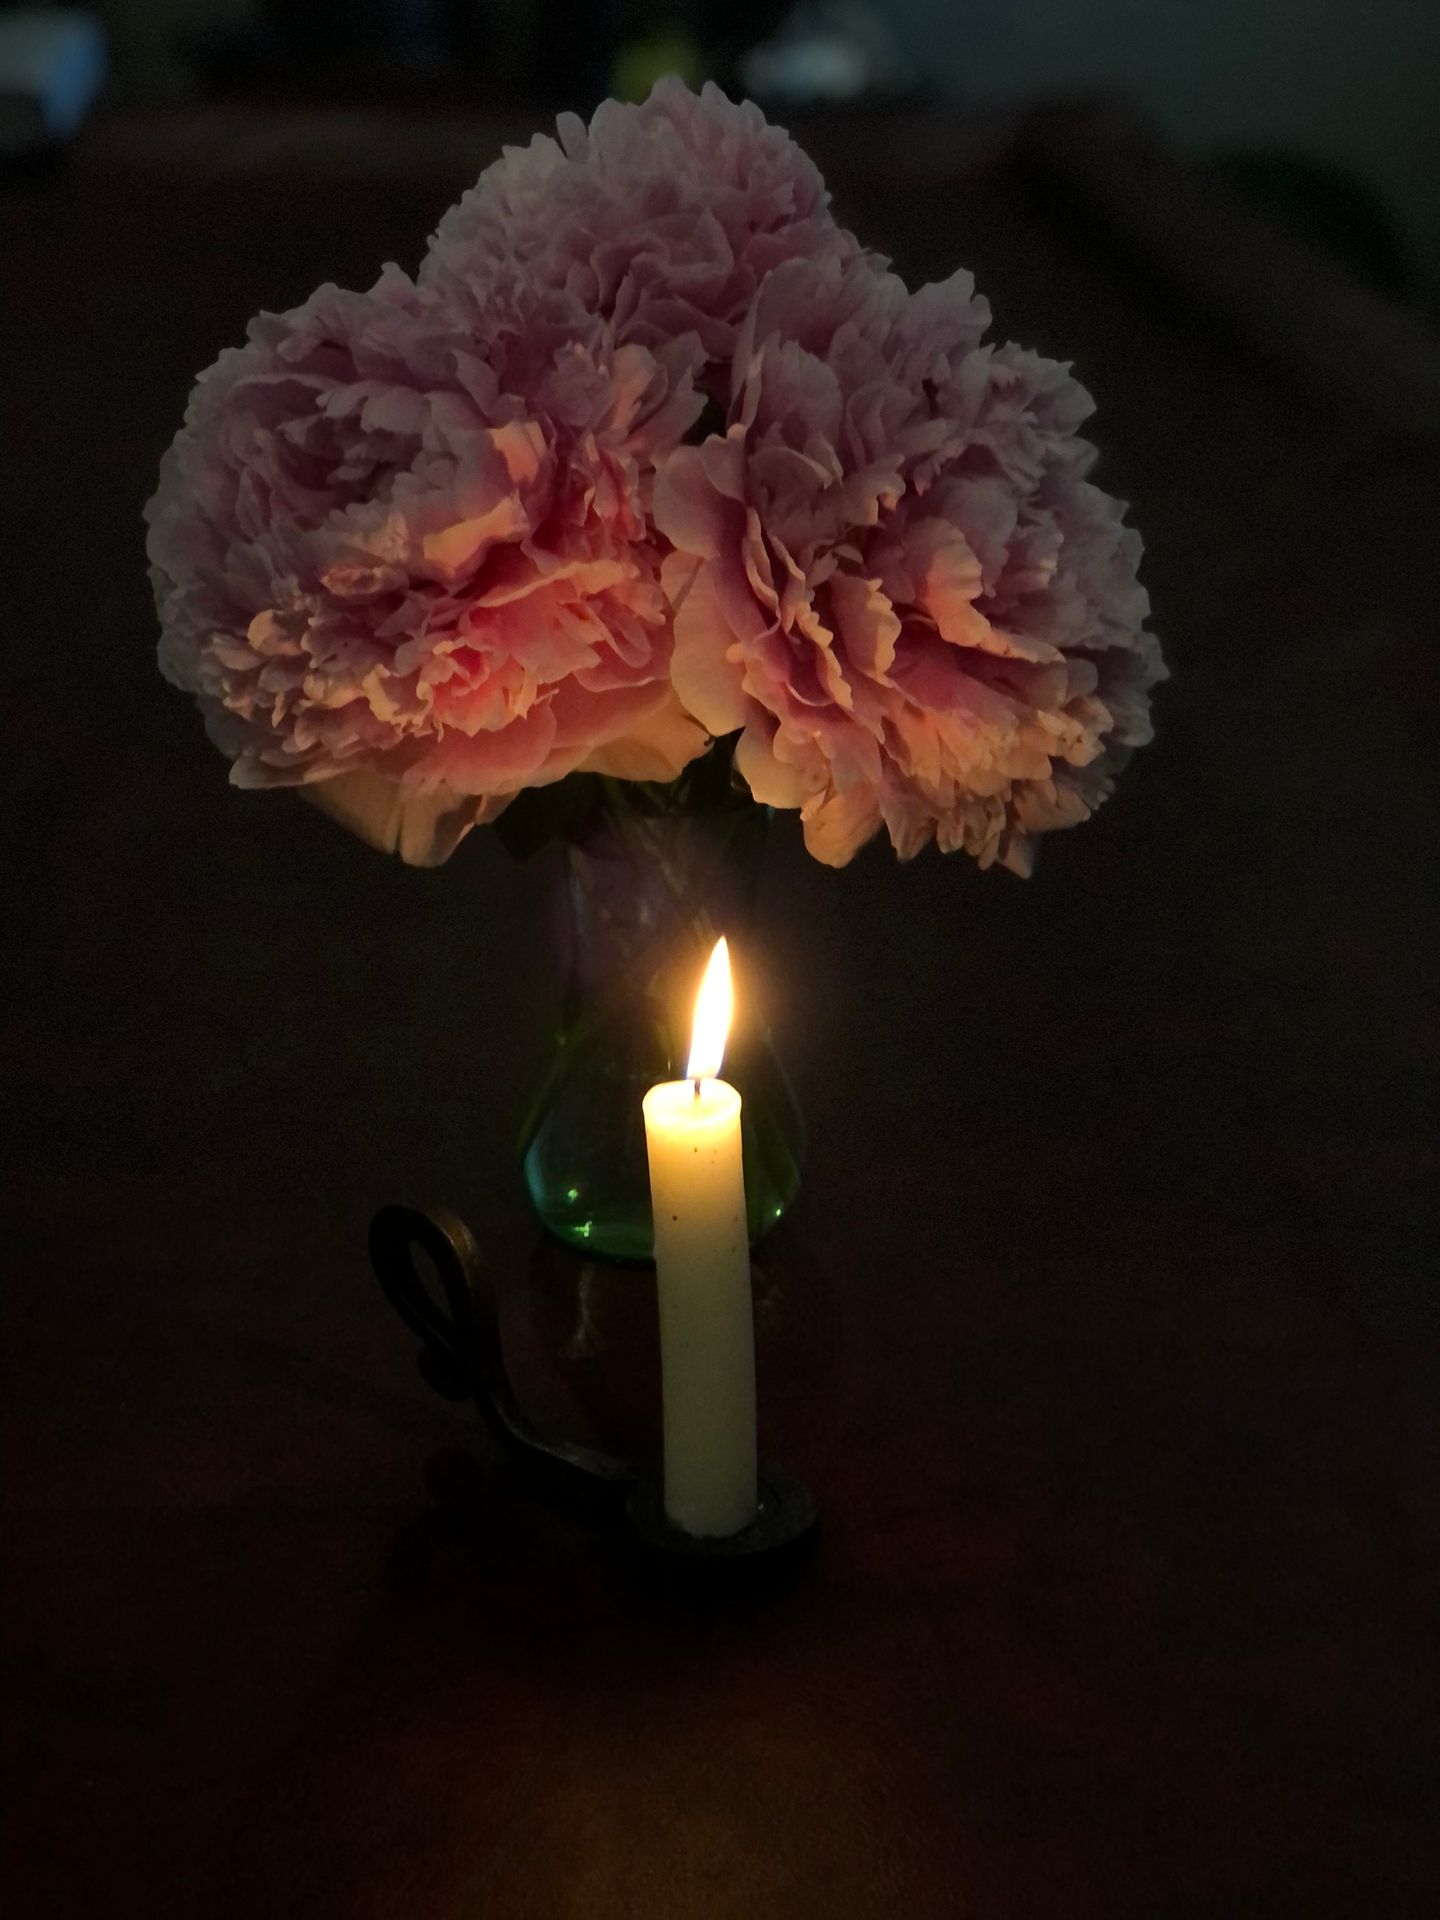
Wrought Iron Candle Holder
All postsAugust 24, 2022
- blacksmithing
I'm not a metal detector, I'm a metal detectorist. And as such, I have the fortune of finding old scrap metal. And being in a fairly old agricultural area, I sometimes find wrought iron.
I'm not a metal detector, I'm a metal detectorist.
Wrought iron is an old, labour intensive form of iron that is no longer commercially produced. By today's standards, it's a rather impure form of iron; consisting of a lot of slag and impurities. But it is its lack of purity that makes it so interesting.
It is its lack of purity that makes it so interesting.
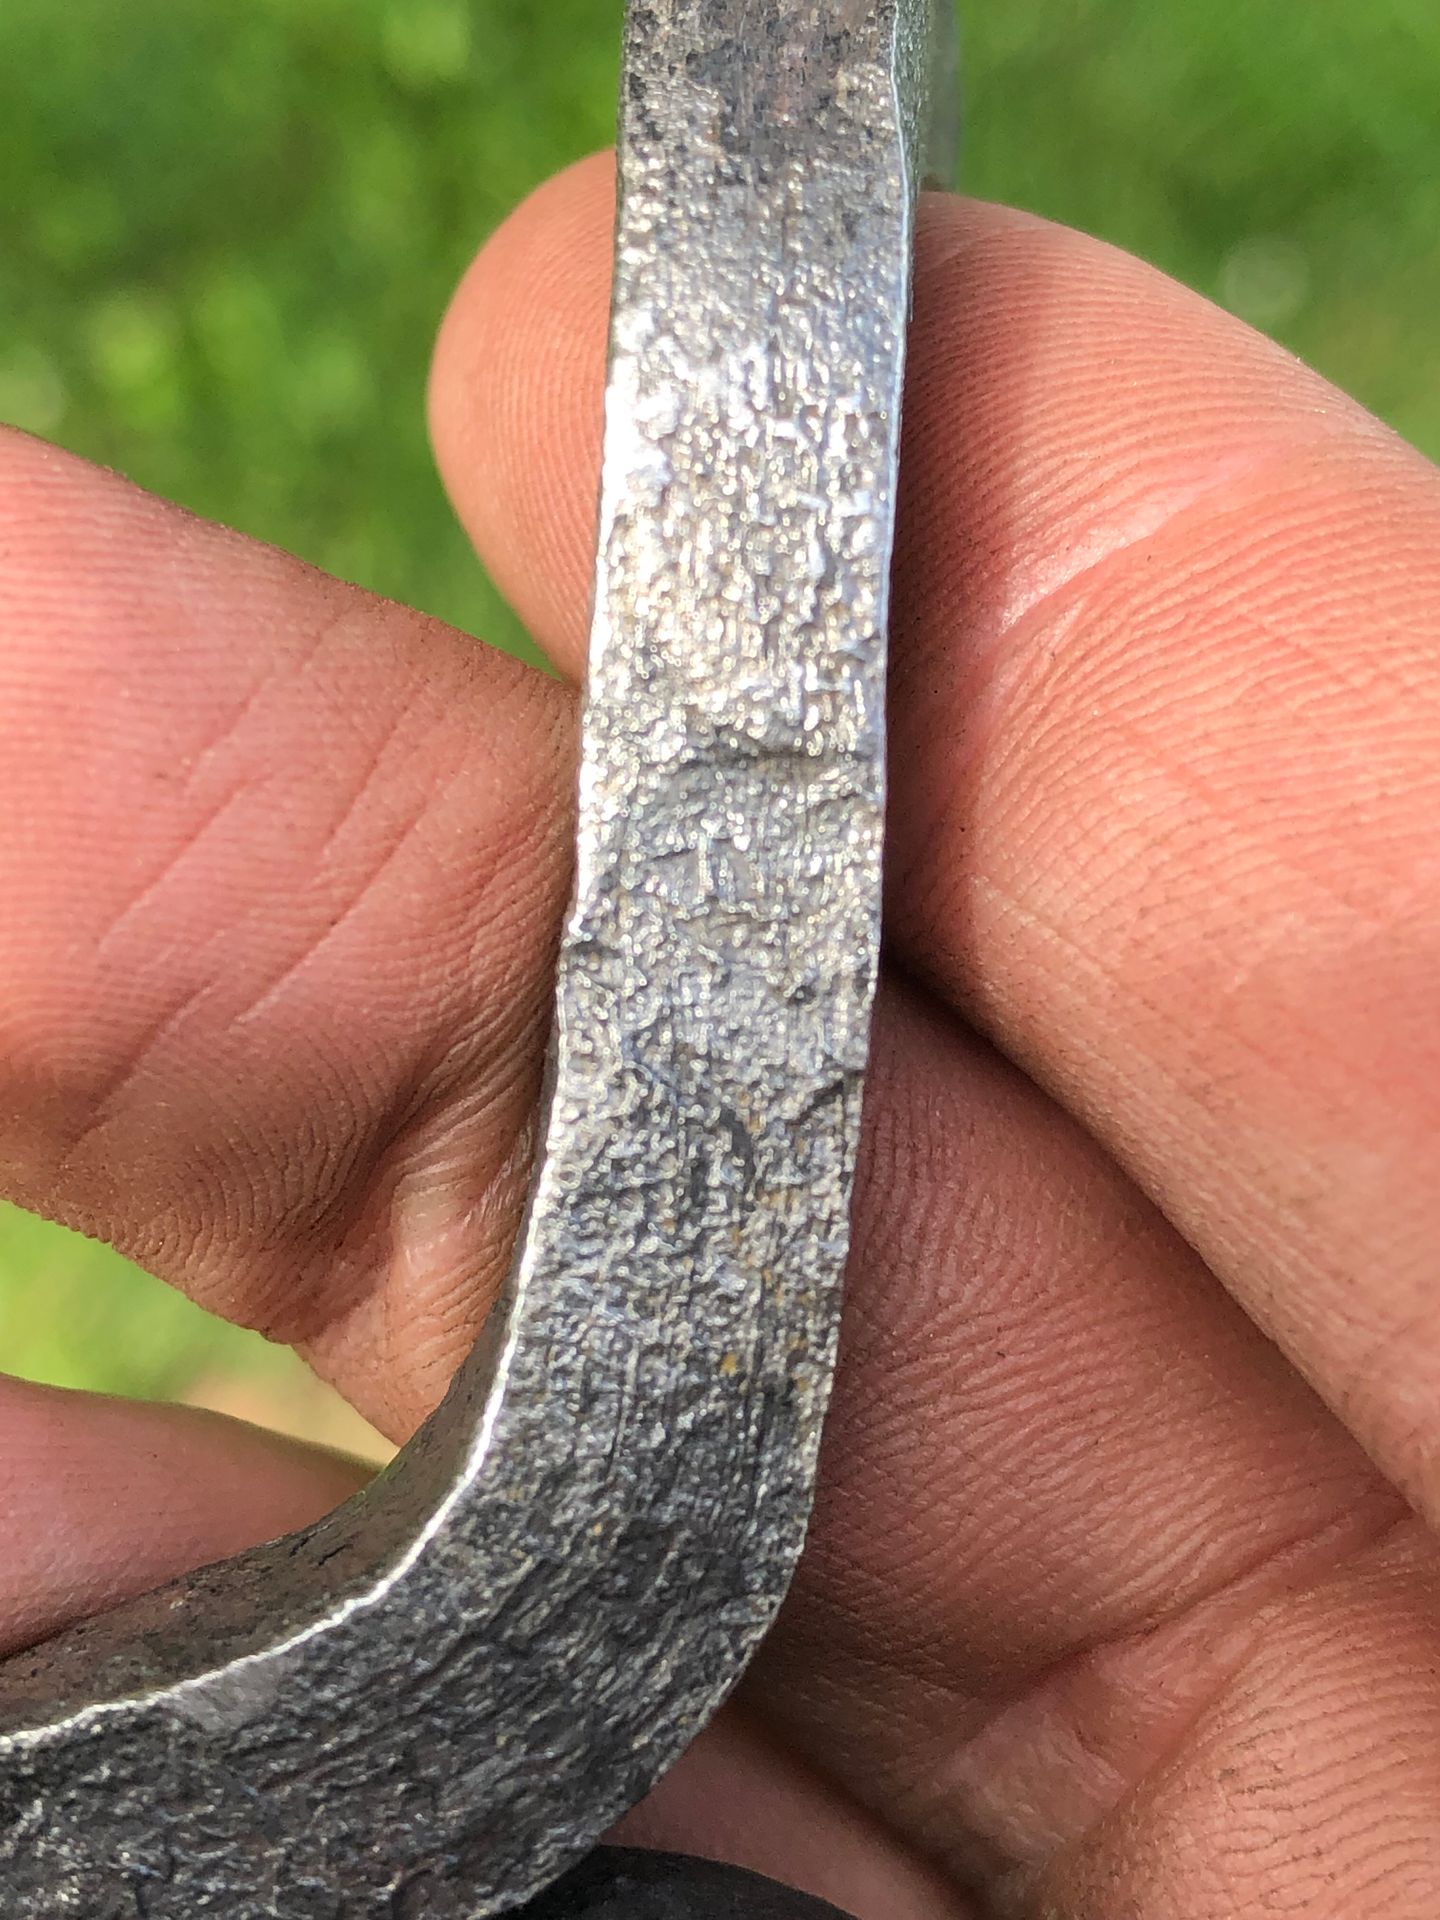
It has a grain, similar to wood; long iron fibres. You have to work it hot, like really hot. Otherwise, the fibres split apart and the metal separates like frayed rope. Which wasn't what I was after.
Now on the flip side: it moves under the hammer like butter. It's intensive work. Idioms aside, you really have to strike while the iron is hot.
Idioms aside, you really have to strike while the iron is hot.
It's slag content also provides two other helpful side effects. It renders it corrosion resistant, well at least it's considered corrosion resistant. And the slag melts at high high temperatures to form a natural flux that makes forge welding a breeze.
So, yeah, getting the chance to work with wrought iron is exciting.
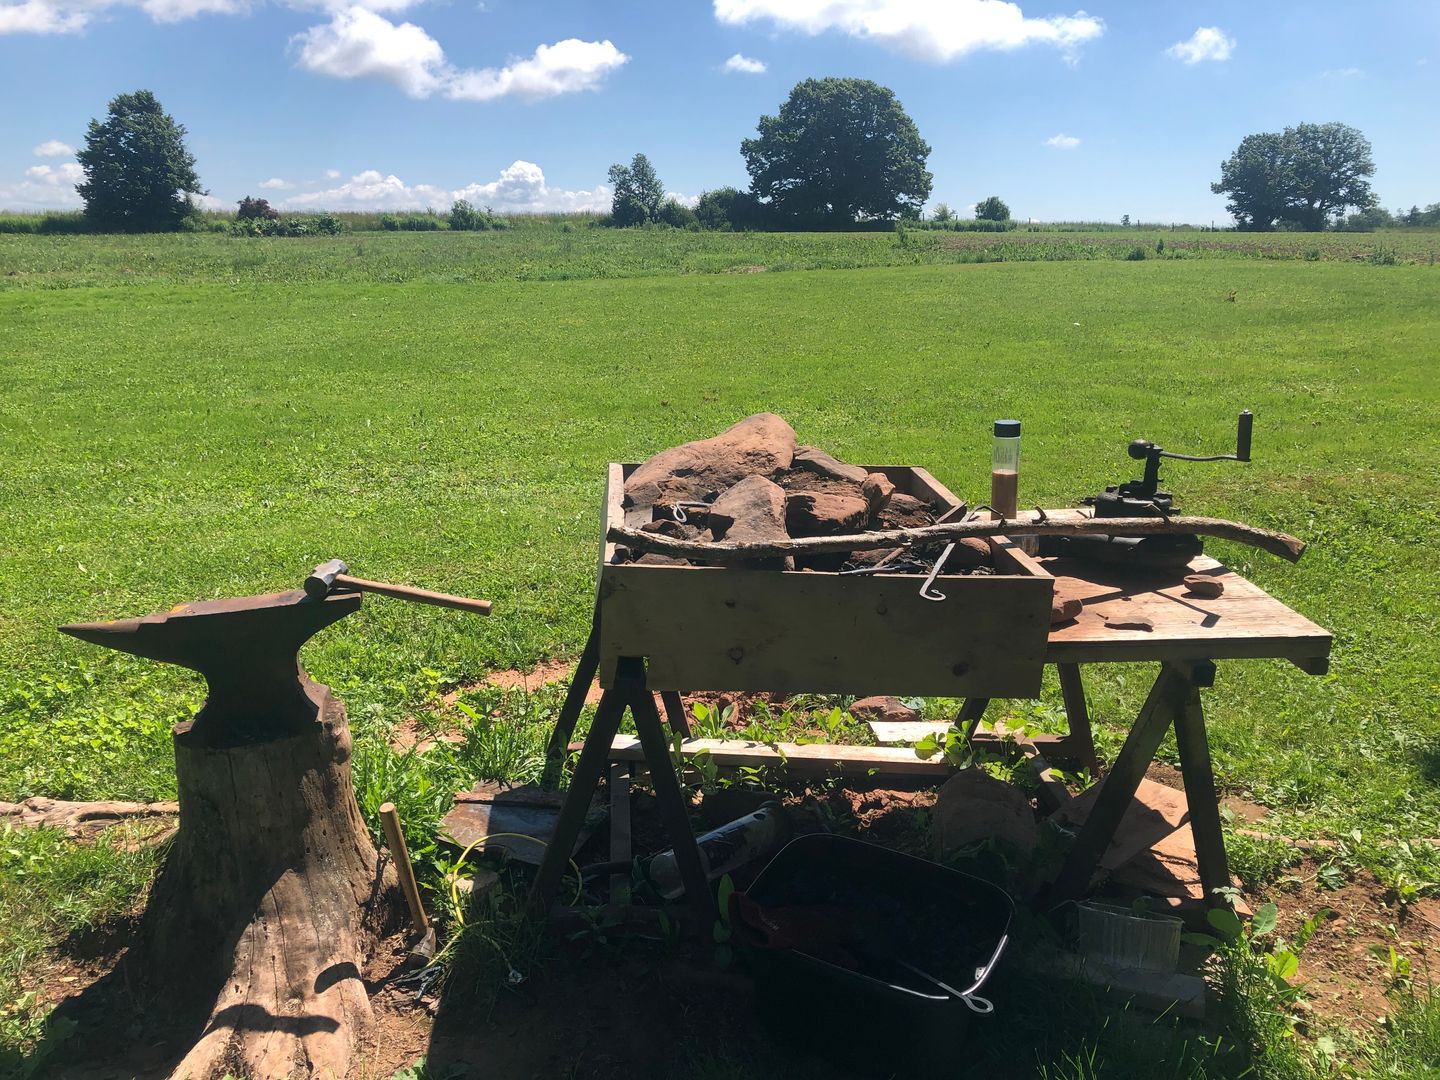
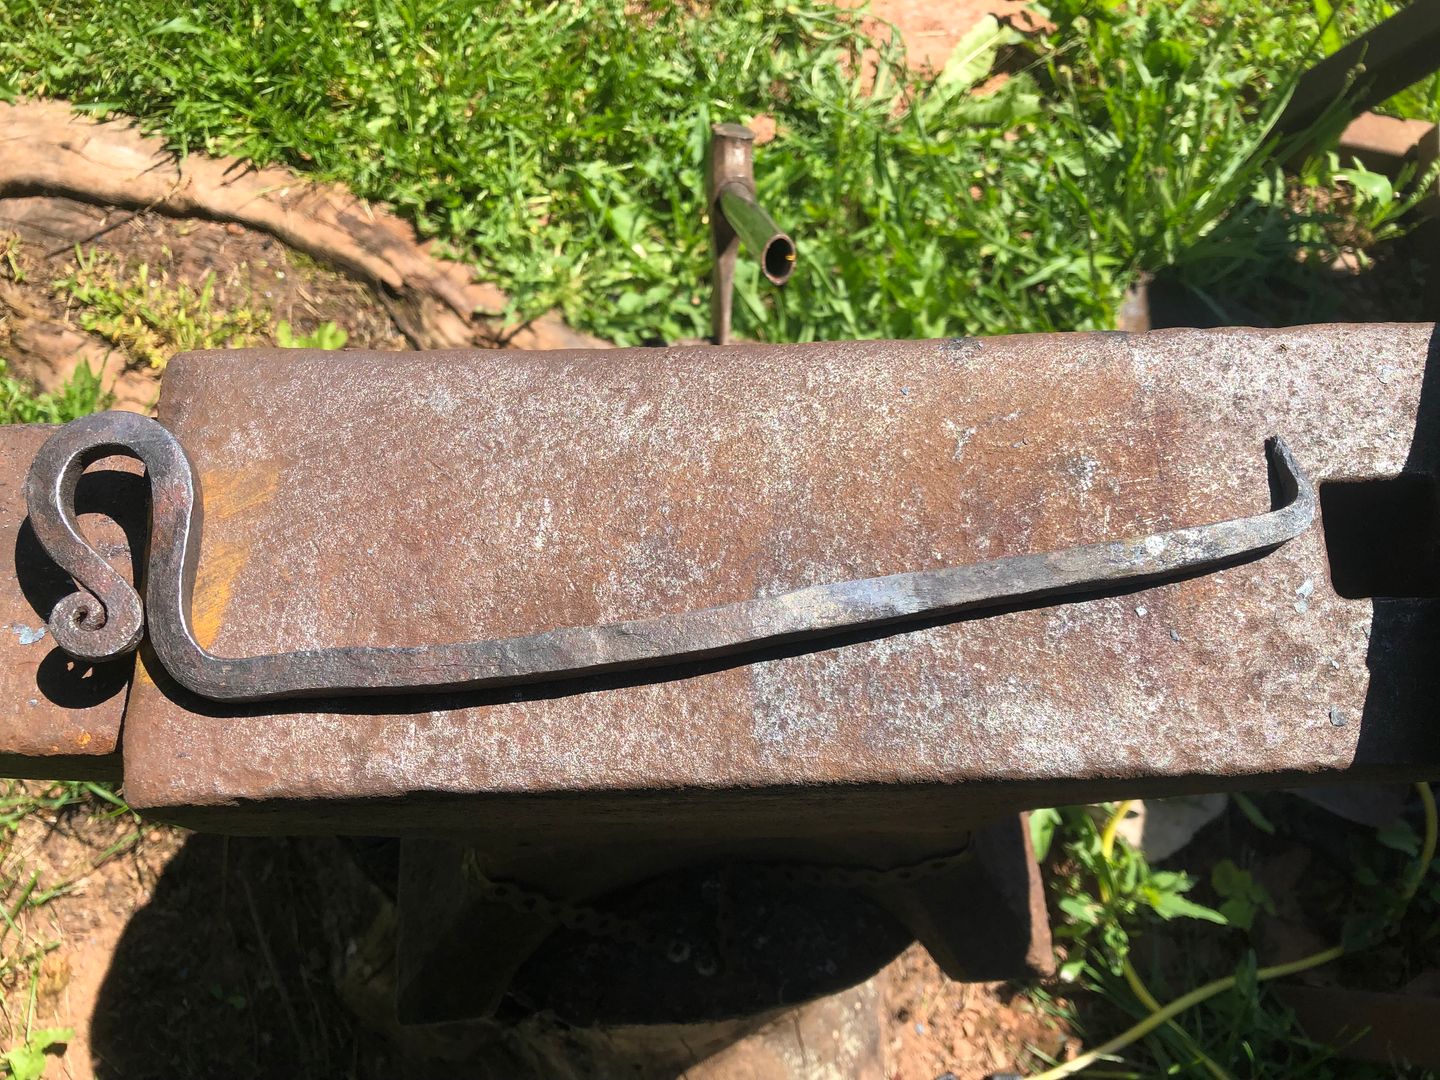
The project I had in mind is a candleholder. Something simple; something elegant. Might be a stretch to call my work elegant; maybe elegantly semi-functional is more apropos?
Might be a stretch to call my work elegant
The material I had to work with was a rod of wrought iron I had dug up in the field beyond my forge. The same field in which I had found a 1793 12 denier coin . So it does have some age.
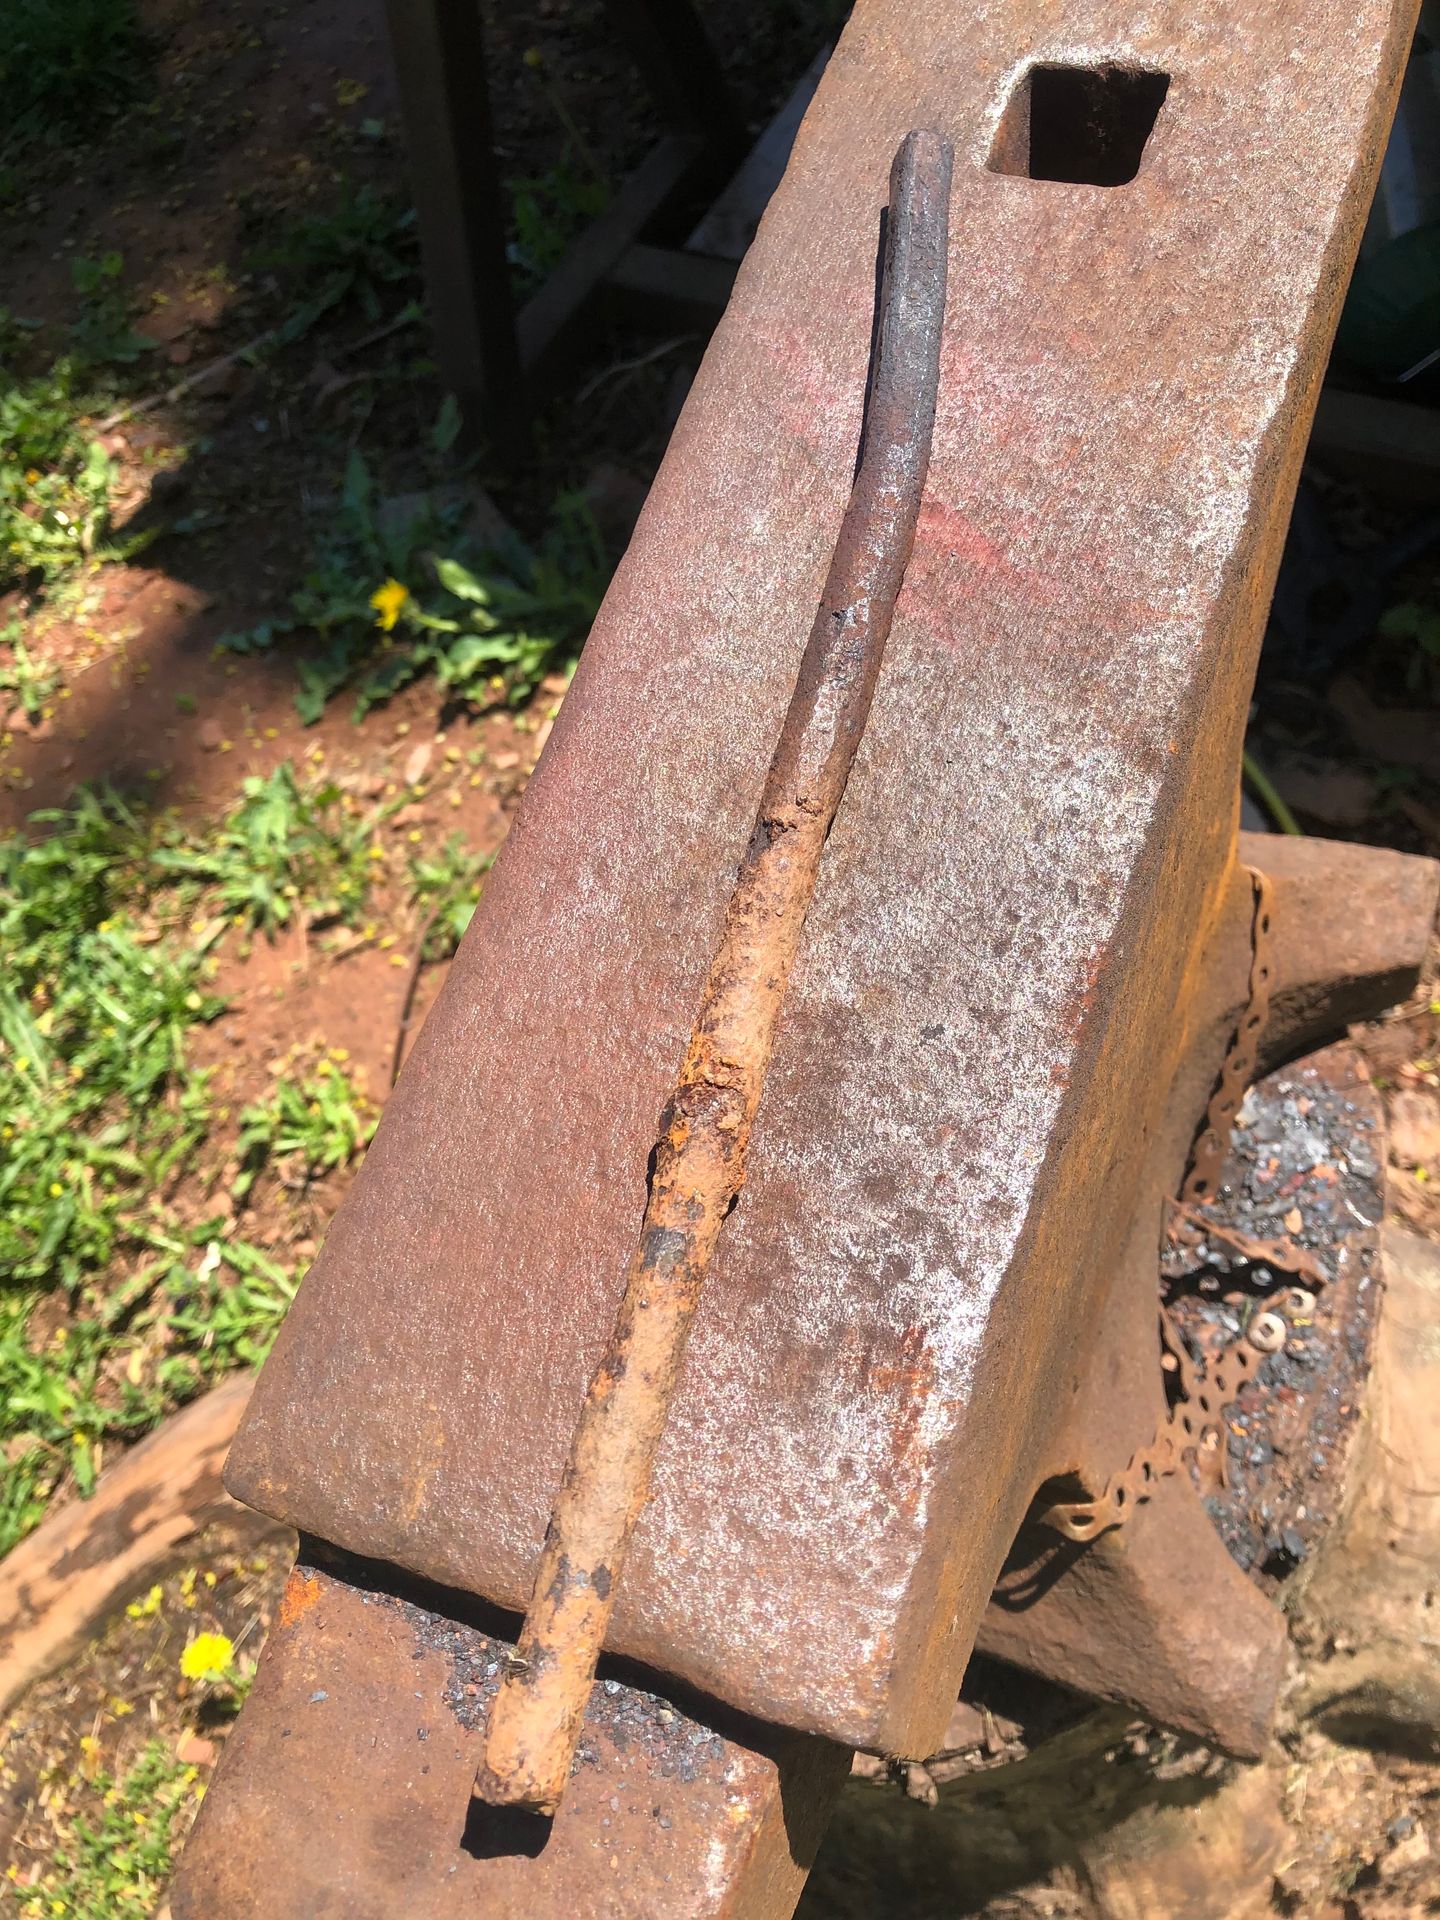
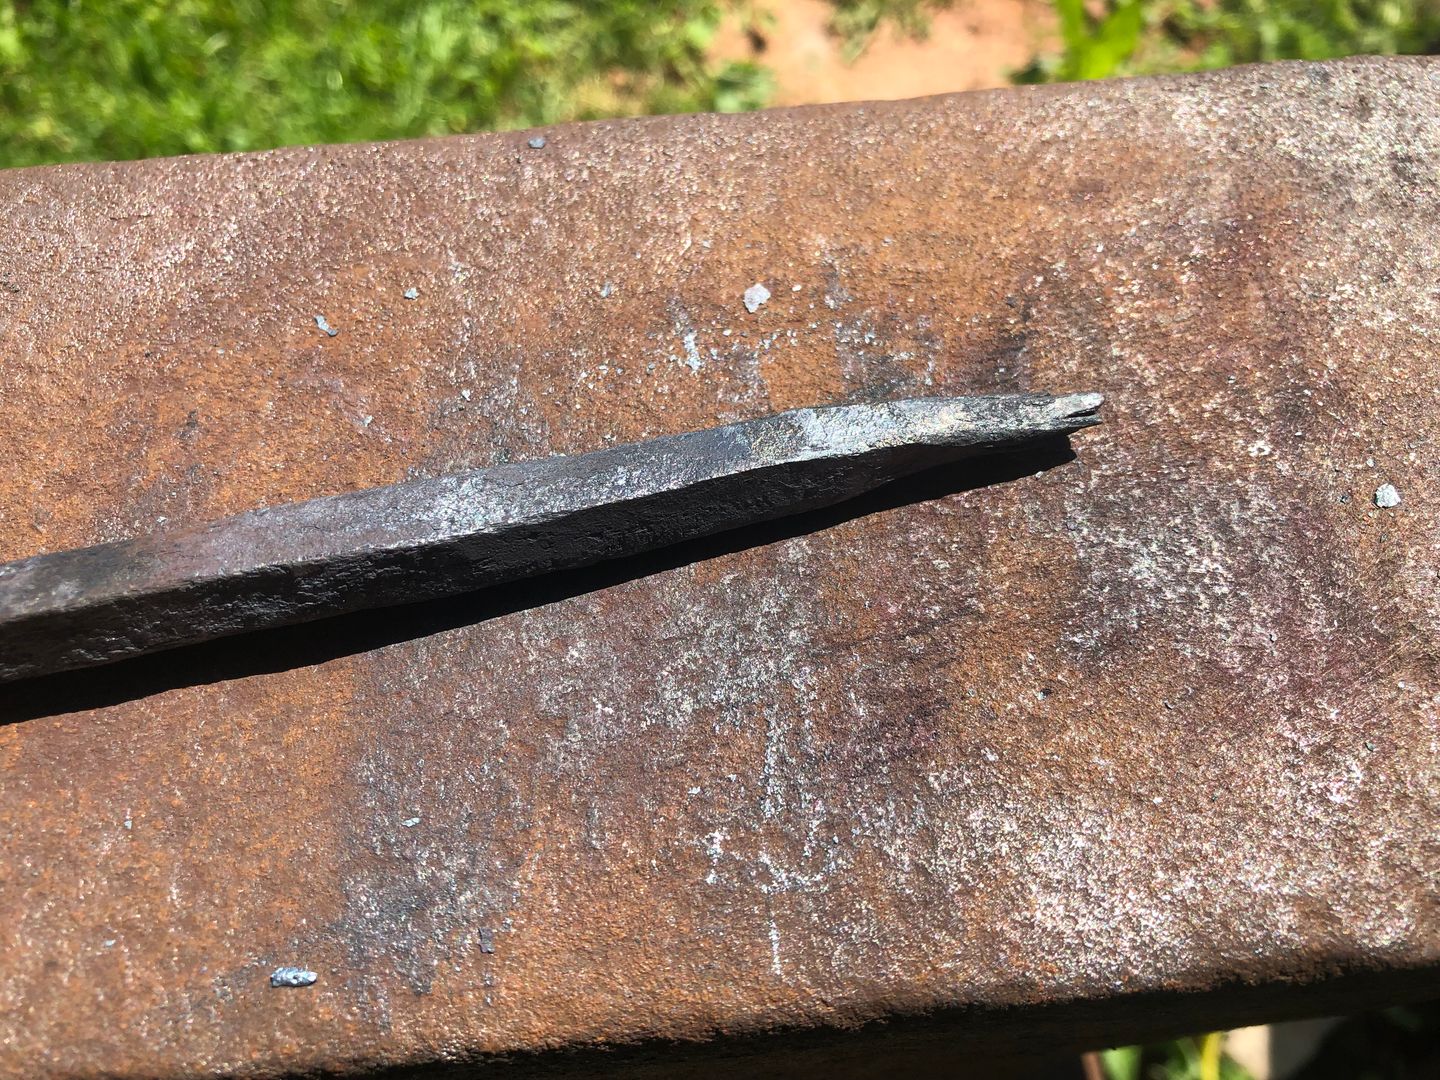
The first bit of work was drawing it out and squaring it up. Then bending and curling something to hold on to. It went fairly smoothly, though the tip kept trying to split apart.
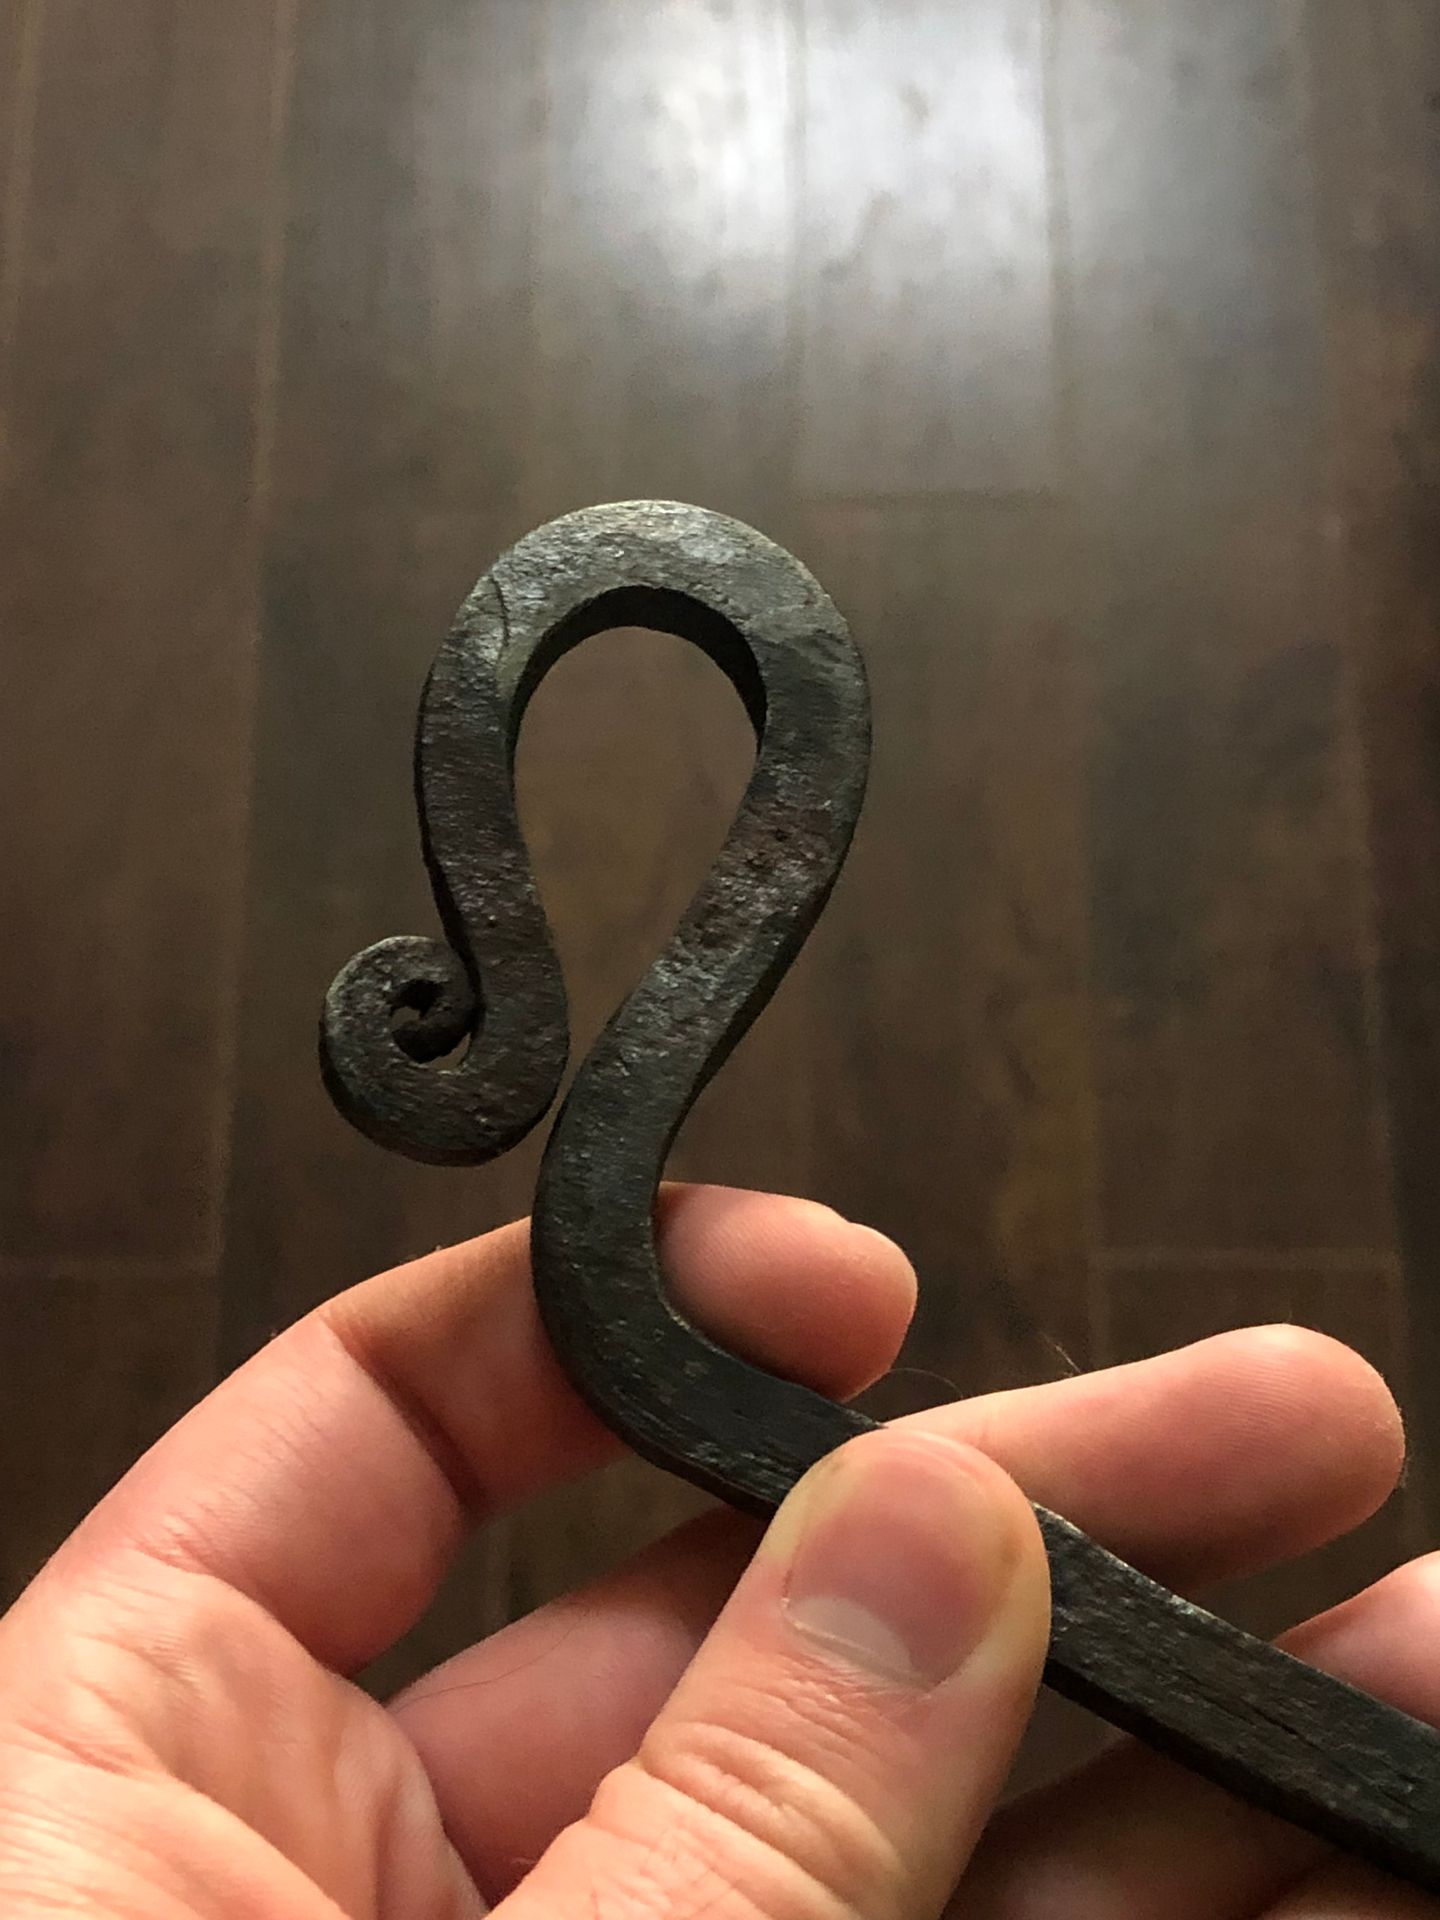
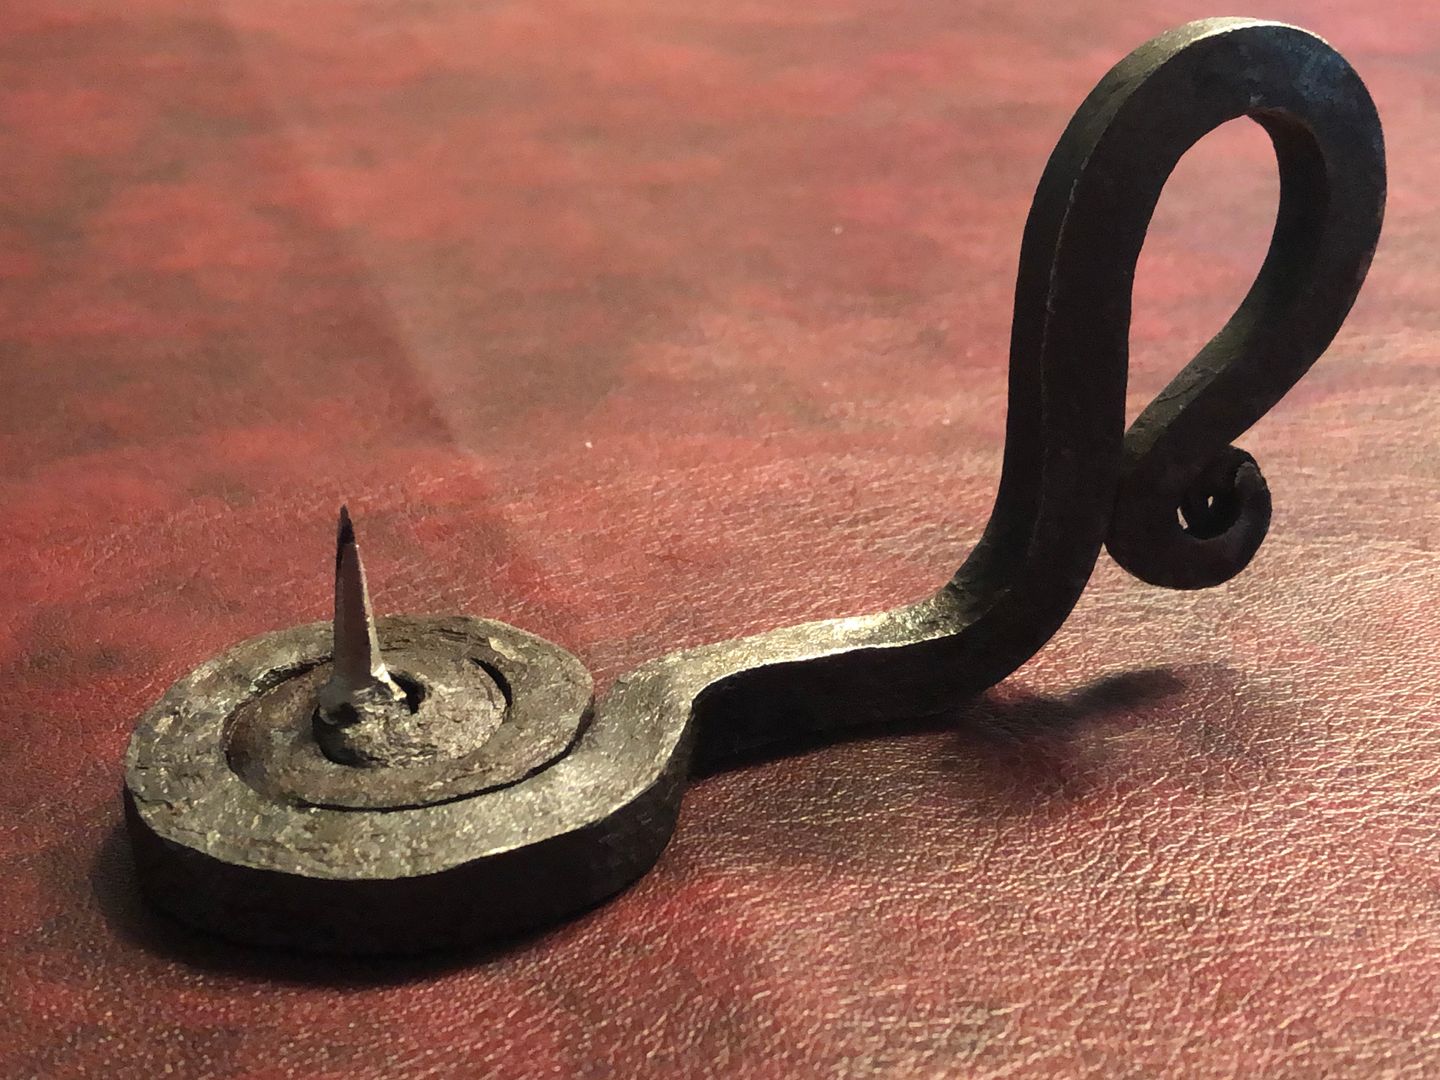
Having curled the handle, it was time to draw out the other end. Again fairly straightforward. Square it while drawing and taper it to a point. Then it was a matter of bending the tip up. And thus the spike to secure the candle is made.
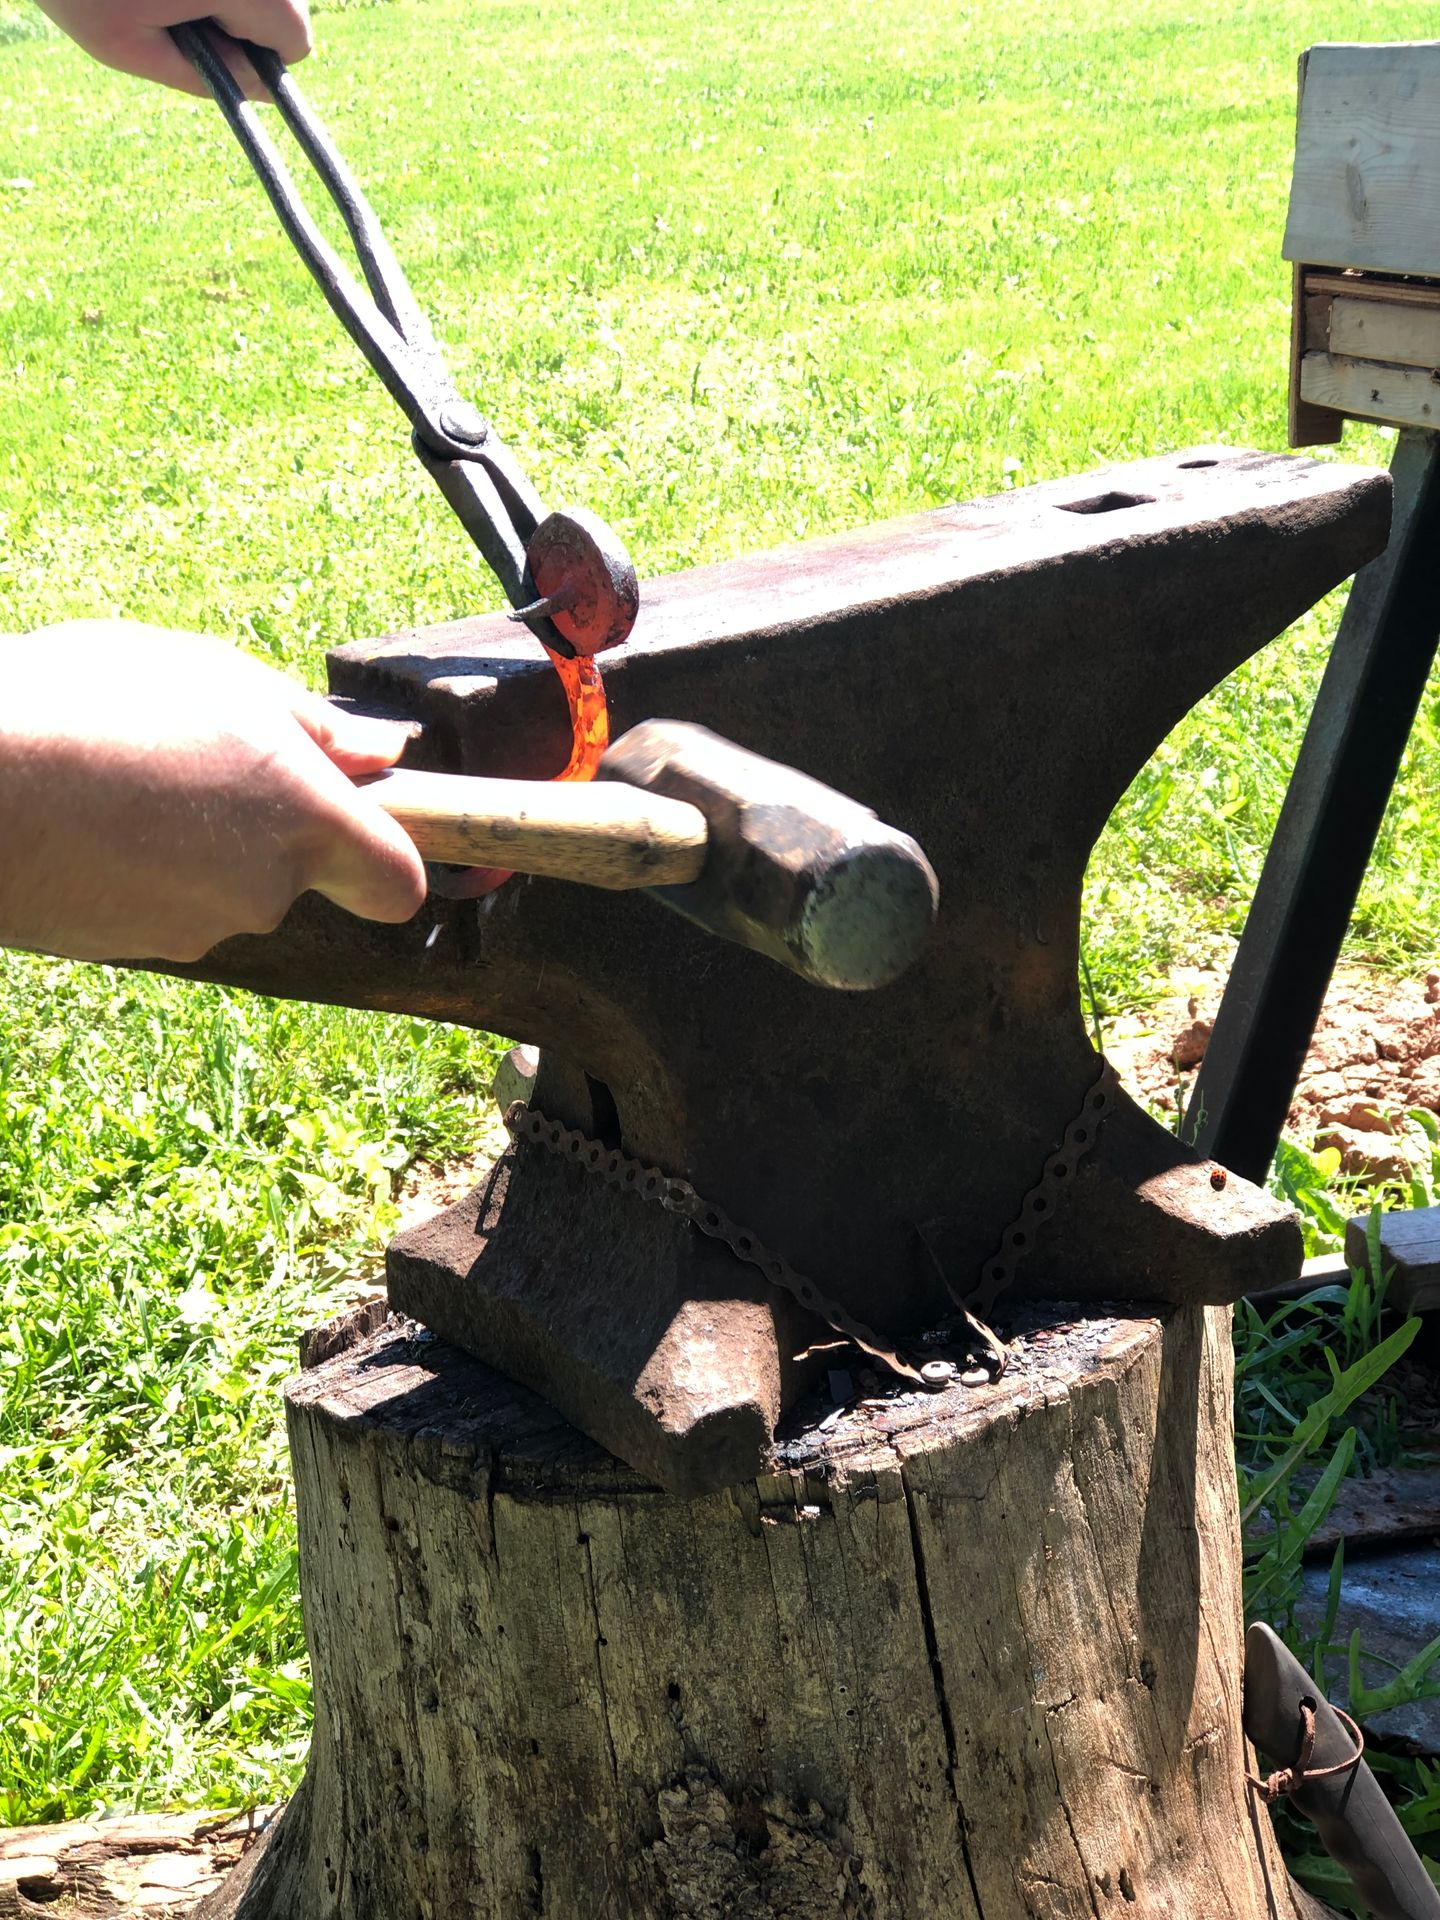
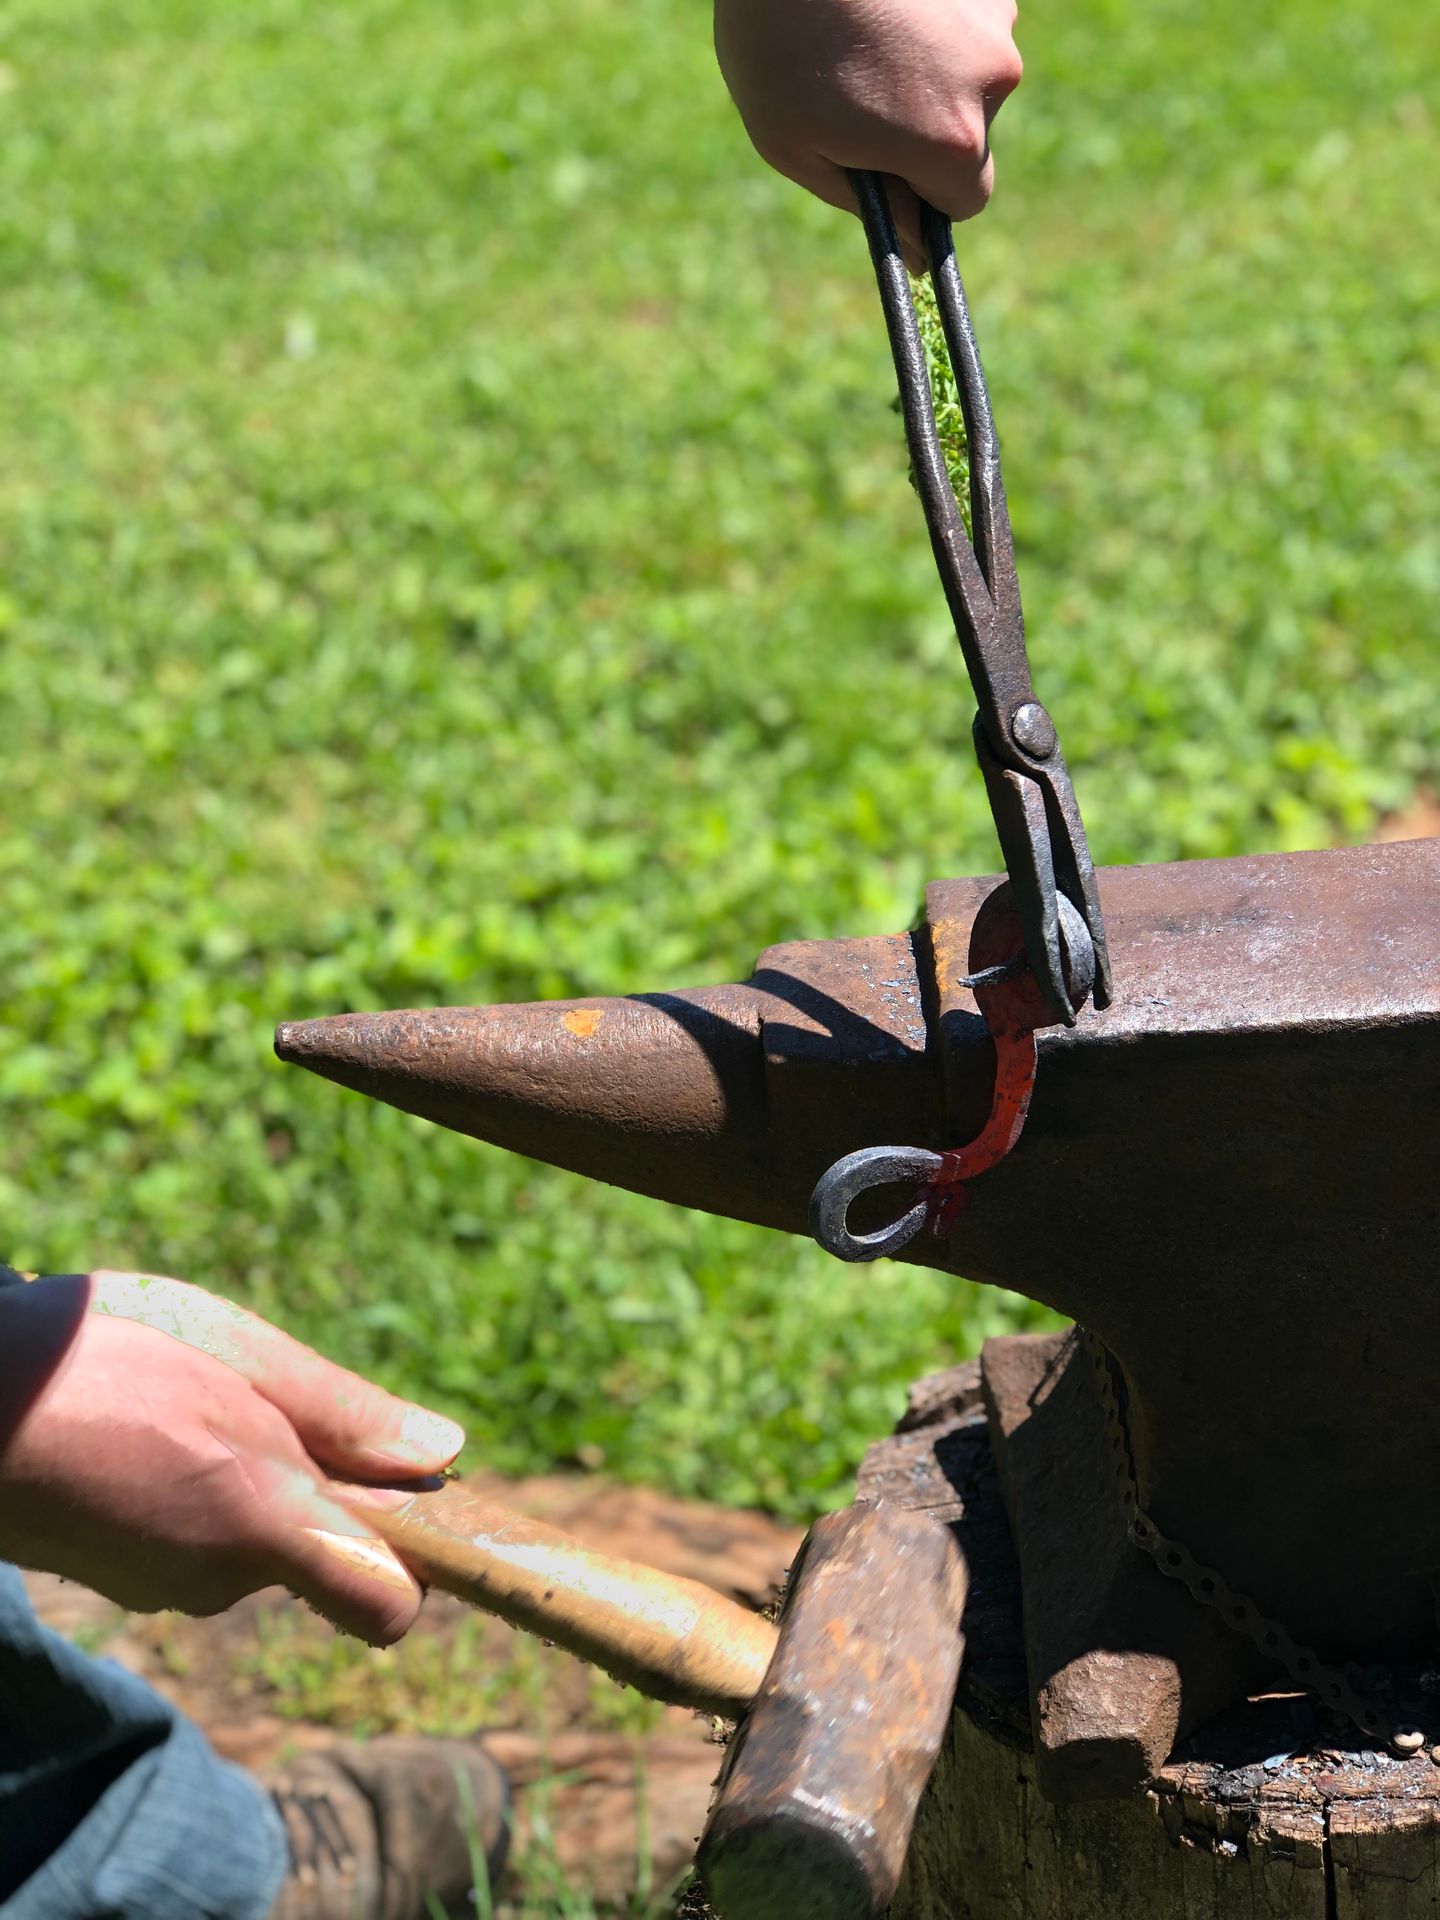
Next was the step that worried me the most. I don't recall ever trying to wind metal by forging it yet. I really wasn't sure how it acts. But it wasn't too bad. As long as I made sure to keep the heat real high, it bent with ease. And from time to time I had to re-adjust to make sure the winding was tight.
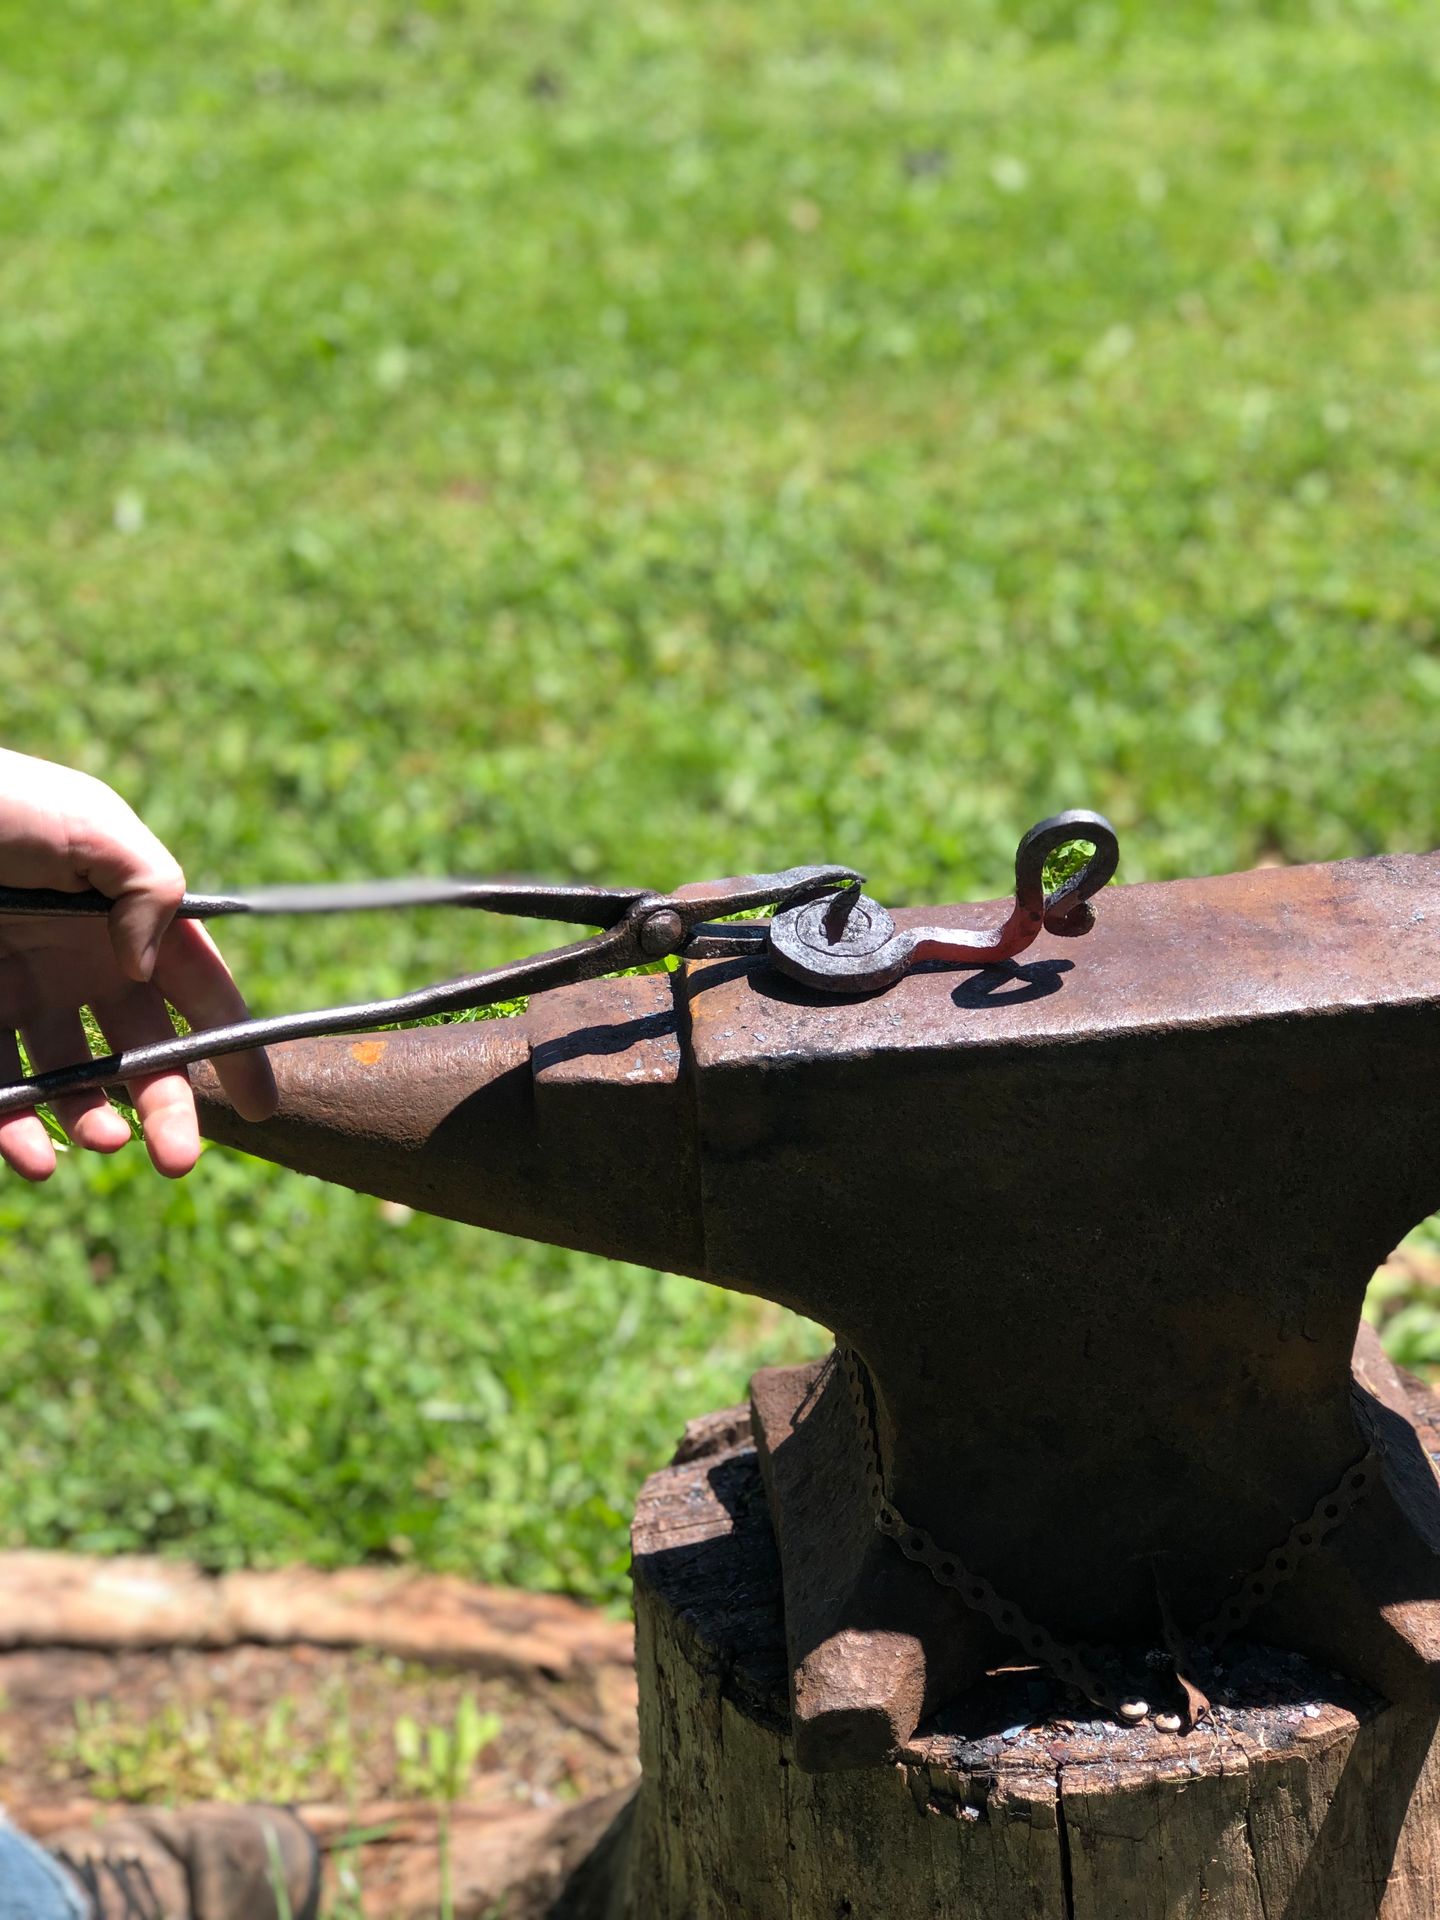
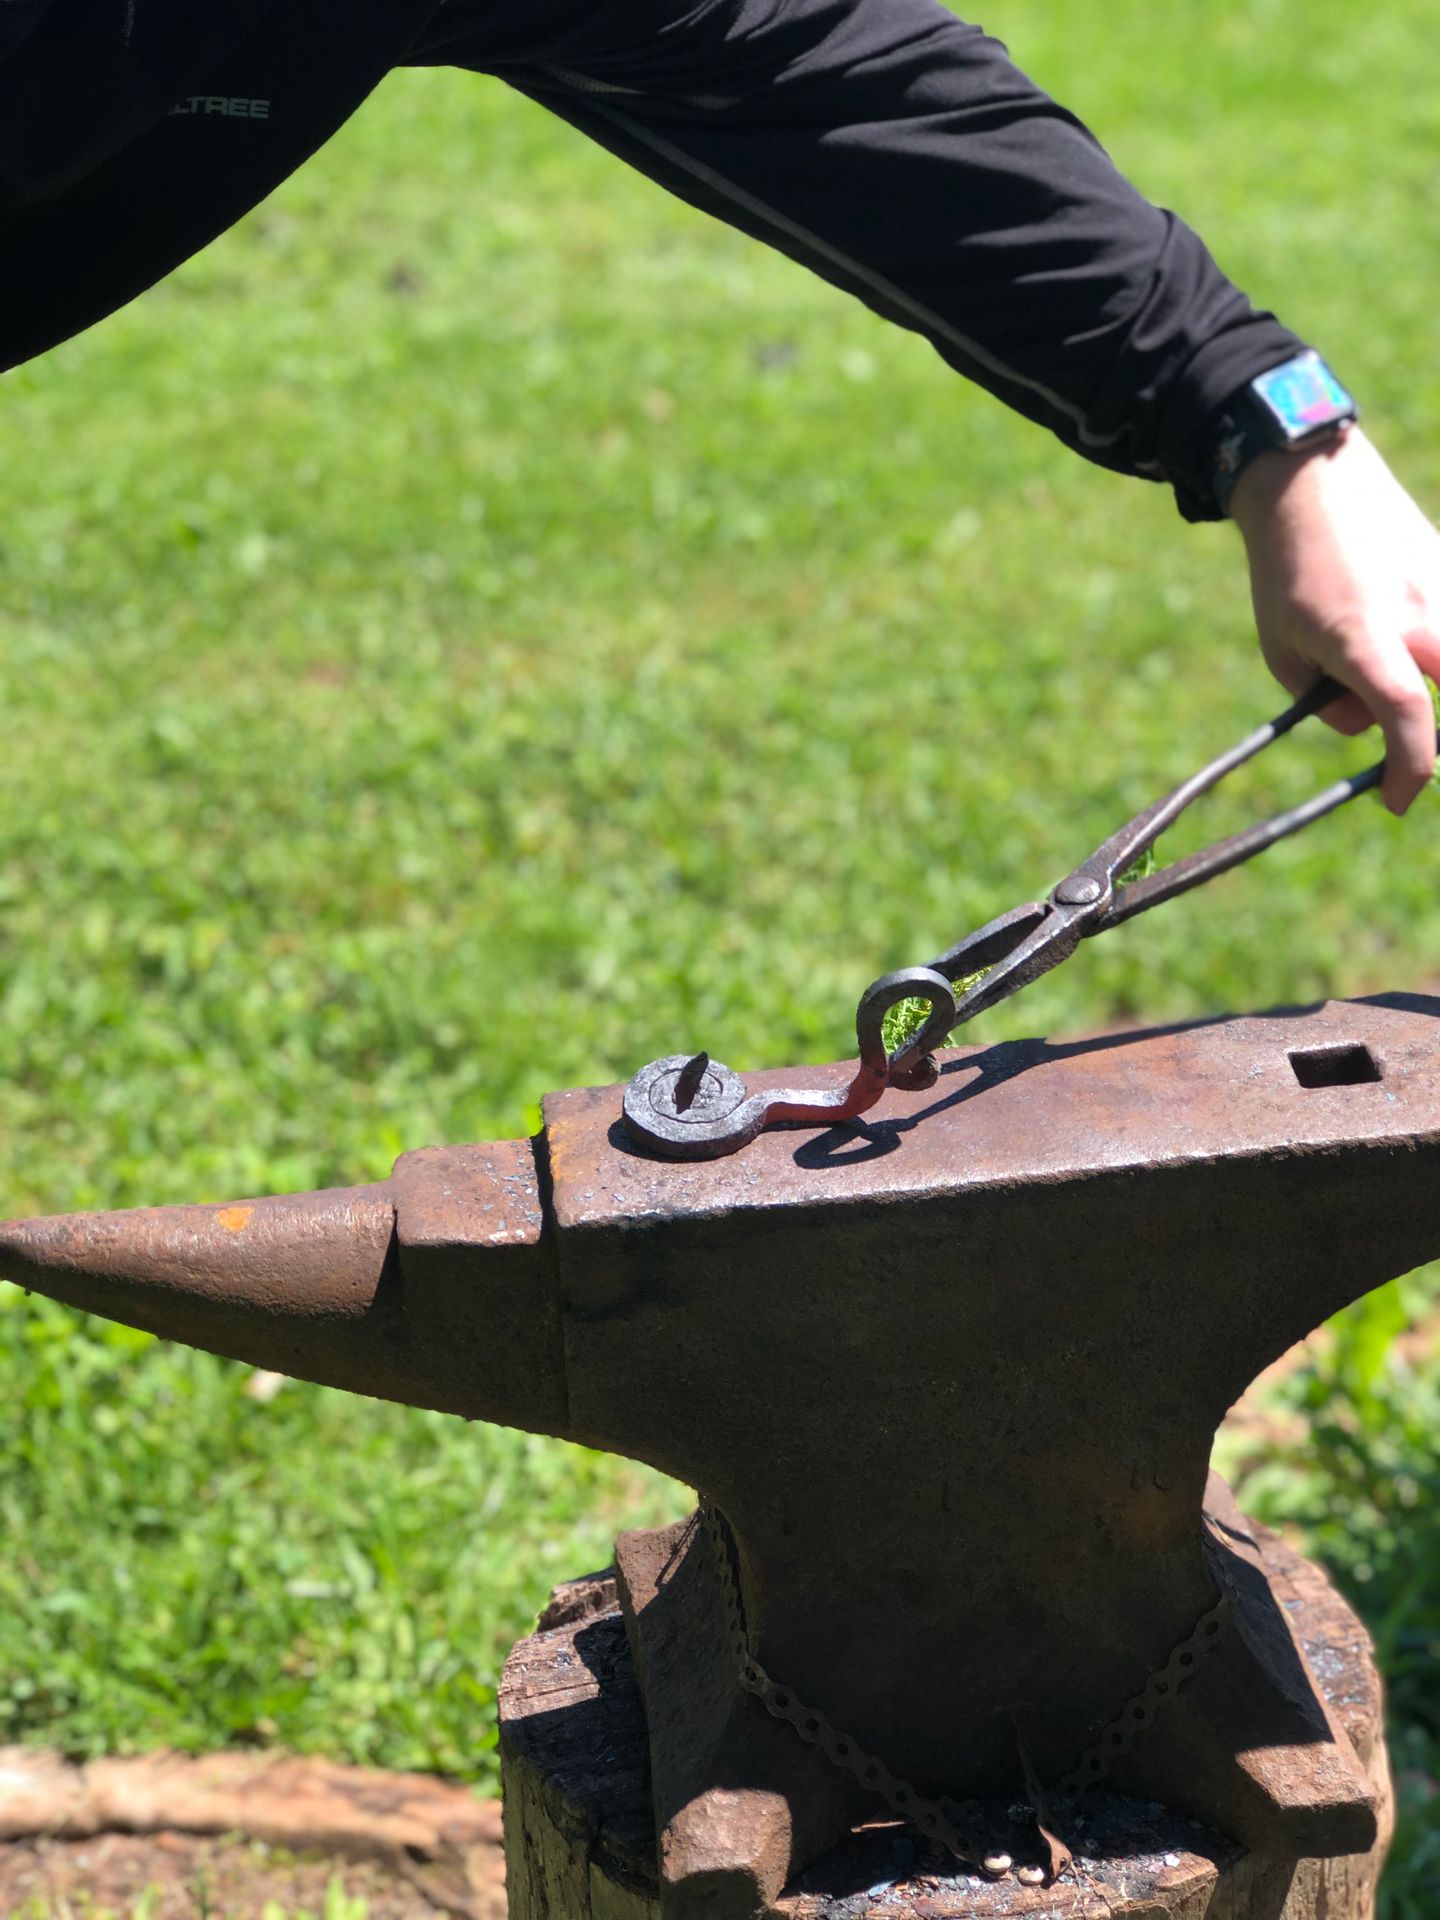
And there we have, all roughed out. I was hoping that the base would have been wider, but it's still functional. I was also unsure whether to have rounded the edges or keep the squareness as I did. In the future, I think I want to try this again with rounded edges. But I do like the squared edges, it gives it a measure of crispness. Much more definition, plus the plate is flat and doesn't have valleys.
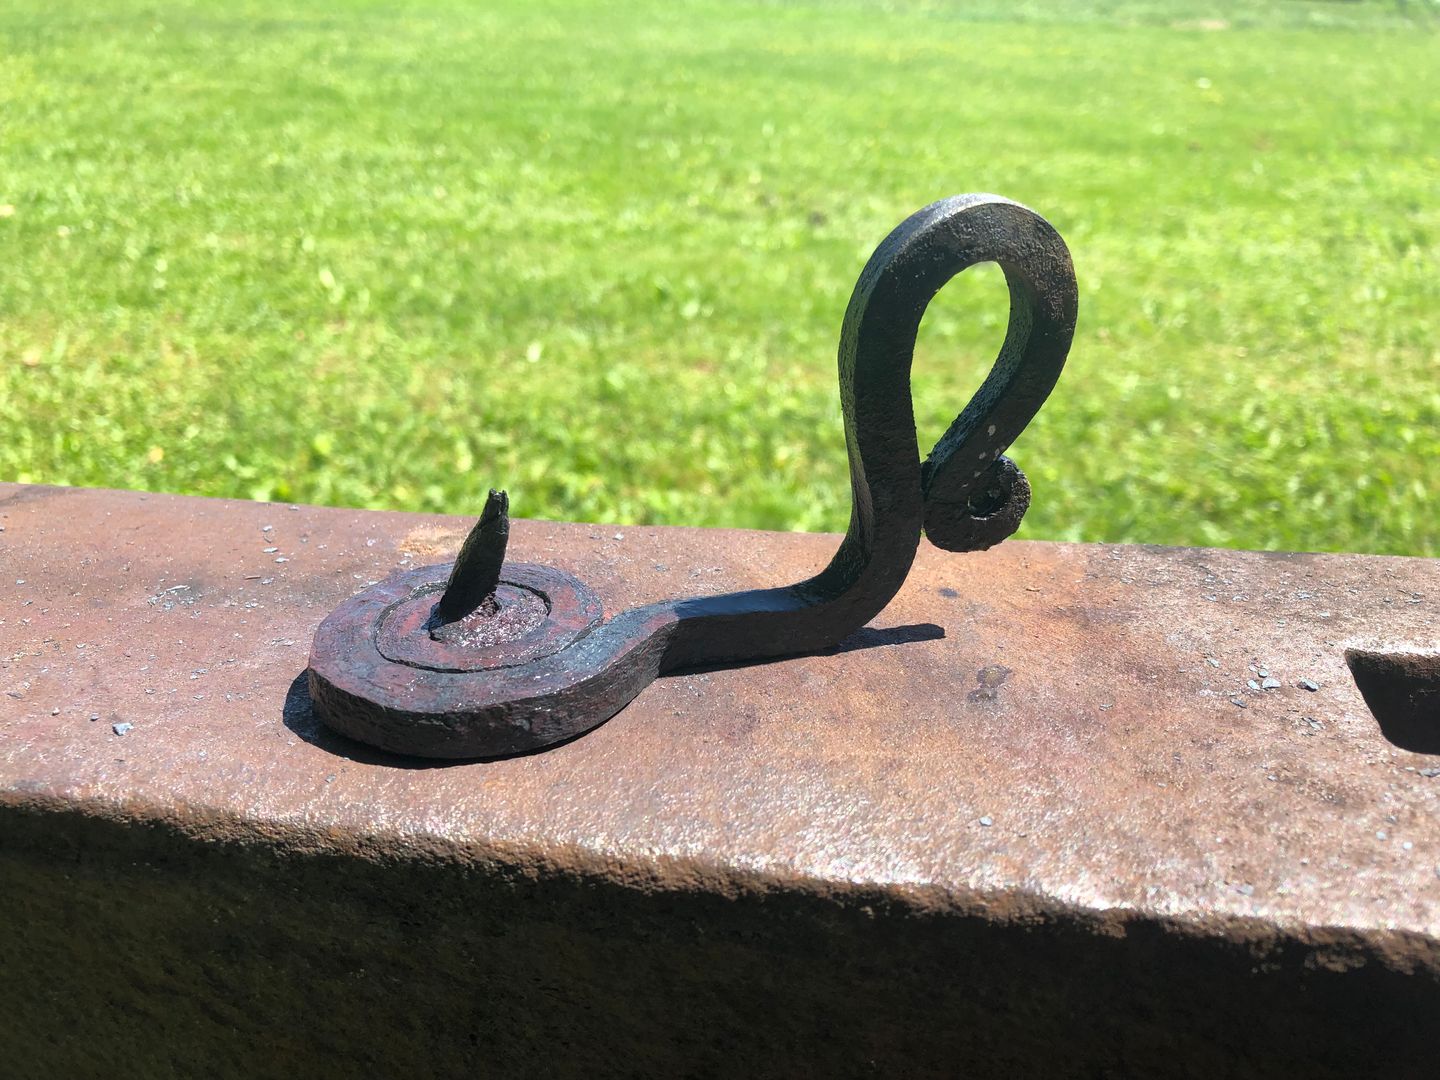
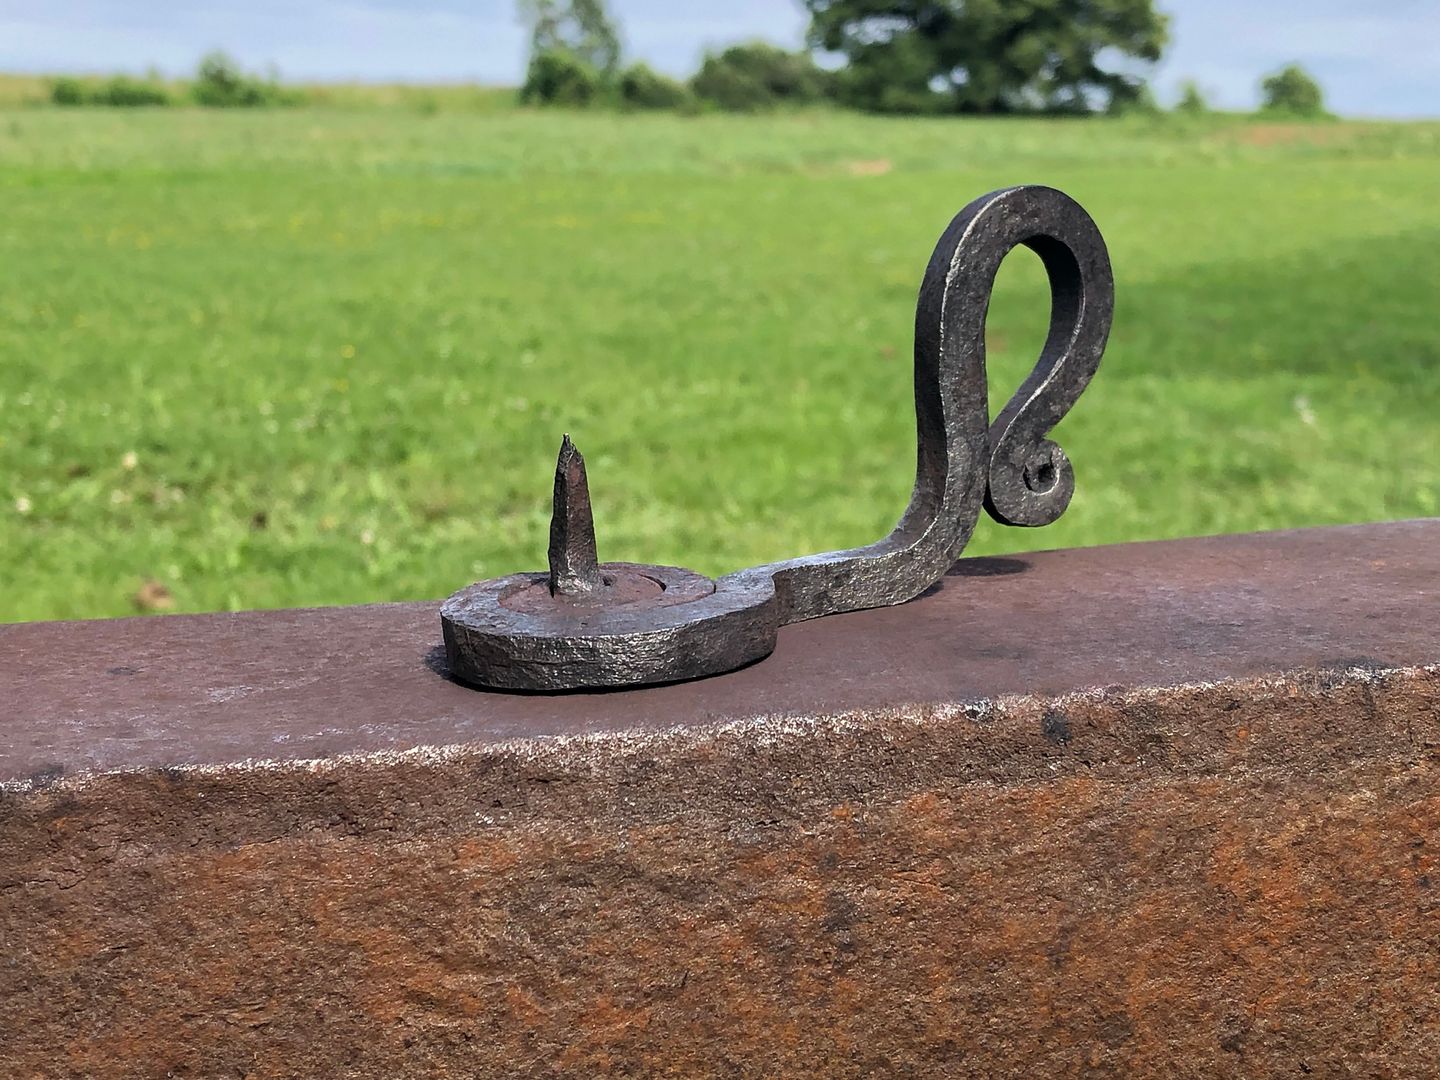
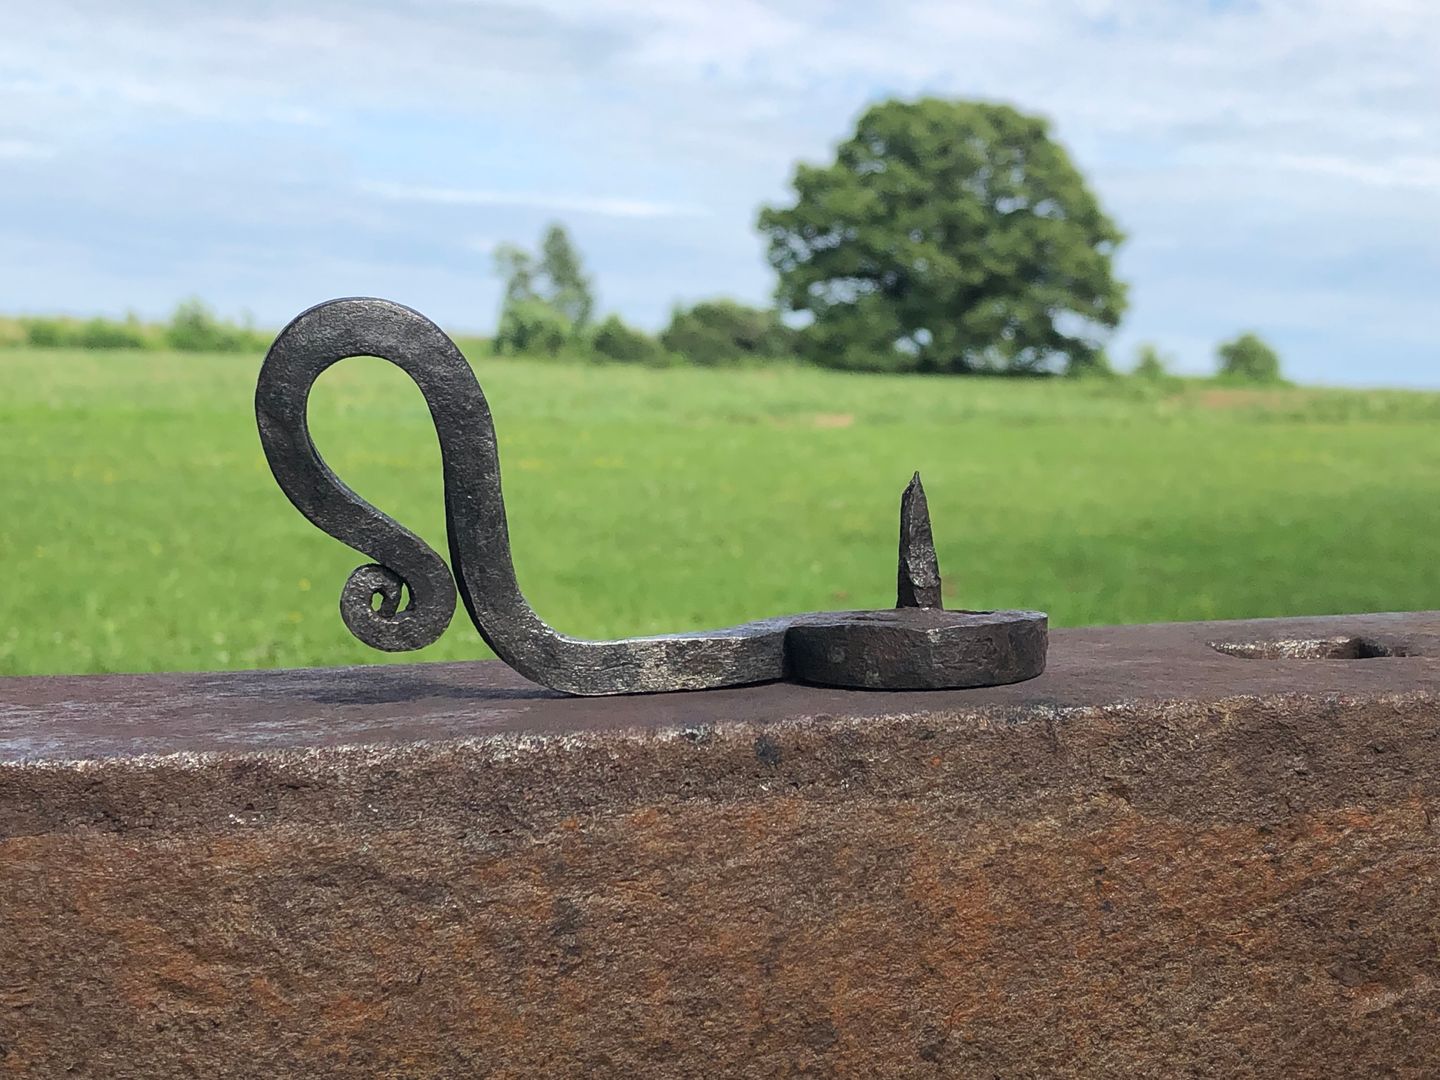
Now, it's very, very hard to see, but I did in fact stamp my touch mark on the bottom. It's actually the first thing I've made to bear the mark. I made the stamp myself, by graving the mark on the end of a chunk of steel. I wasn't able to cut it very deep. So that plus the graininess of the wrought iron makes it blend in well. But I assure you, it is there.
A little bit of filing of the spike, and it's done! I tried attaching a candle to it and the candle broke. Tried it again and again it broke. So, I heated the spike with a torch, and then I was able to get a candle on it.
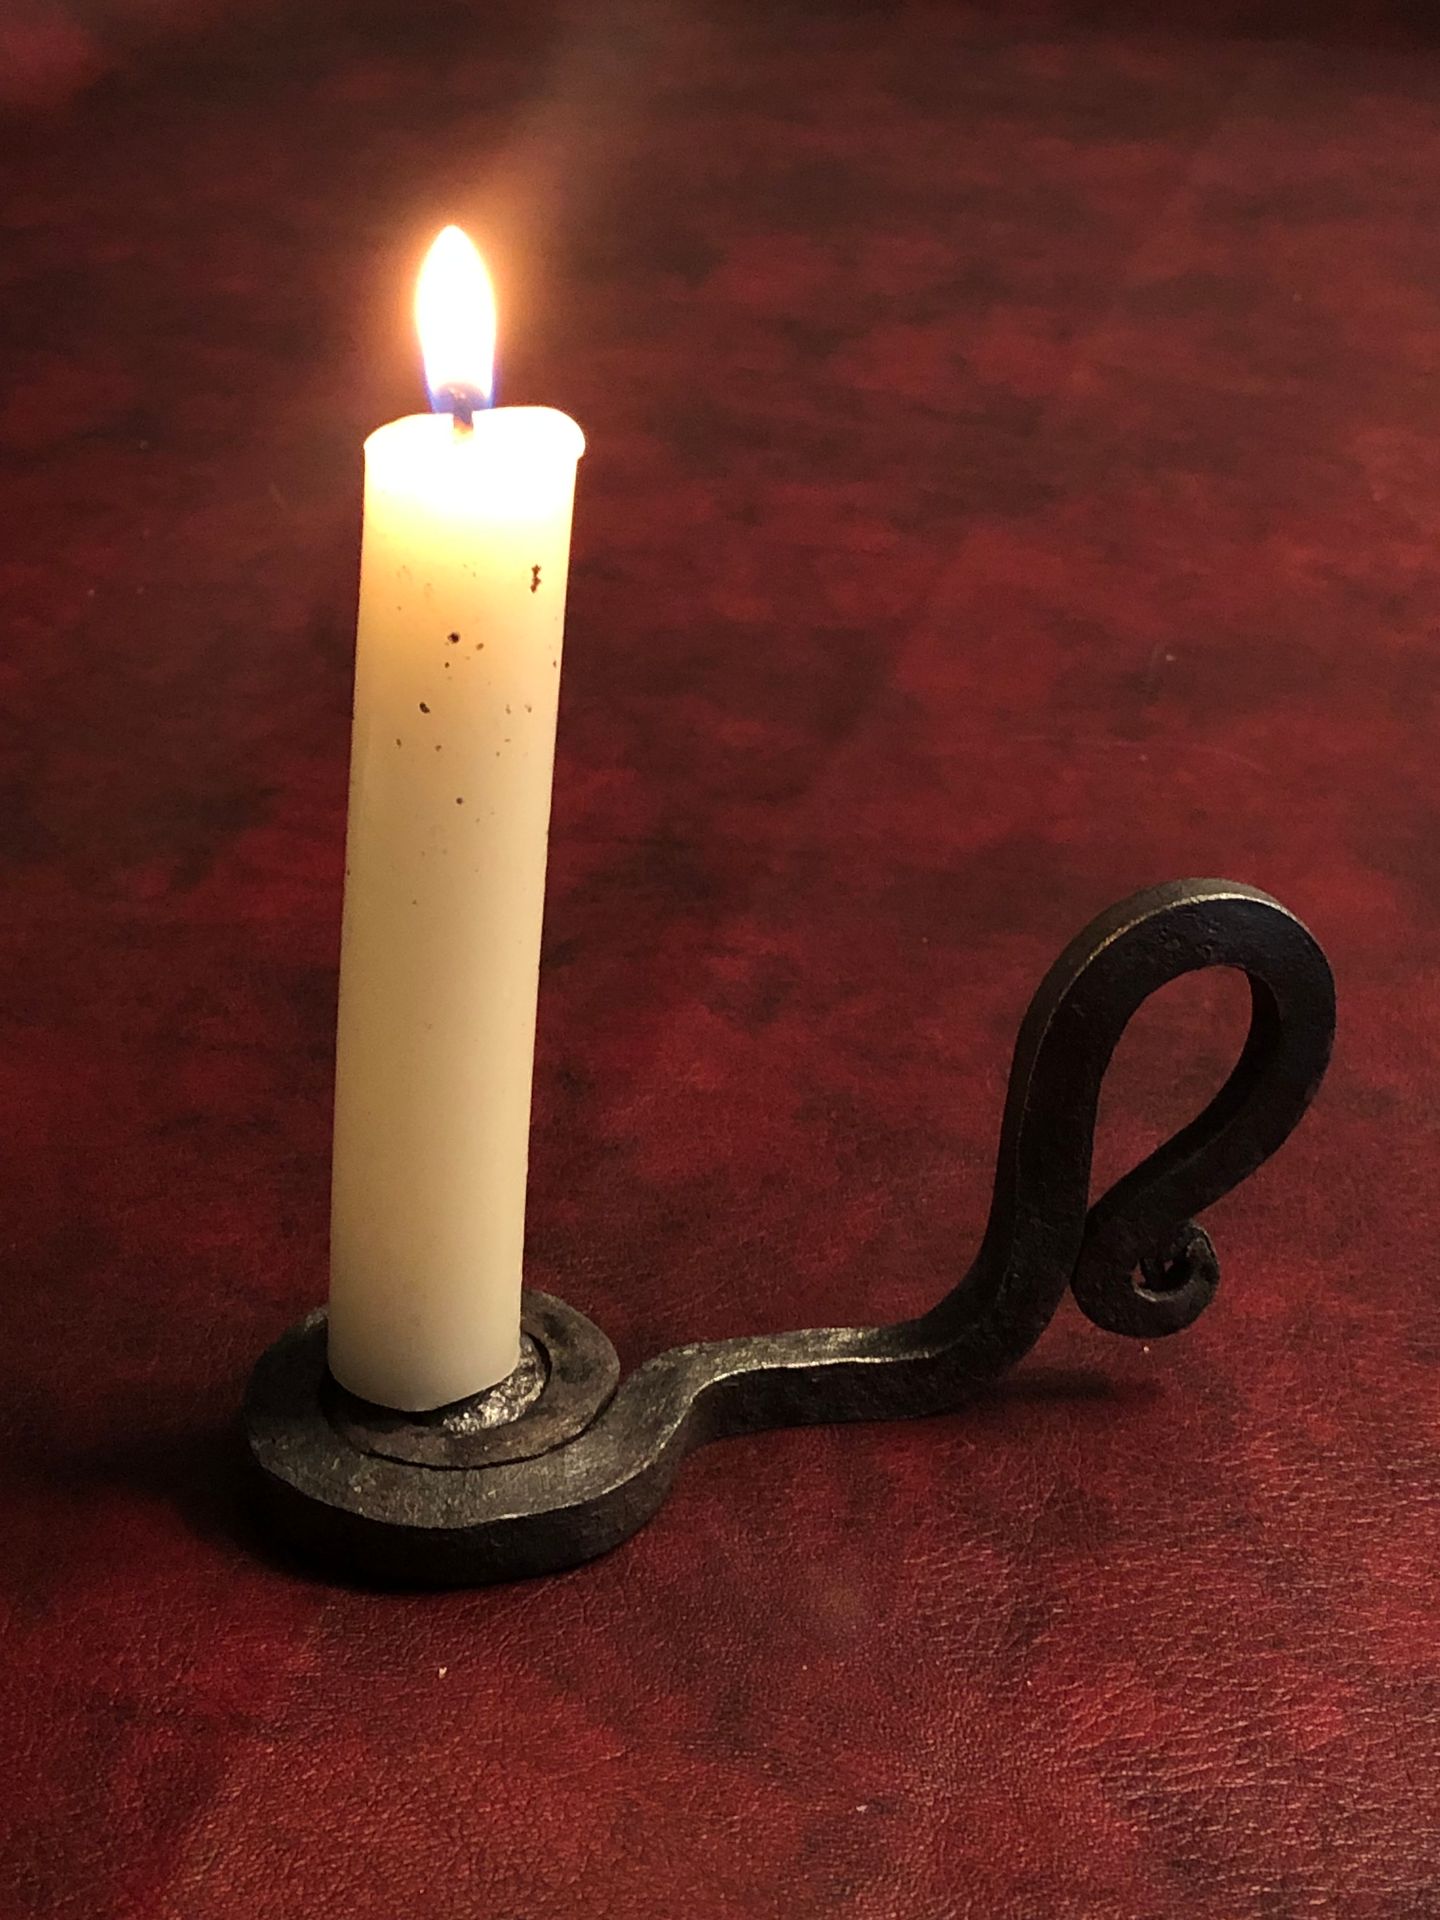
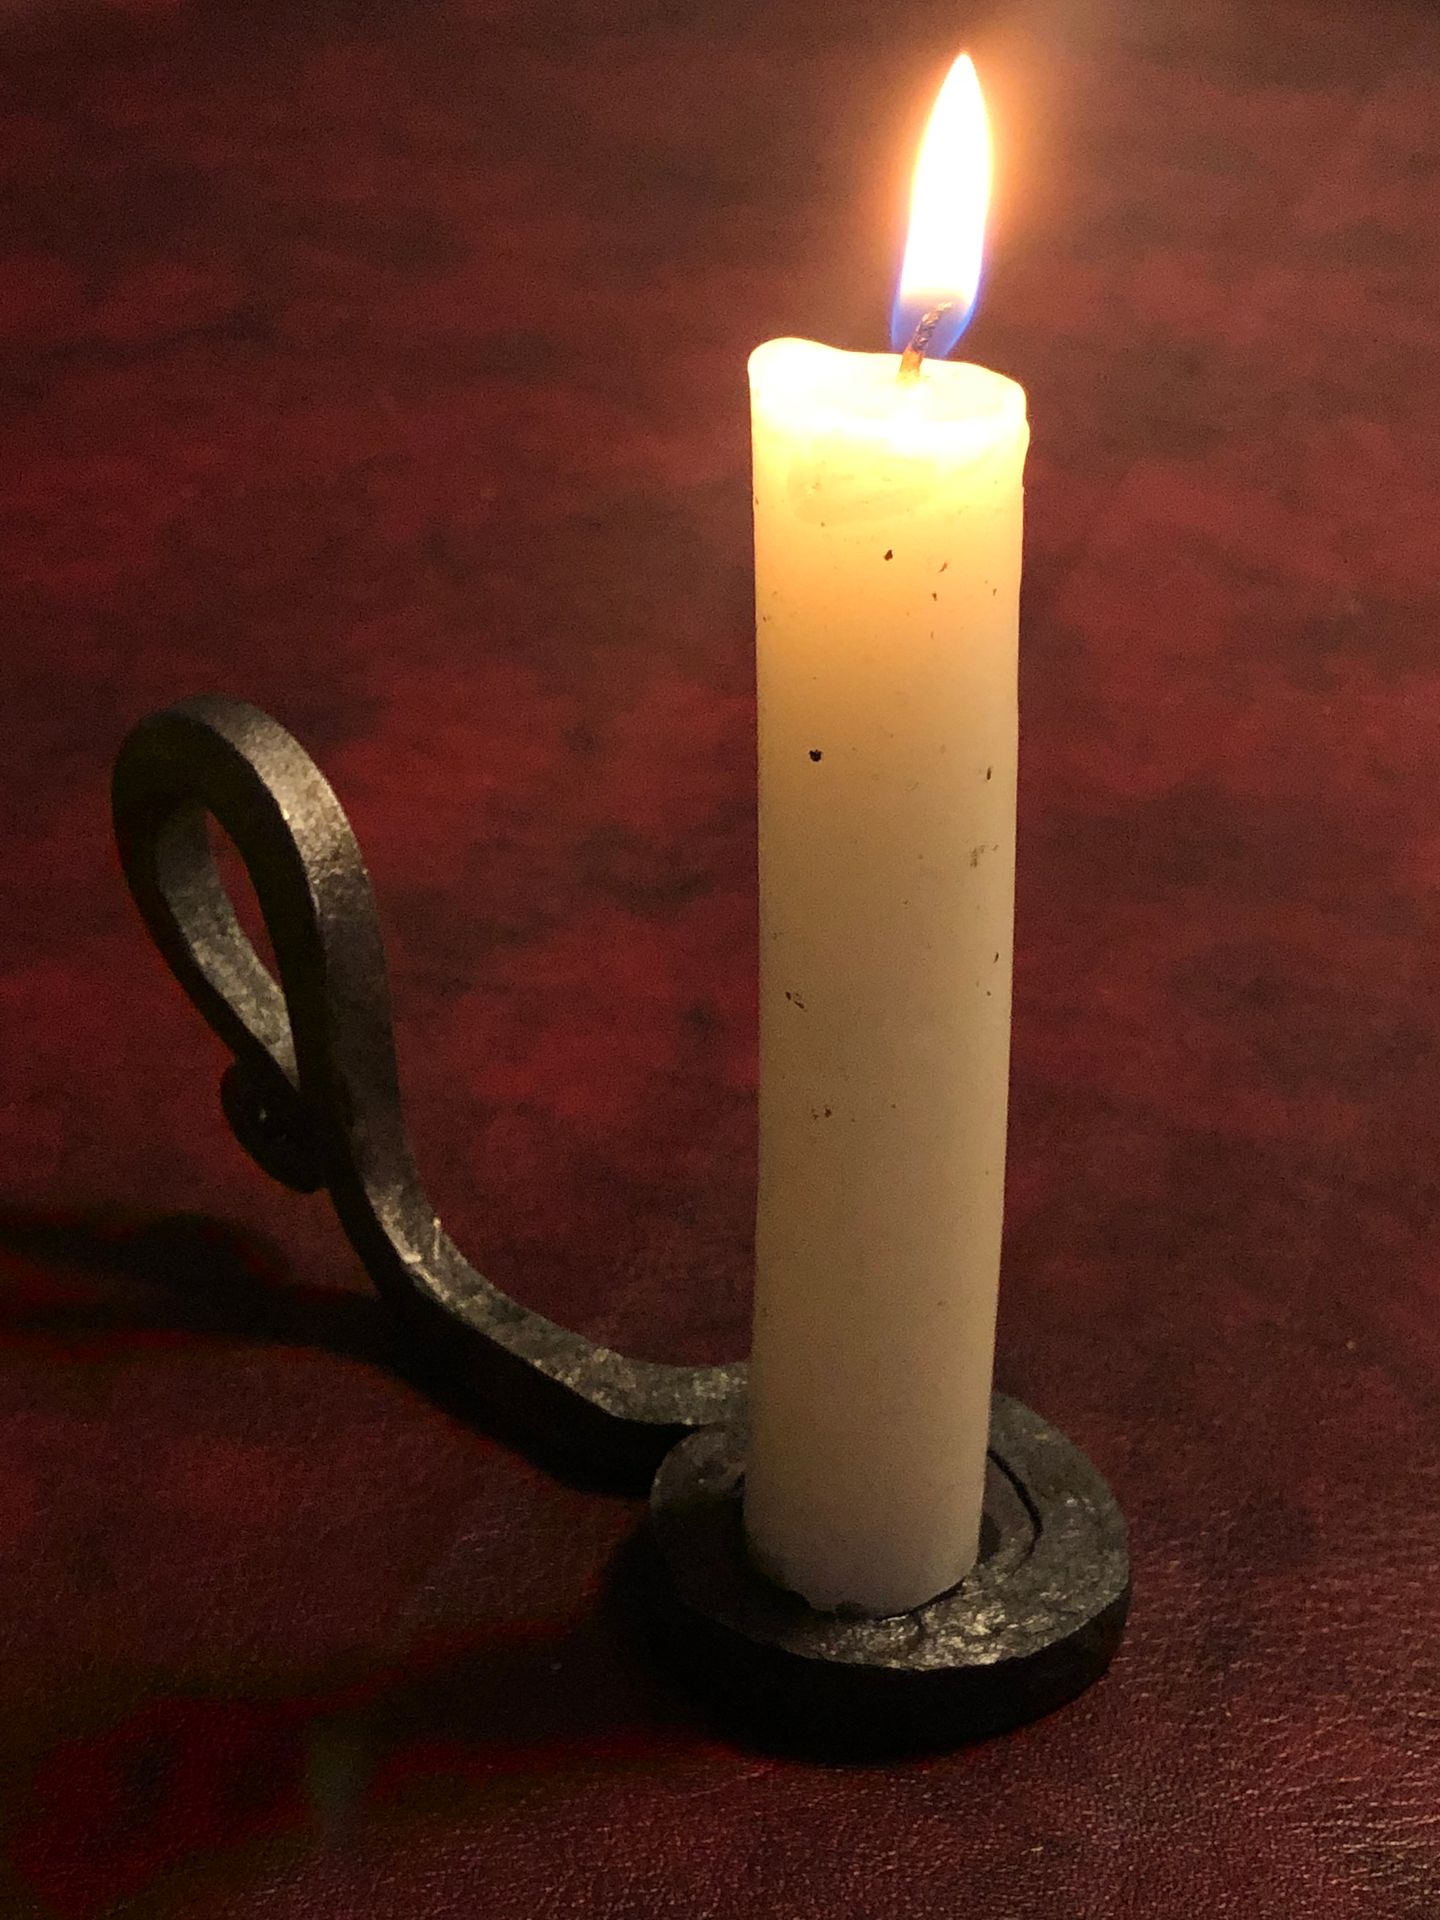
Not half bad, if I dare say so. Much better than I expected it to turn out. A very fun project to make, and a great foray in wrought iron work.
