Making Charcoal
All postsAugust 23, 2022
- blacksmithing
Wood is simply not cutting it. Taking hours to get to forging heat is exhausting, and the size of the fuel is clumsy. The volatiles in the wood are just that: volatile. And the smoke incessantly hunting me. No more! Let the era of charcoal begin!
Let the era of charcoal begin!
But, how do we go about making charcoal? Essentially, we need to cook the volatile gases and substances out of the wood and try to stop the carbon from combusting. So in practical terms, we need to heat it up for a while and then cut it off from fresh air.
As with everything worthwhile, there are quite a few different approaches. There's the ancient style of digging a pit, having a fire in it, and then covering the pit with dirt. That works, but the yield of charcoal isn't great. Plus, you'll need somewhere to put a flaming pit. Which could be problematic in more residential areas.
Plus, you'll need somewhere to put a flaming pit.
Then there are the charcoal retorts. Very neat contraptions that indirectly fire the charcoal, resulting in a super high yield. But that requires working with black pipe, wielding, and access to items like large oil drums. I was looking for something in between the two approaches. Not so simple as lighting the lawn on fire, but not as difficult as building a self fuelling furnace.
Not so simple as lighting the lawn on fire, but not as difficult as building a self fuelling furnace.
Then I came across this idea to use a typical 55 gallon barrel at an angle to fire the charcoal. The principal was sound and simple: at an angle, the barrel creates a chimney affect that really gets the fire going. Then, as the fire burns down at the bottom of the barrel, add more wood. By doing that, it creates a loose oxygen seal. And since oxygen doesn't get down to the embers, they stop burning.
It seemed too good to be true to me, so I had to give it a go. I bought a 45 gallon racing fuel barrel for $5 from the nearby scrapyard and cut a rectangular hole in the top. And then I started a fire.
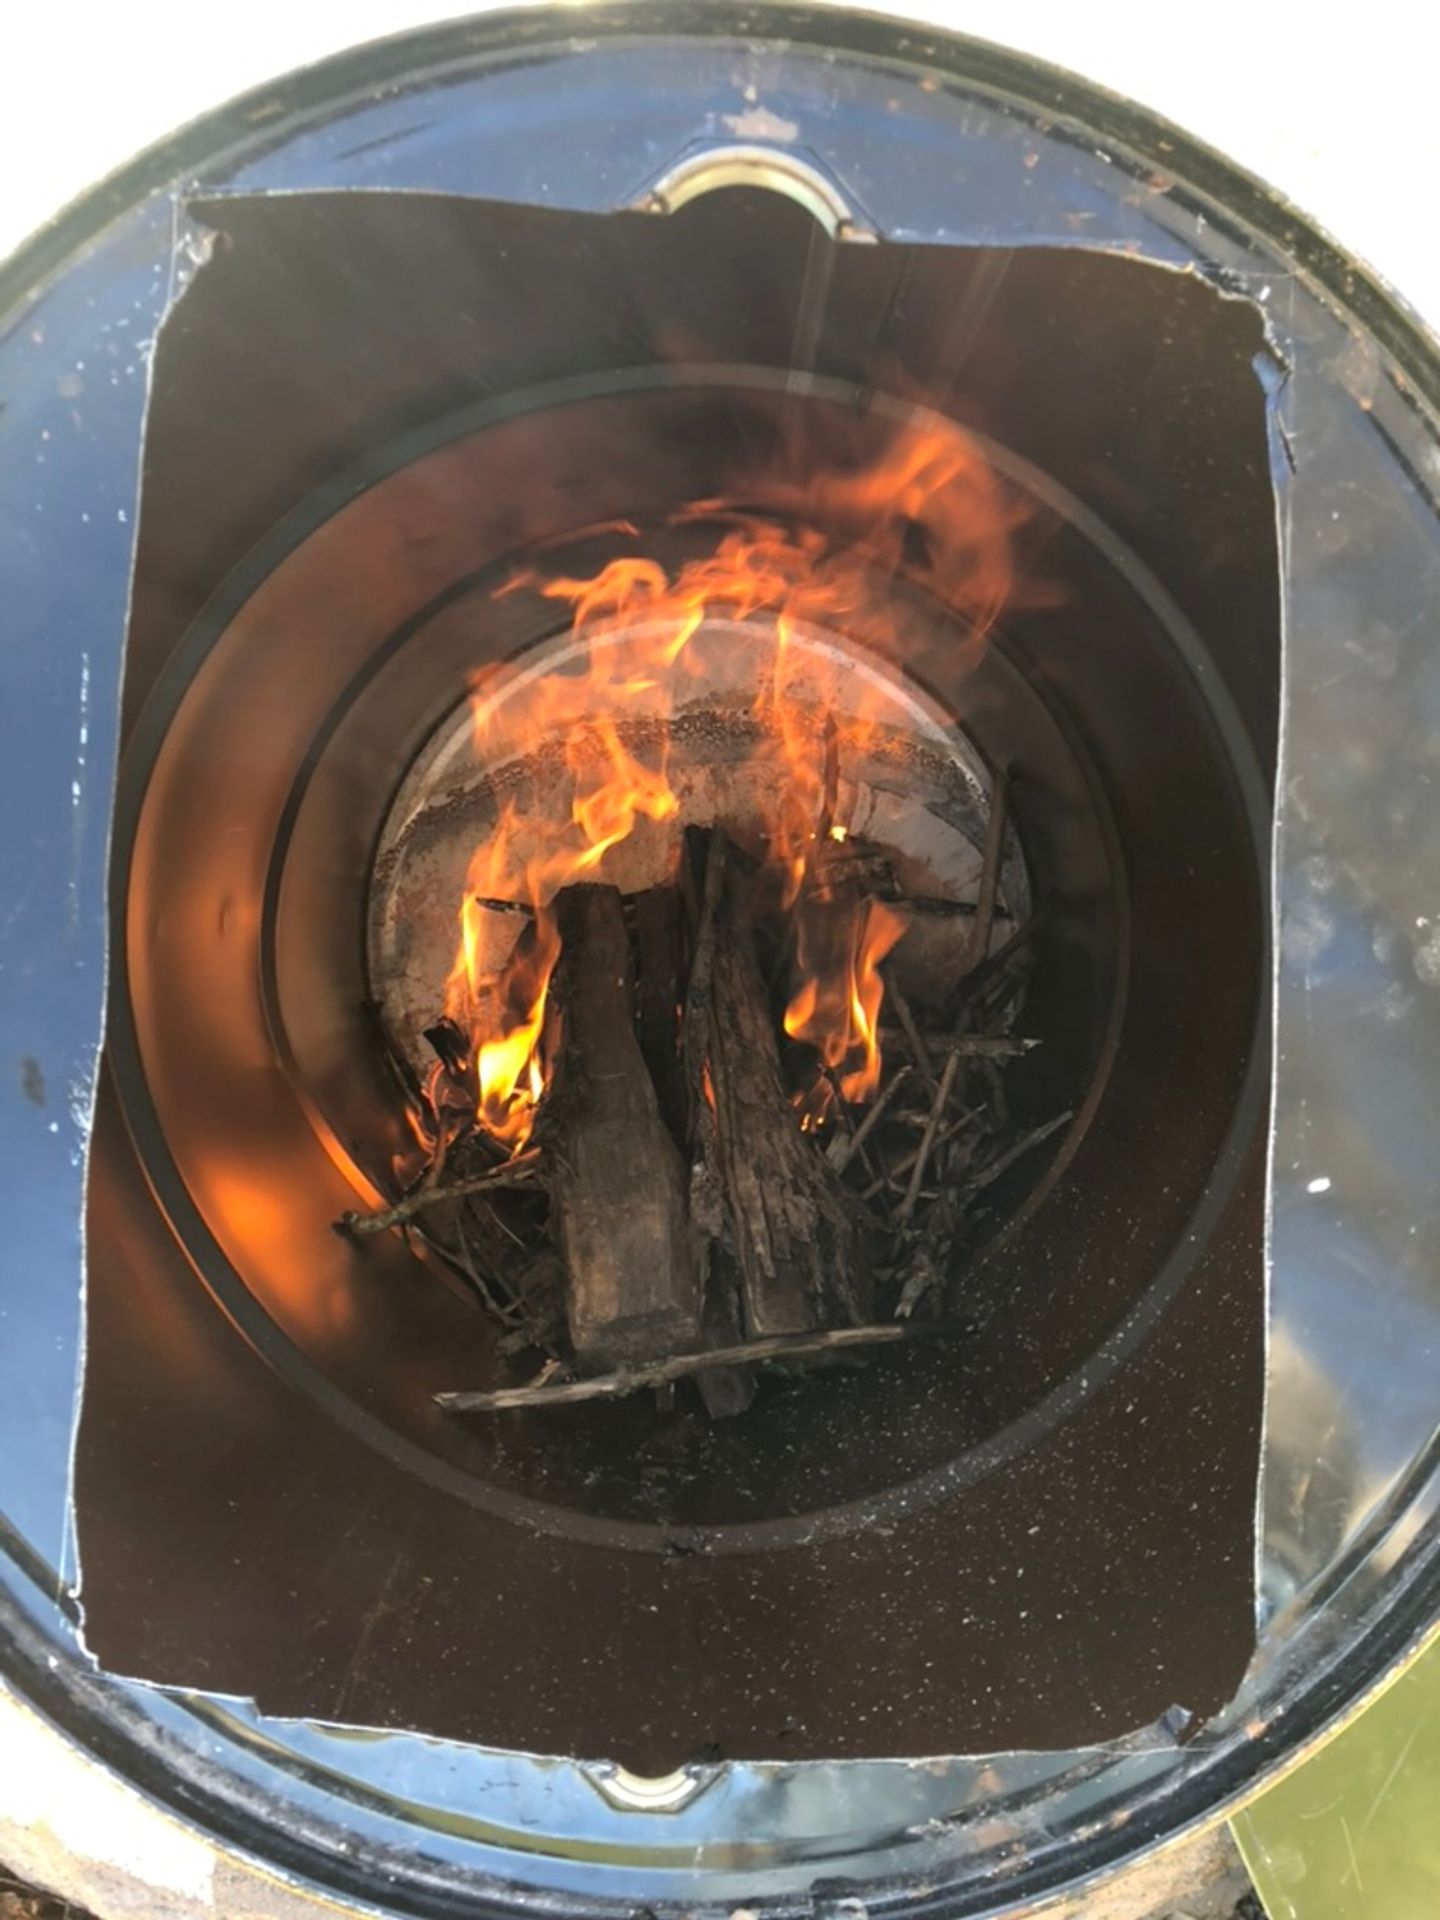
It didn't take long to get going. And it roared!
And it roared!
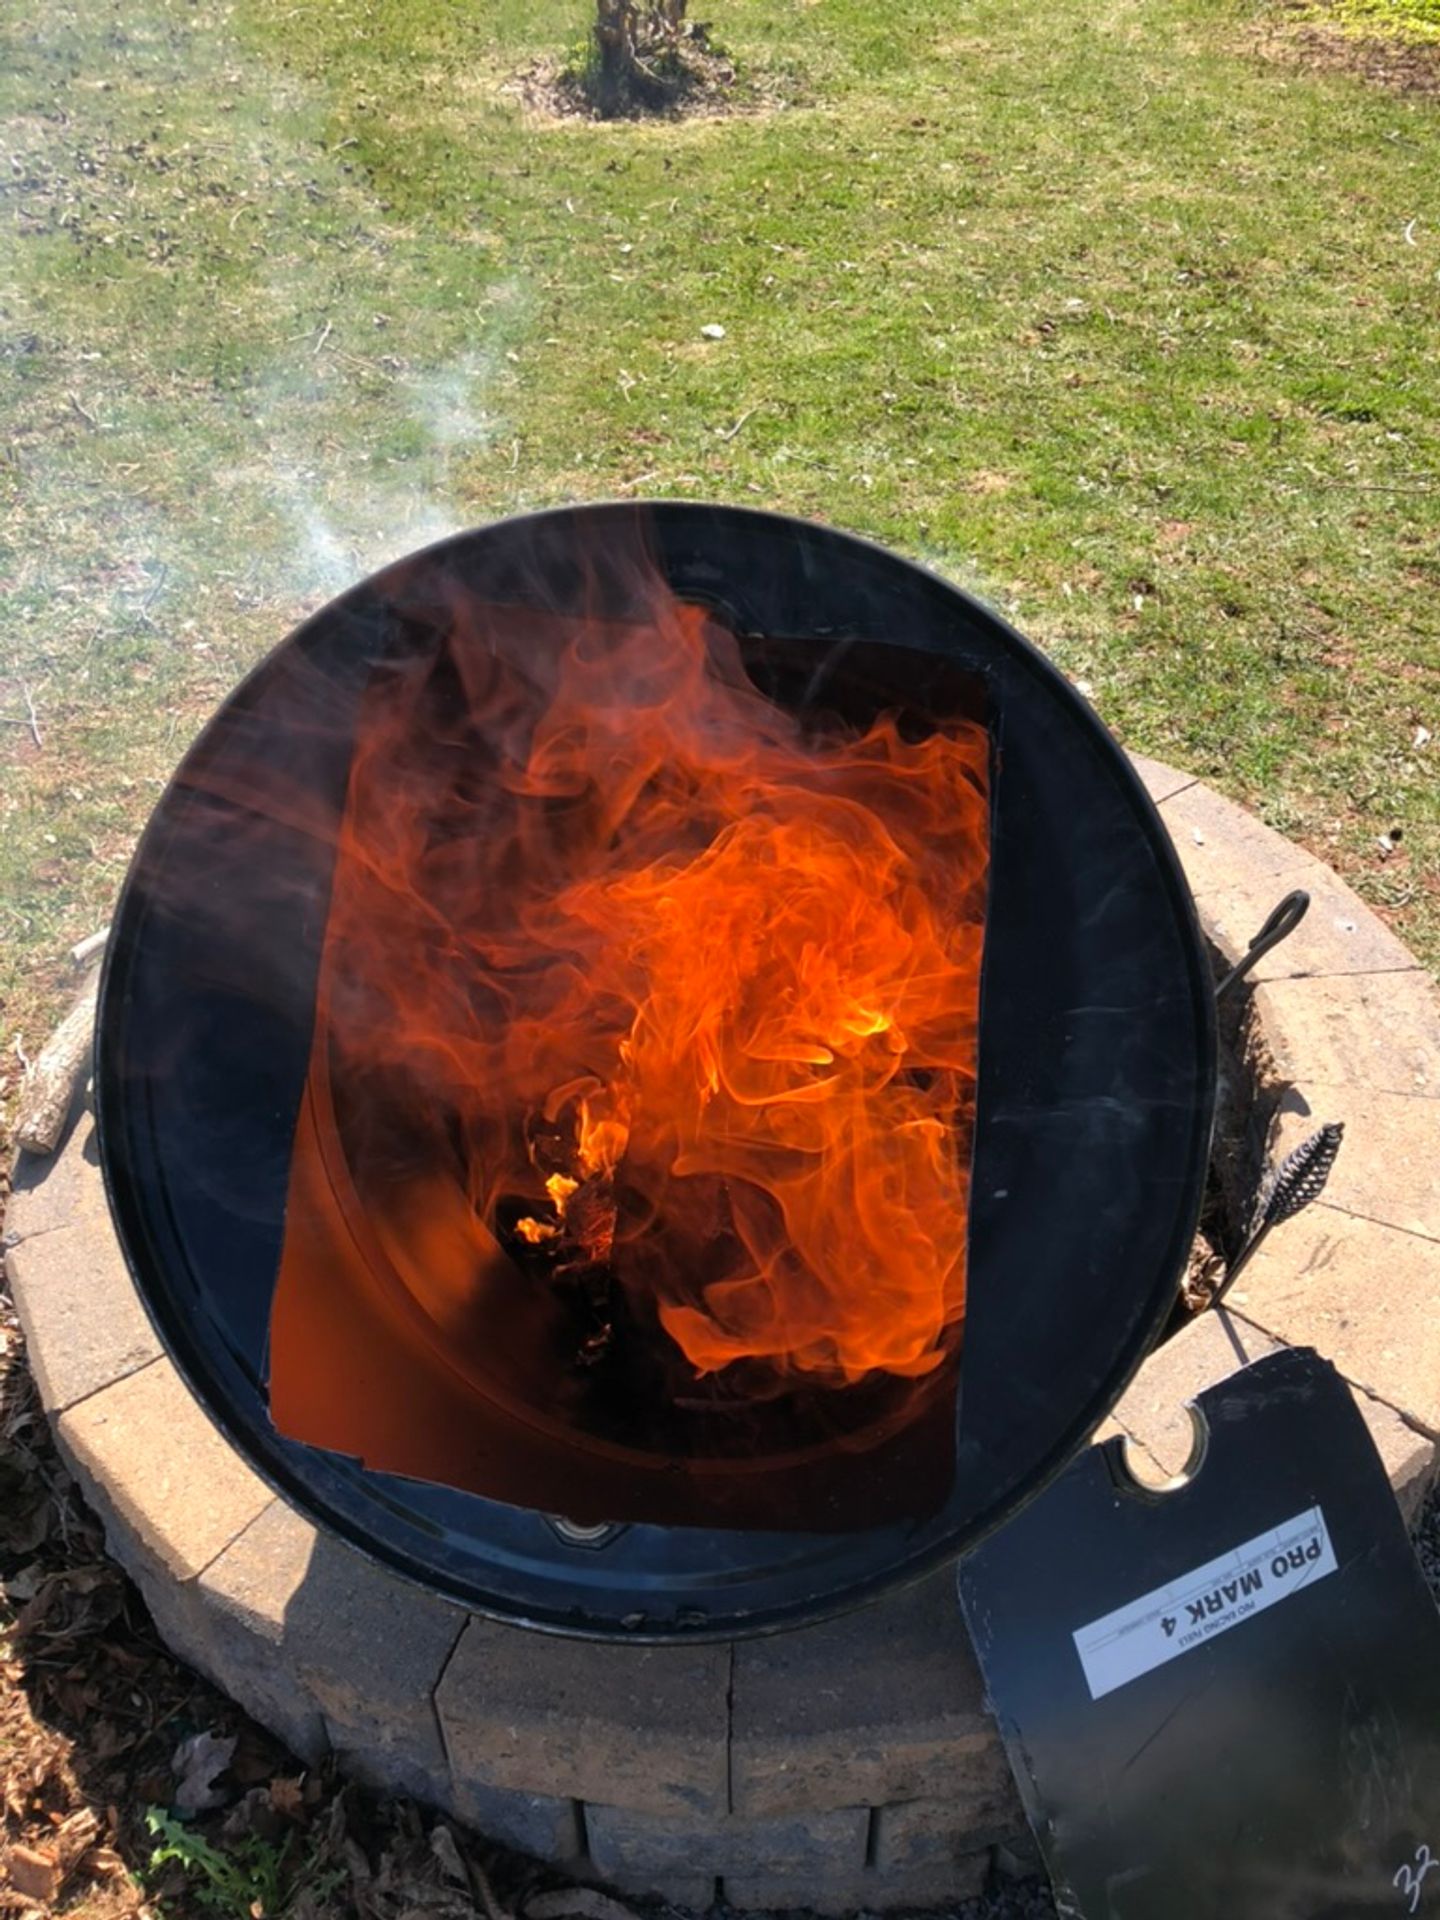
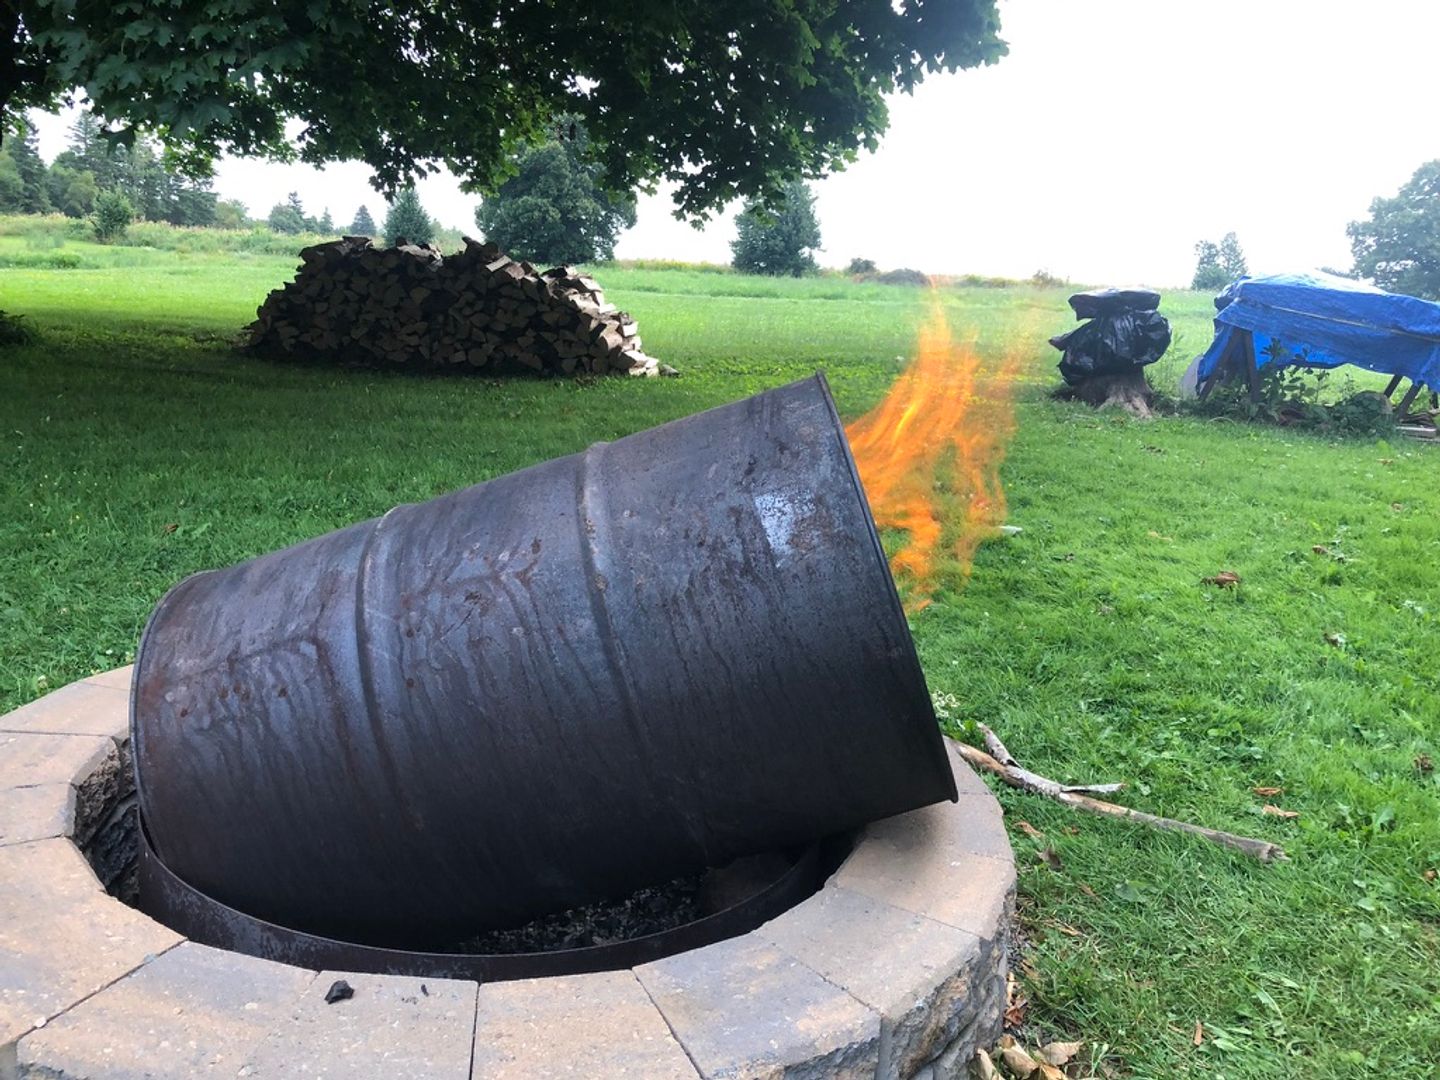
The steeper the angle, the faster the air get cycled, which makes it burn faster. So by controlling the angle of the barrel, you can control the speed at which it burns.
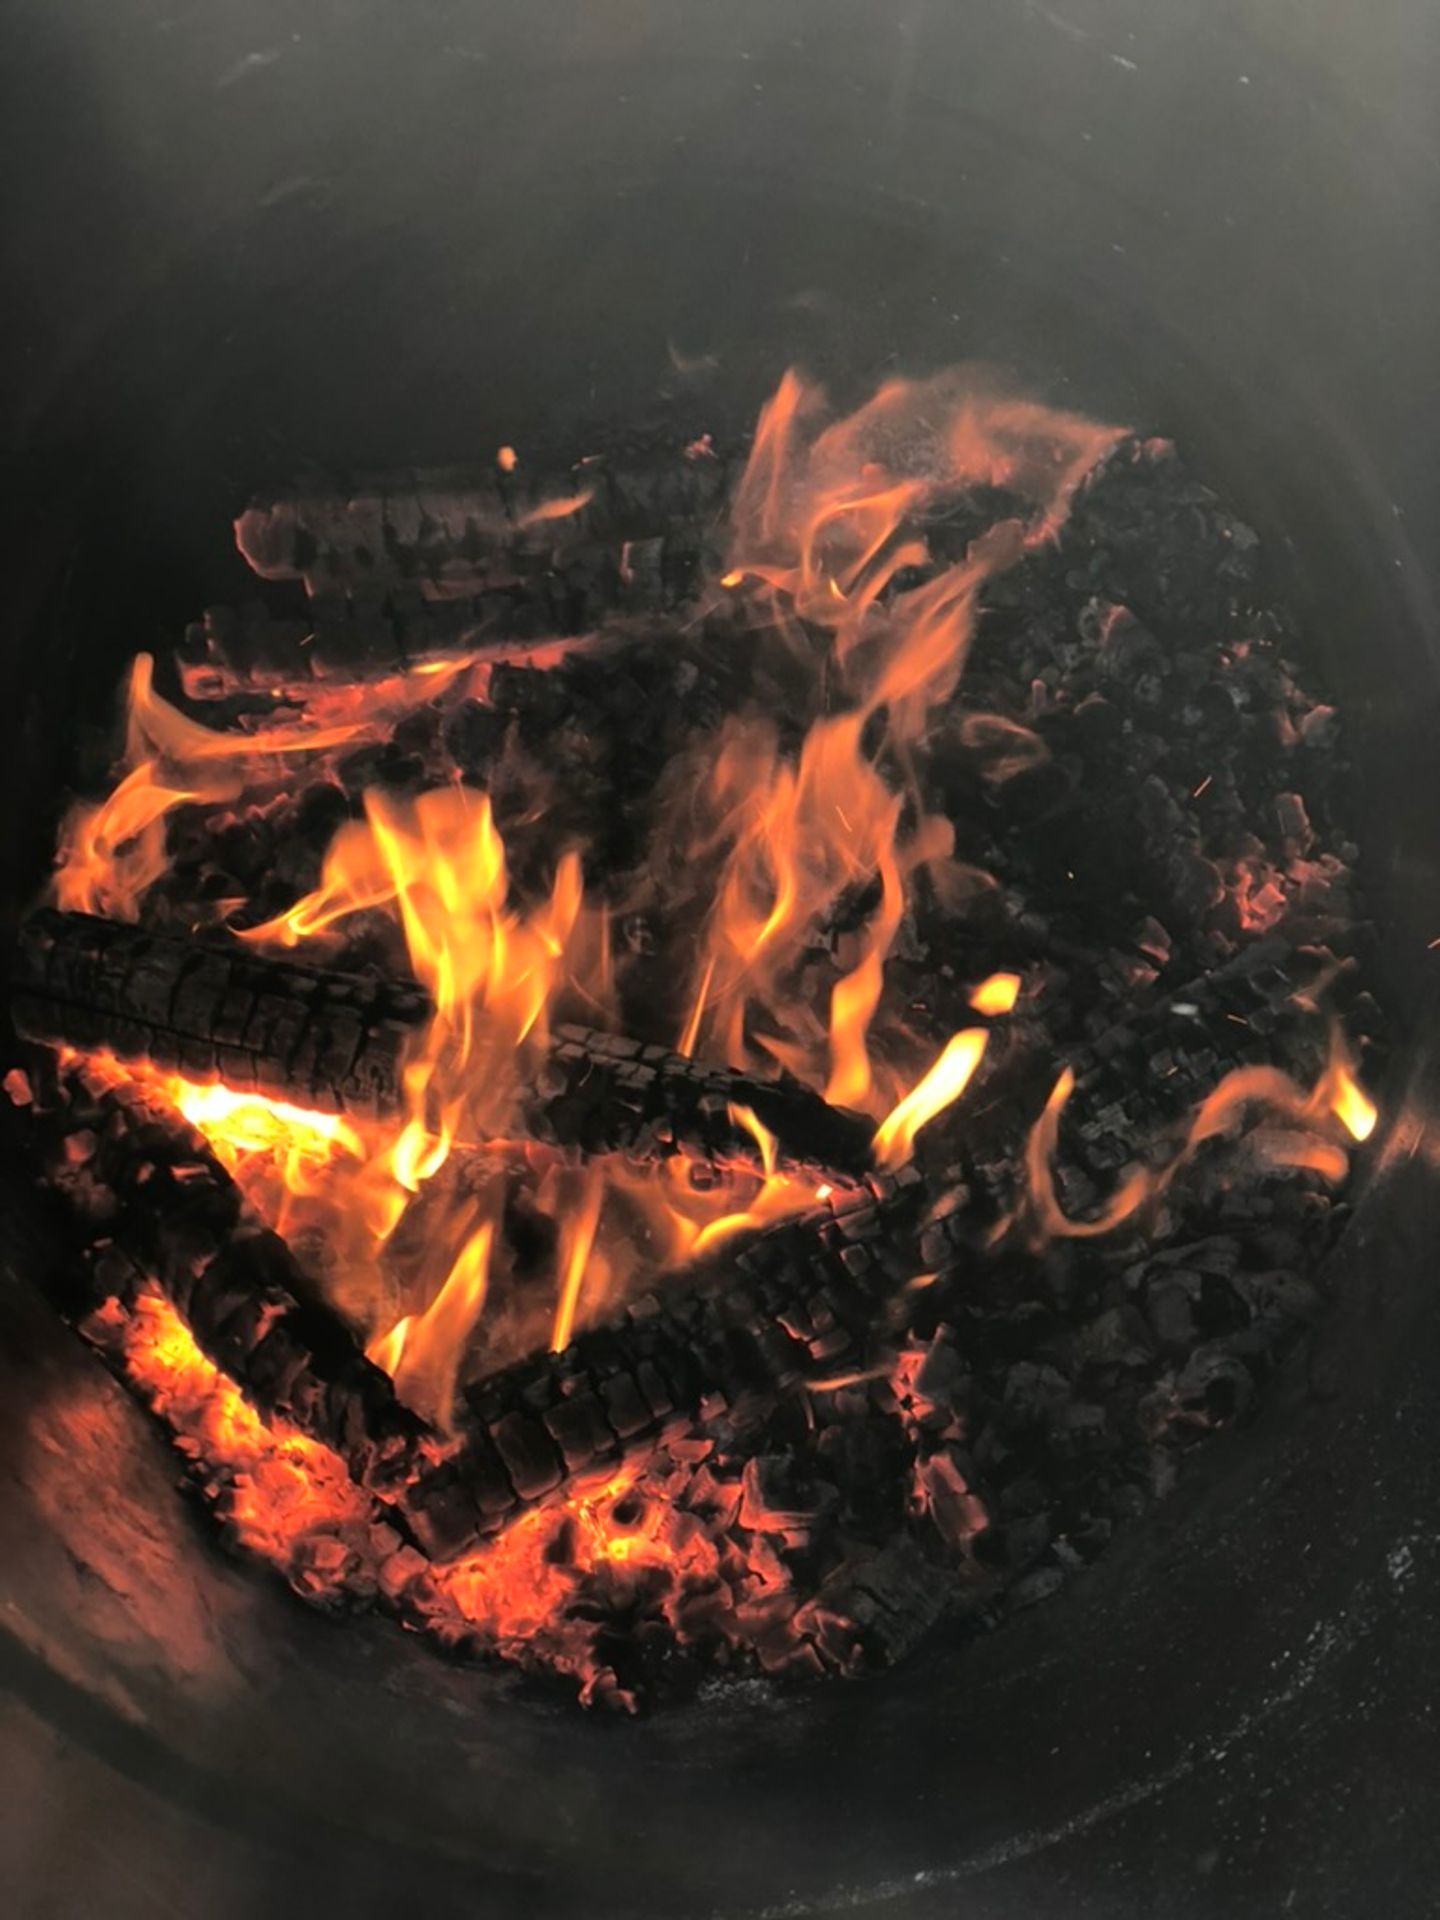
Now that there was little wood left, it was time to seal it up. I wish I had one of those barrels with the removable lids. But I didn't. I wasn't sure how I was going to solve the problem of stopping the flow of oxygen. Until it dawned on me to use mud. Mud solves a lot of problems.
Mud solves a lot of problems.
When the mud is soft, it forms around the sheet of metal and rocks that I add to fill most of the void. And as the heat fires the mud, it stops the mud from falling through, creating a good enough seal.
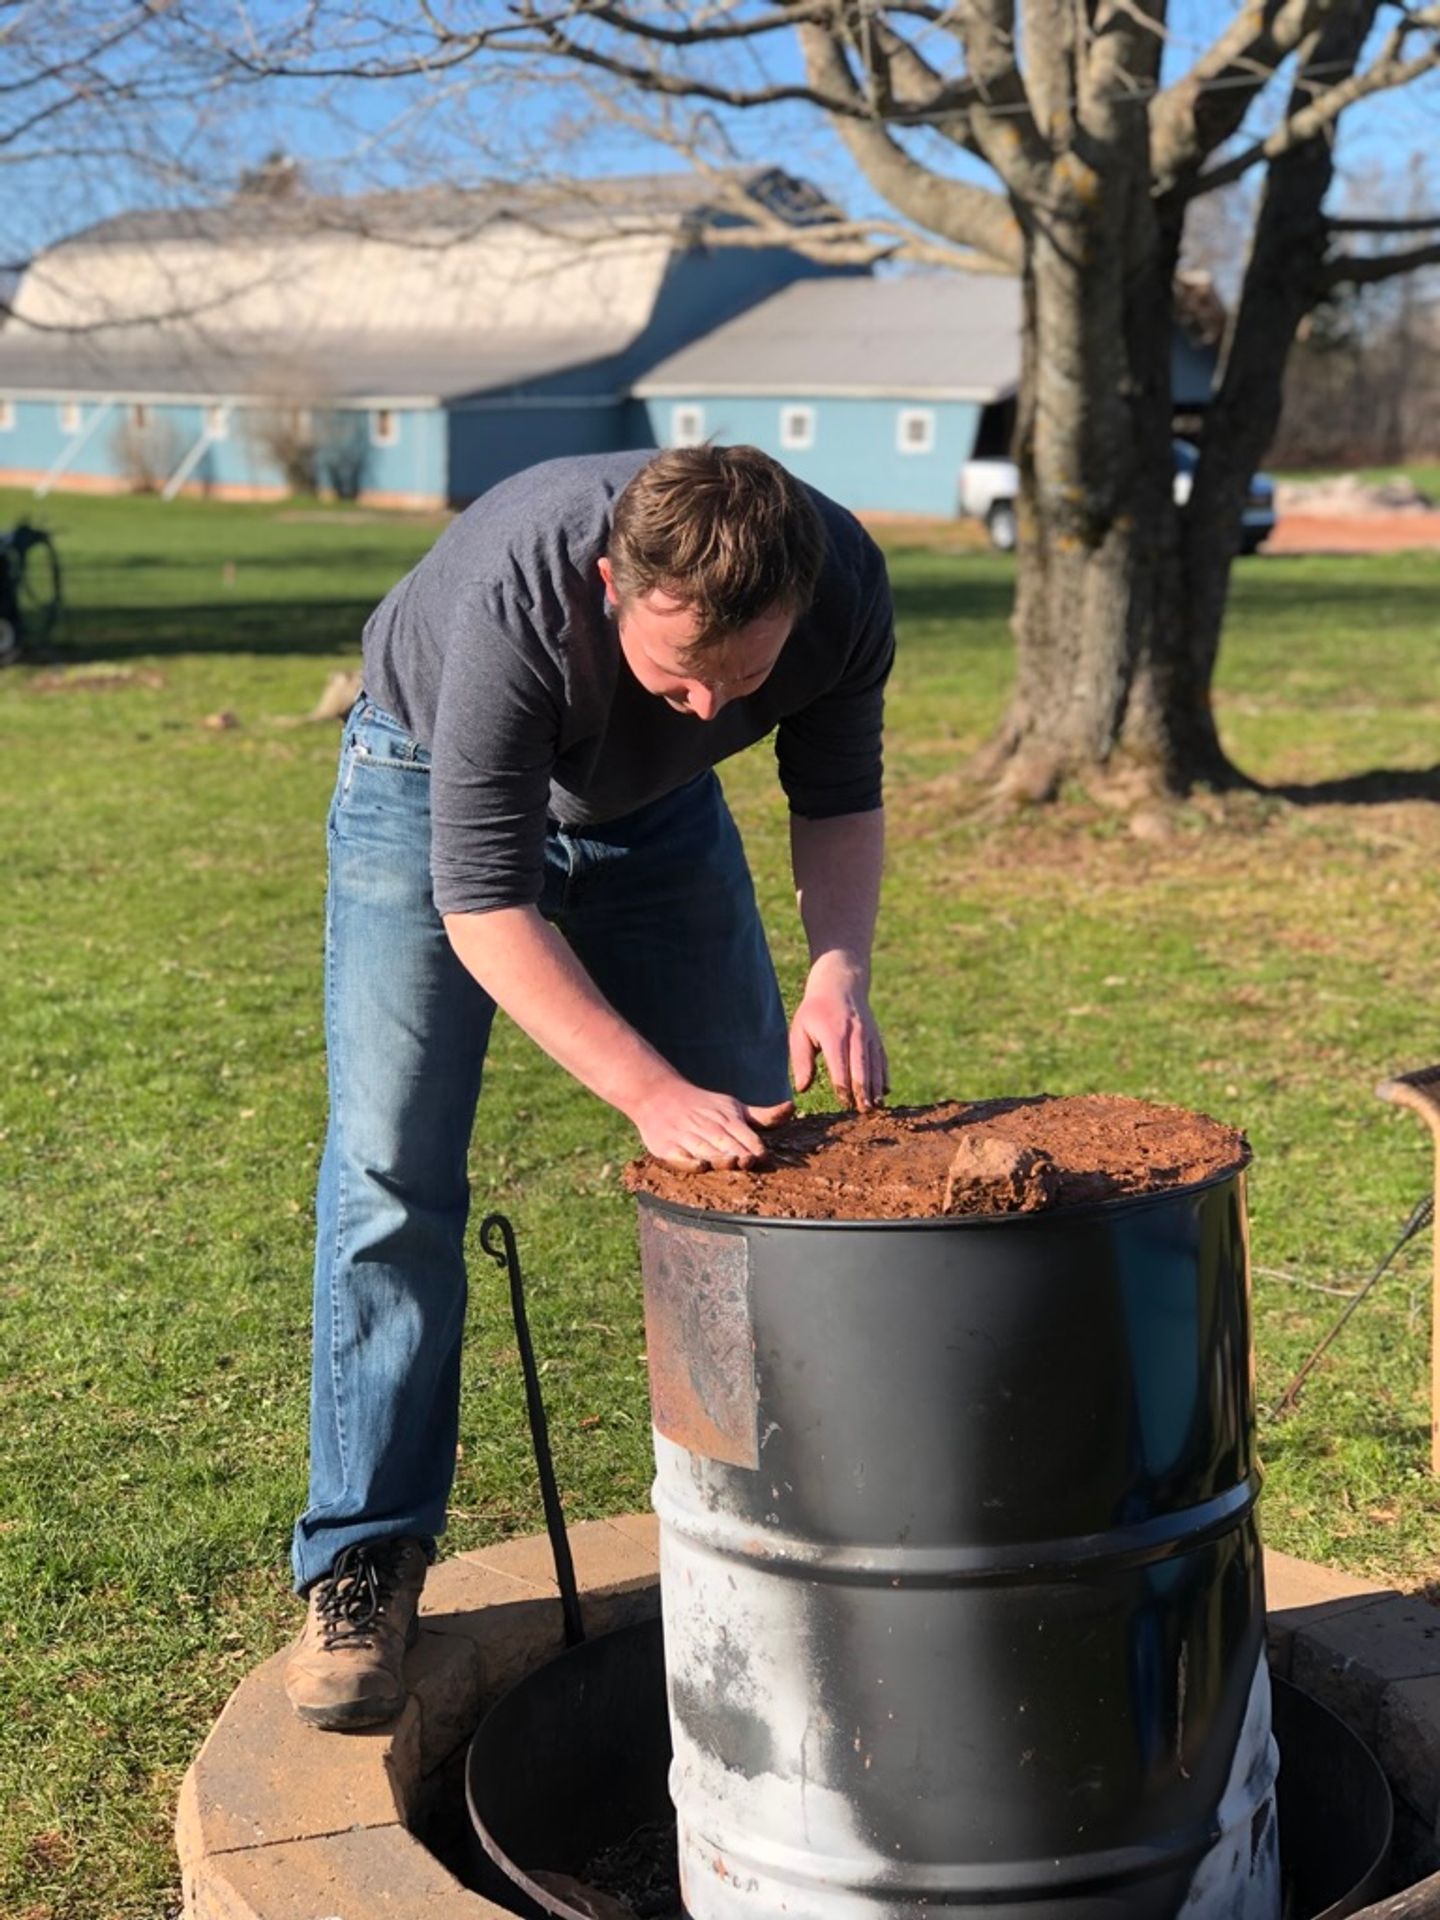
After a couple of hours, it had all cooled off. So I cracked open the seal, and it was looking pretty good inside. If a bit ashy.
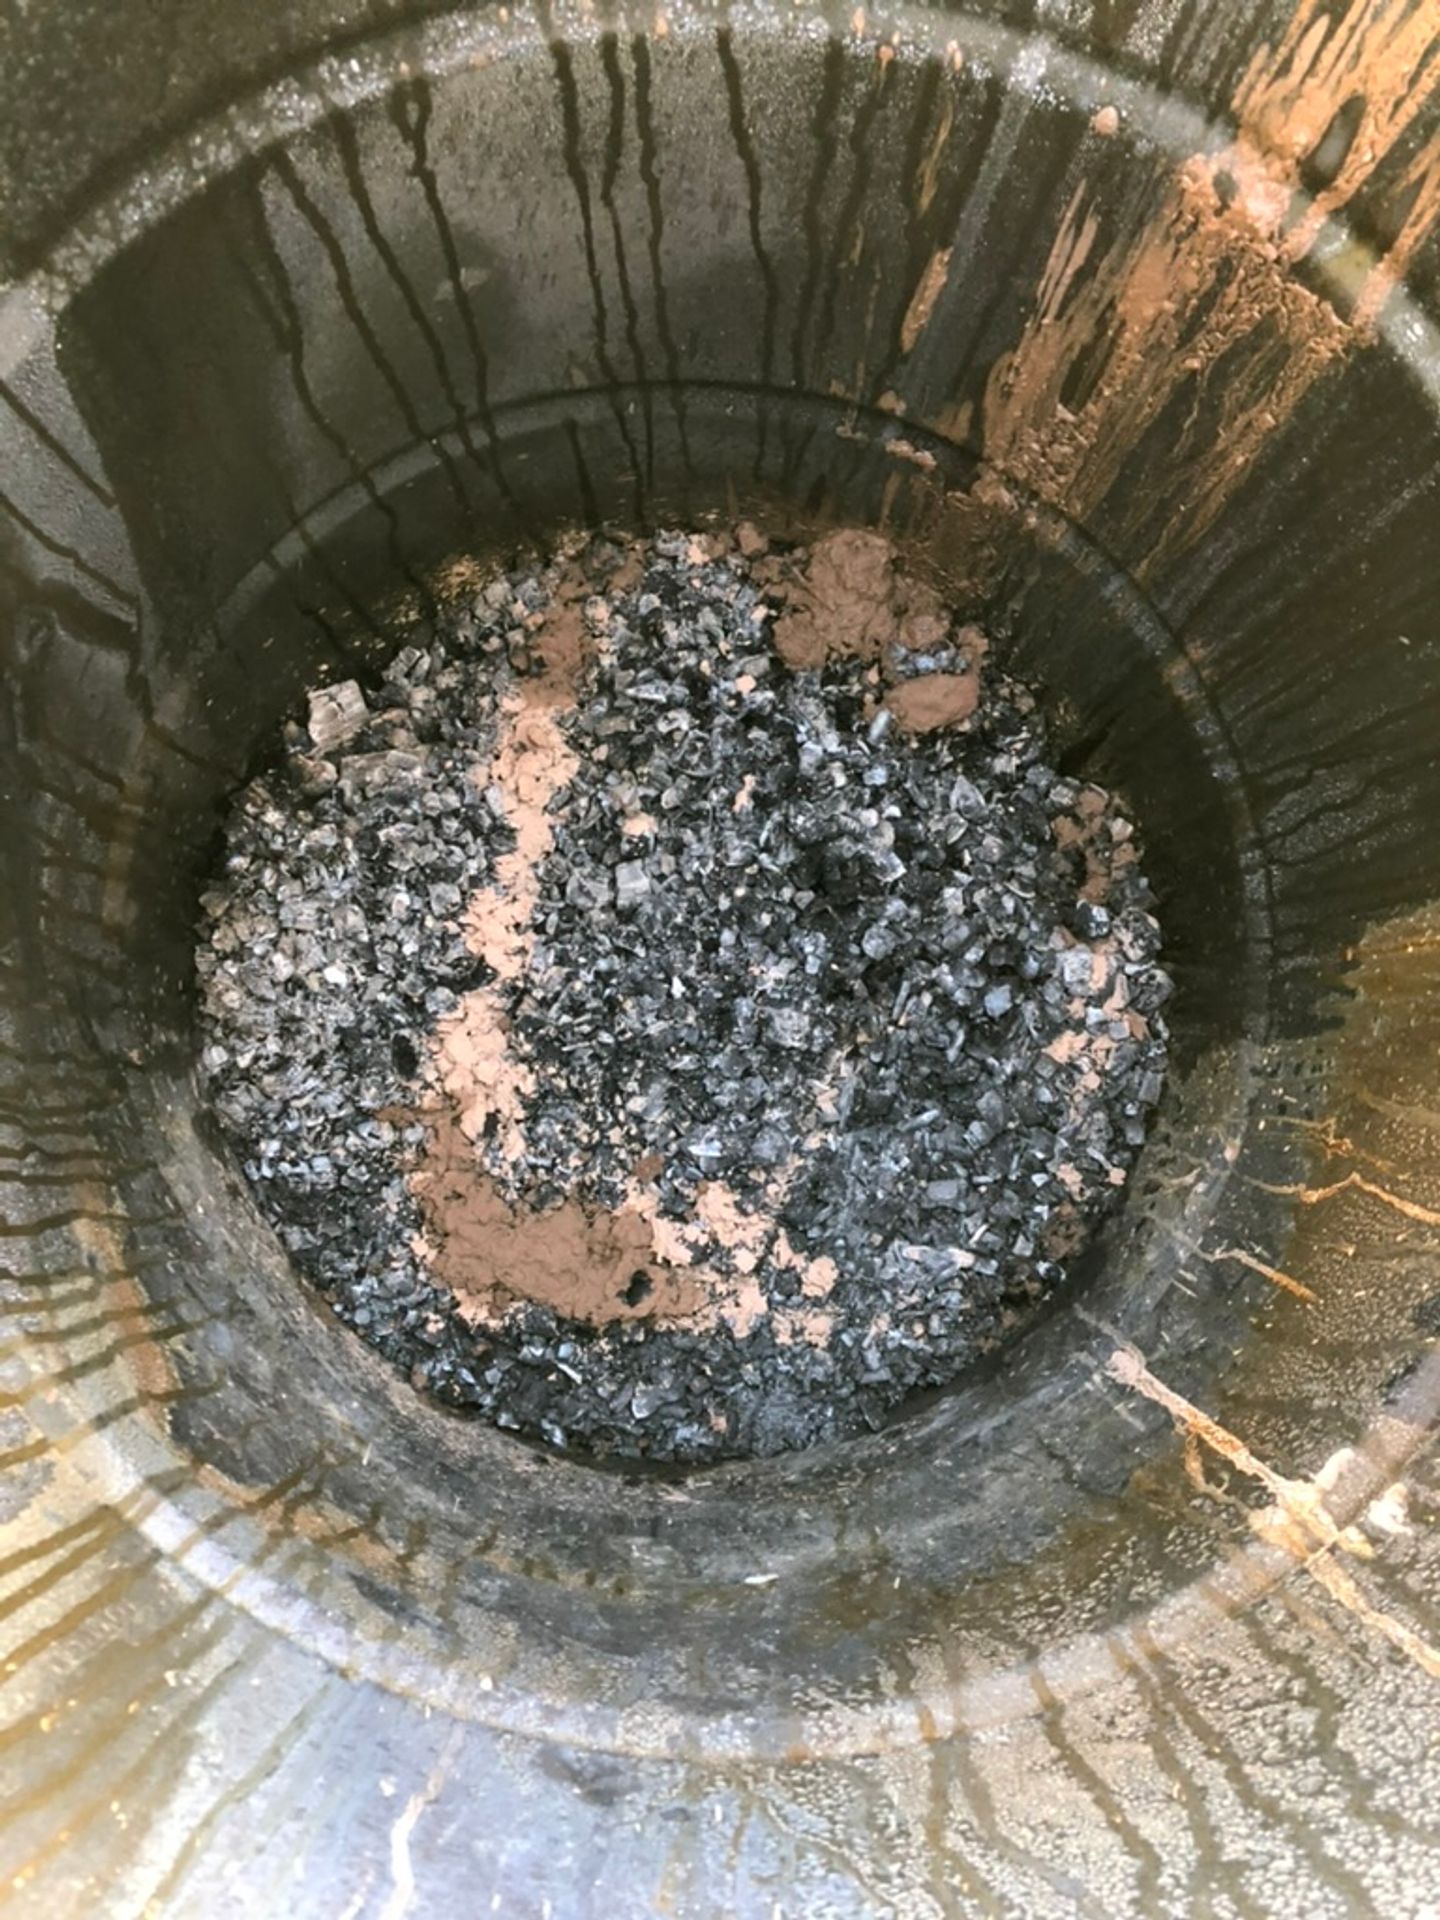
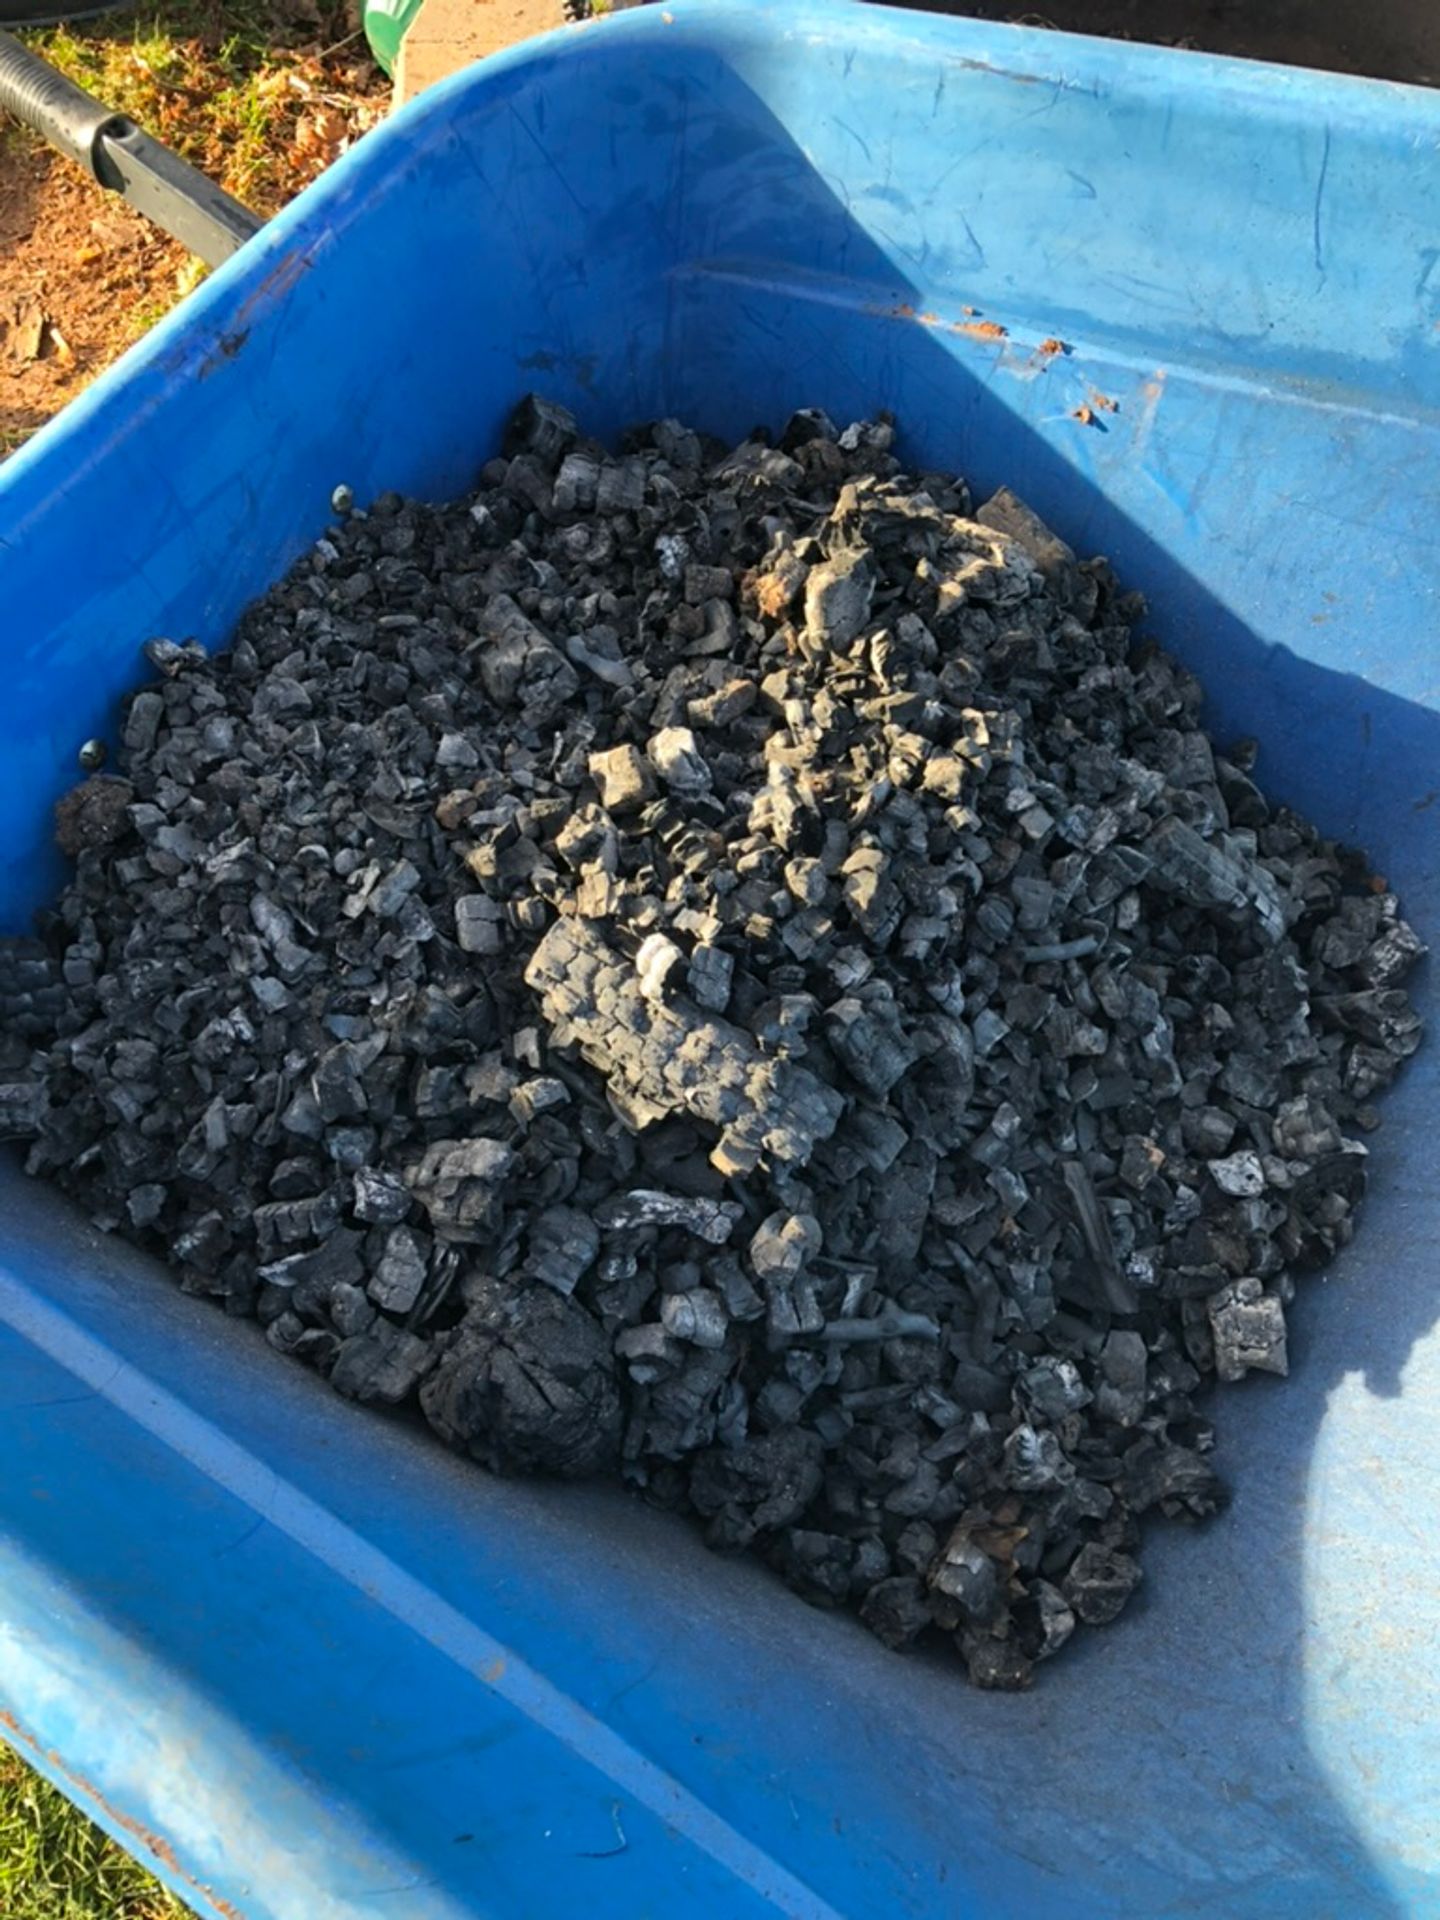
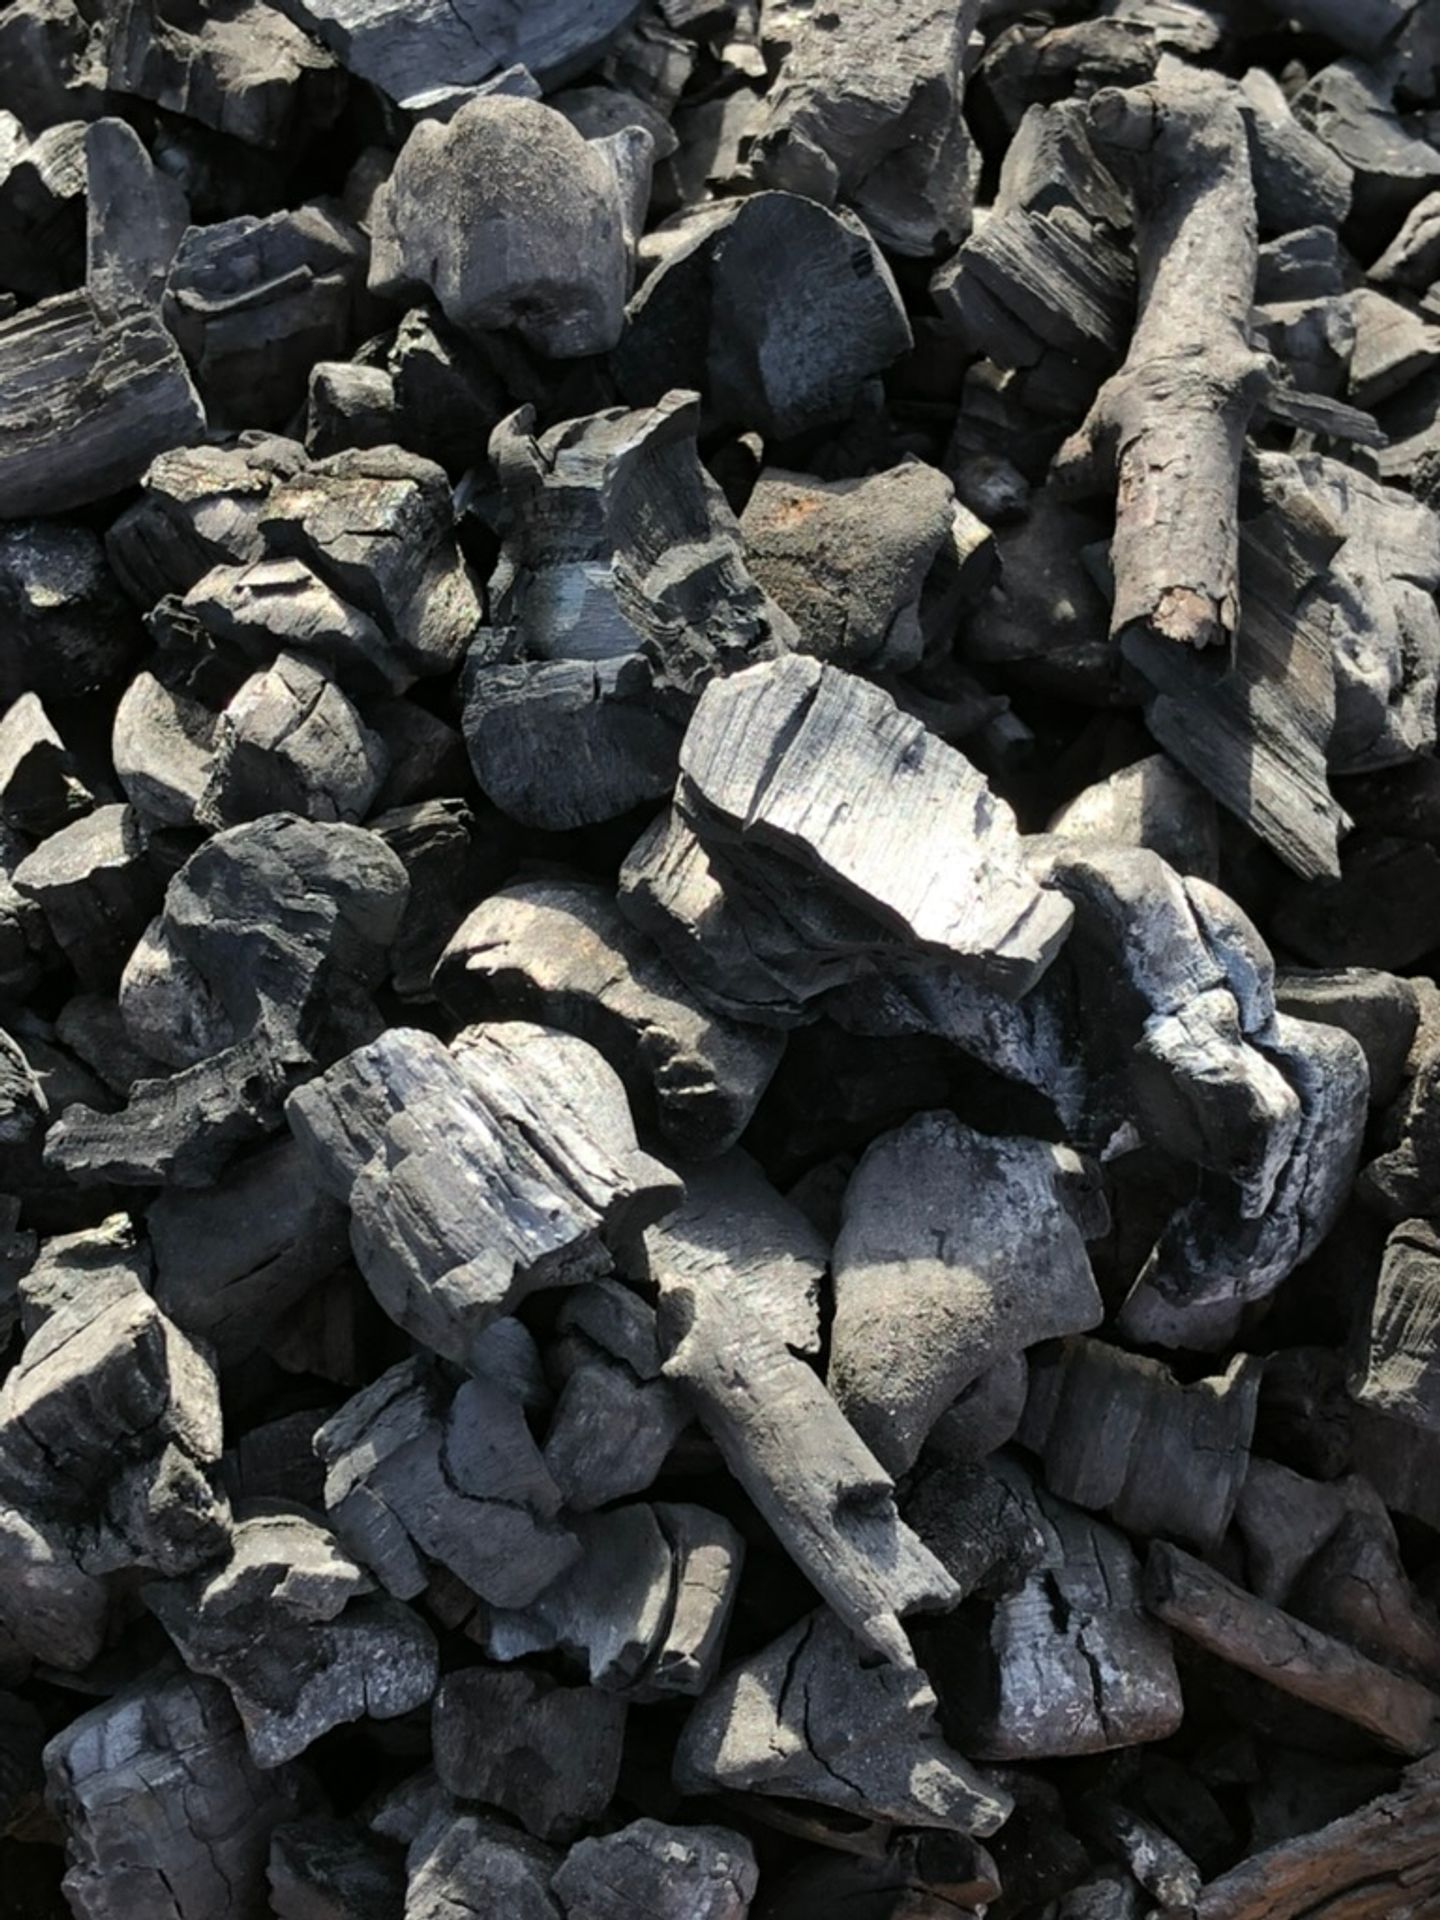
The charcoal looked and sounded superb. I read that good charcoal should sound like styrofoam in your fingers. And it did, which was very encouraging.
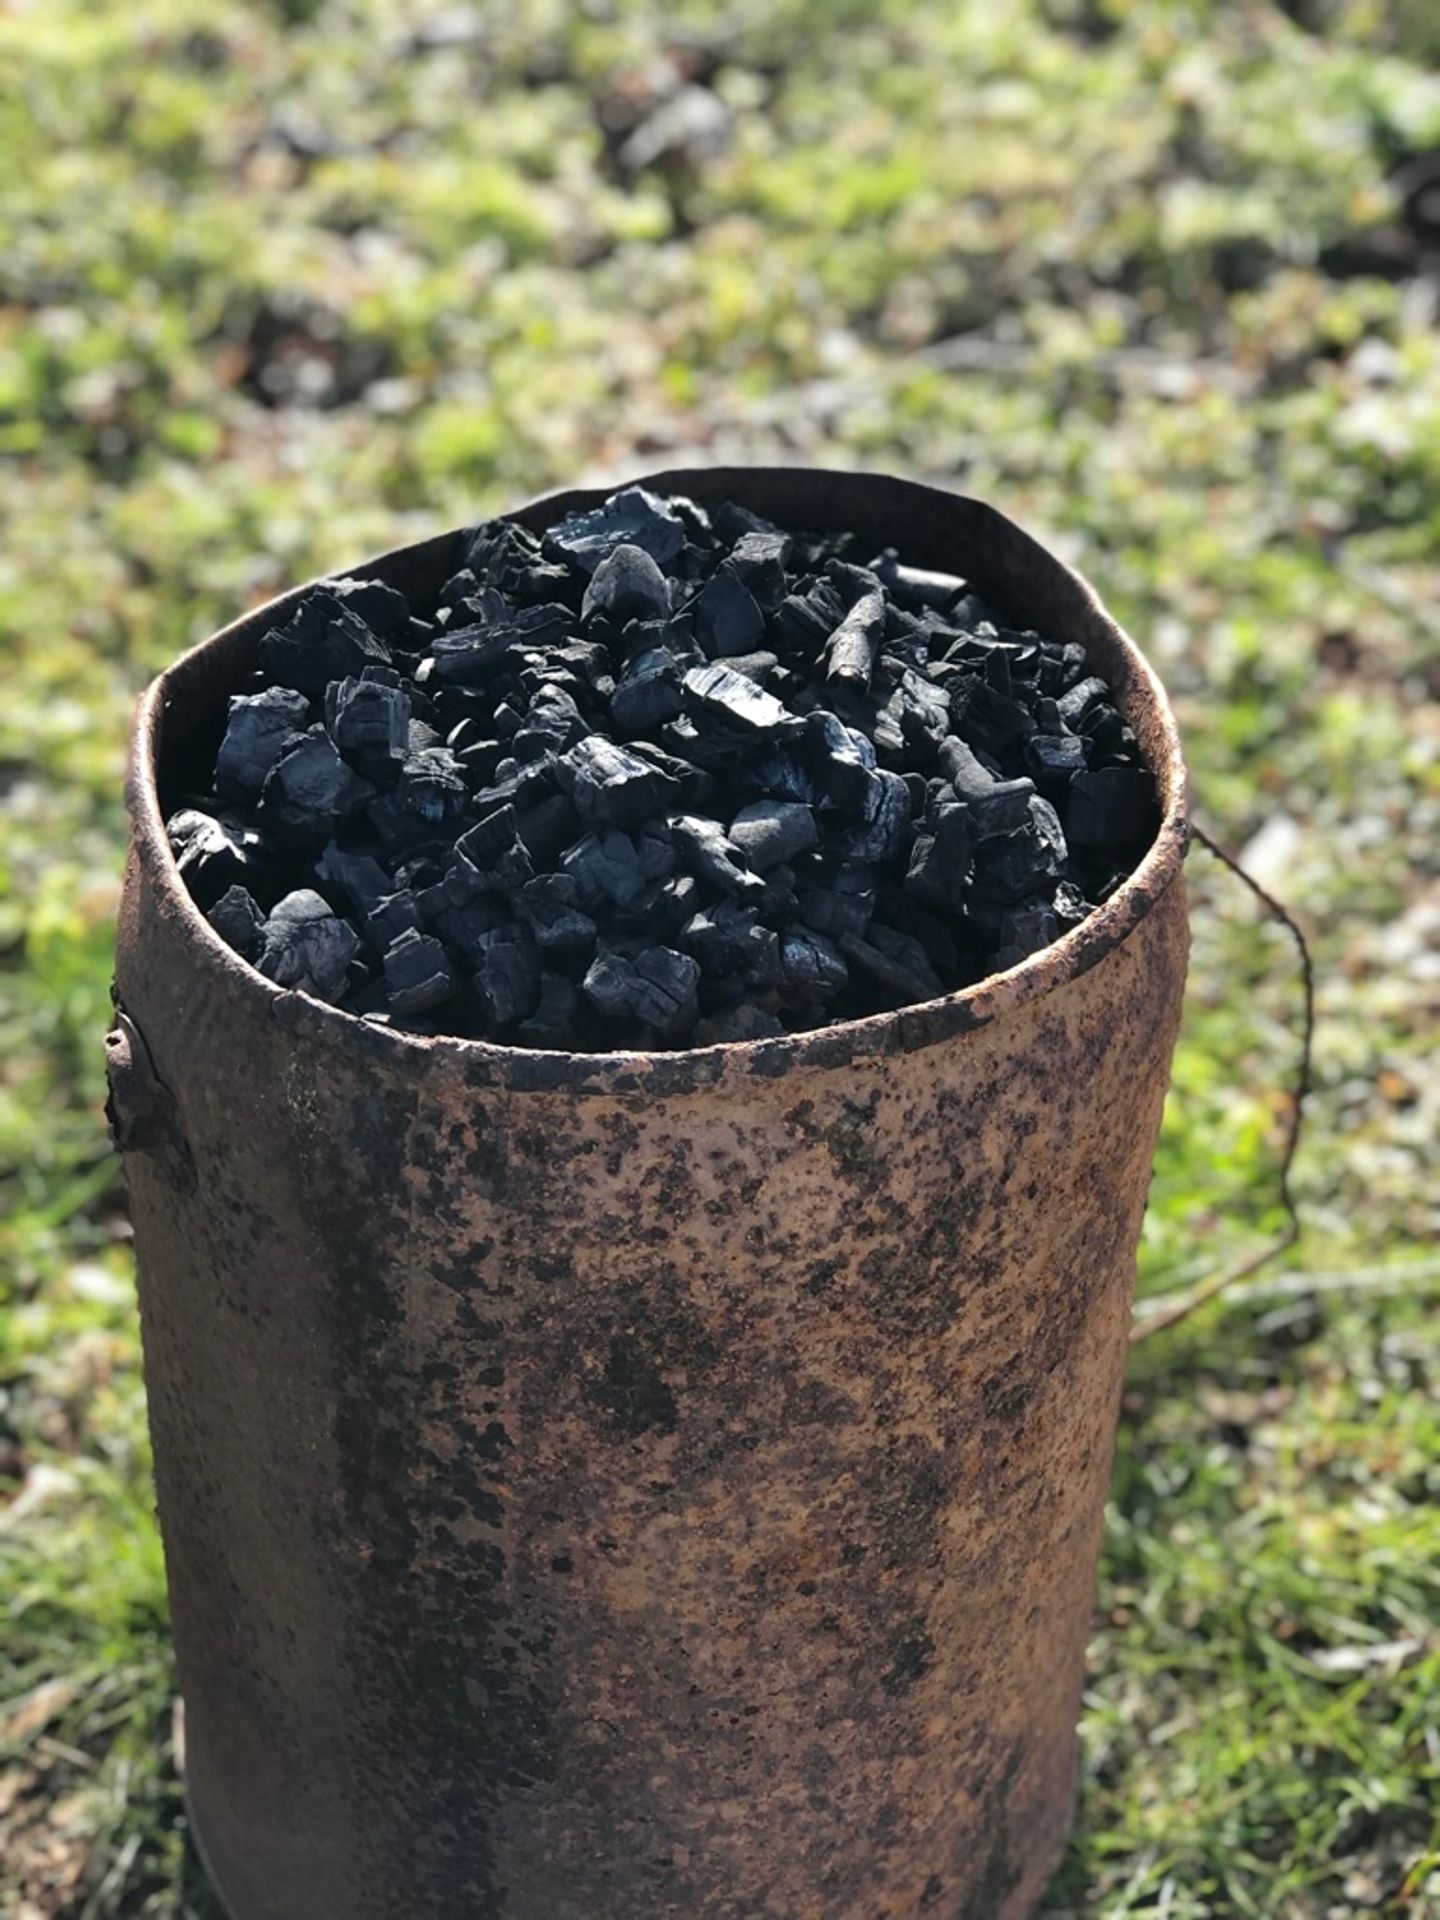
It was a decent yield. And a fairly relaxed process. I've tried it a few times, and I've had great results every time. And using it in the forge, wowzers does it ever make a difference. Cut down the 2-hour getting up to heat time down to 15 minutes or less. I'm never looking back, that's for sure.
Wrought Iron Candle Holder Agita All posts Have something to say or just want to get notified about new posts? Reach out!