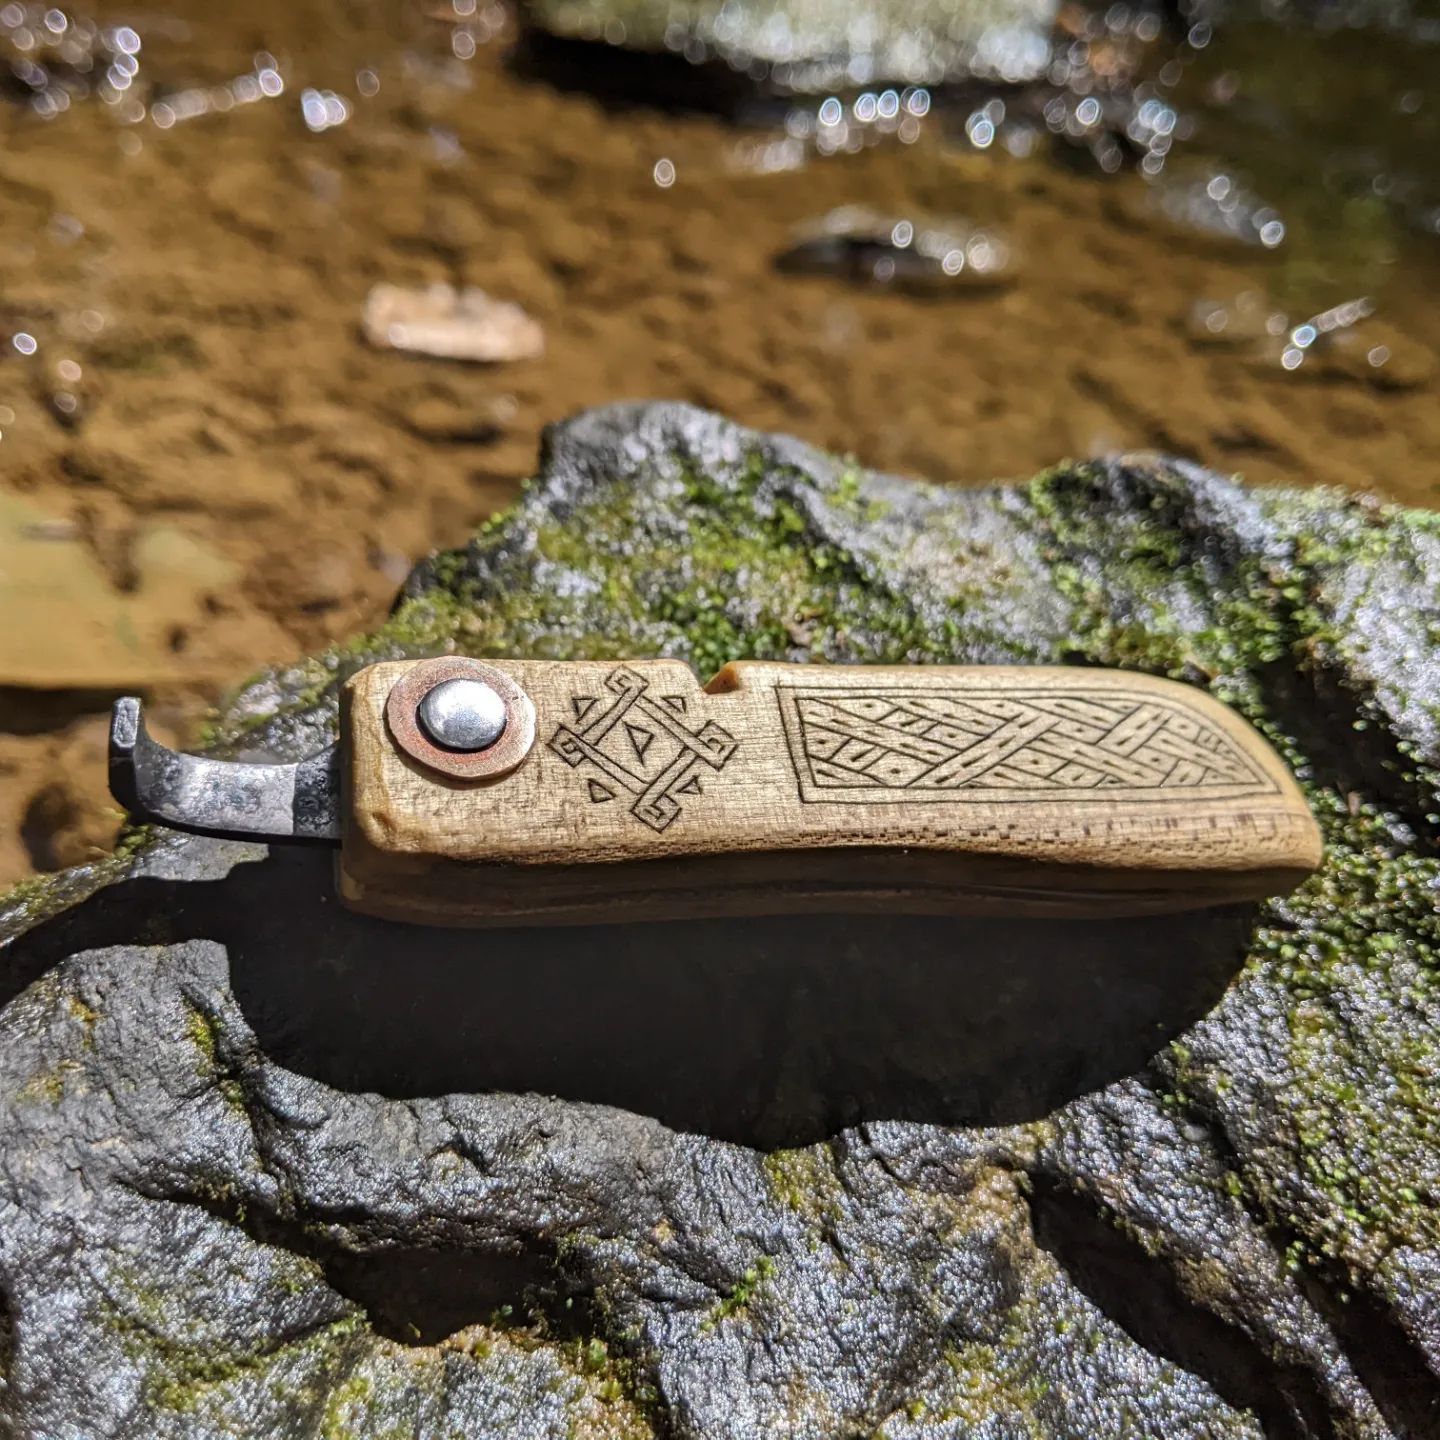
Peasant Knife
All postsSeptember 7, 2022
- blacksmithing
- woodworking
I did not expect to be making a pocket knife. Certainly not so soon. Yet, when I asked DJ Walker what he'd like me to make, he responded with a peasant knife. Thus the gauntlet was cast. And I, I am far, far too naive to have let it sit there. And so I was on the hook to make a peasant knife.
I am far, far too naive
I suppose it's fair to pose the question of what is a peasant knife? Essentially, it's a friction folding knife; a simple style of knife that has no mechanism for locking. And as the name implies, friction stops the blade from being all freely spinning around.
After doing some research on the subject, it appeared that most were quite simple and quite plain. The common way to stop the blade from rotating 360° seemed to be by adding another pin that the tang blocks up against. That seemed reasonable and all. But after seeing how straight razor handles work, maybe allowing the blade to rotate all the way around wouldn't be so bad. That is, as long as there is an optional way to stop it.
So, I came up with a simple design that would, in theory, allow just that.
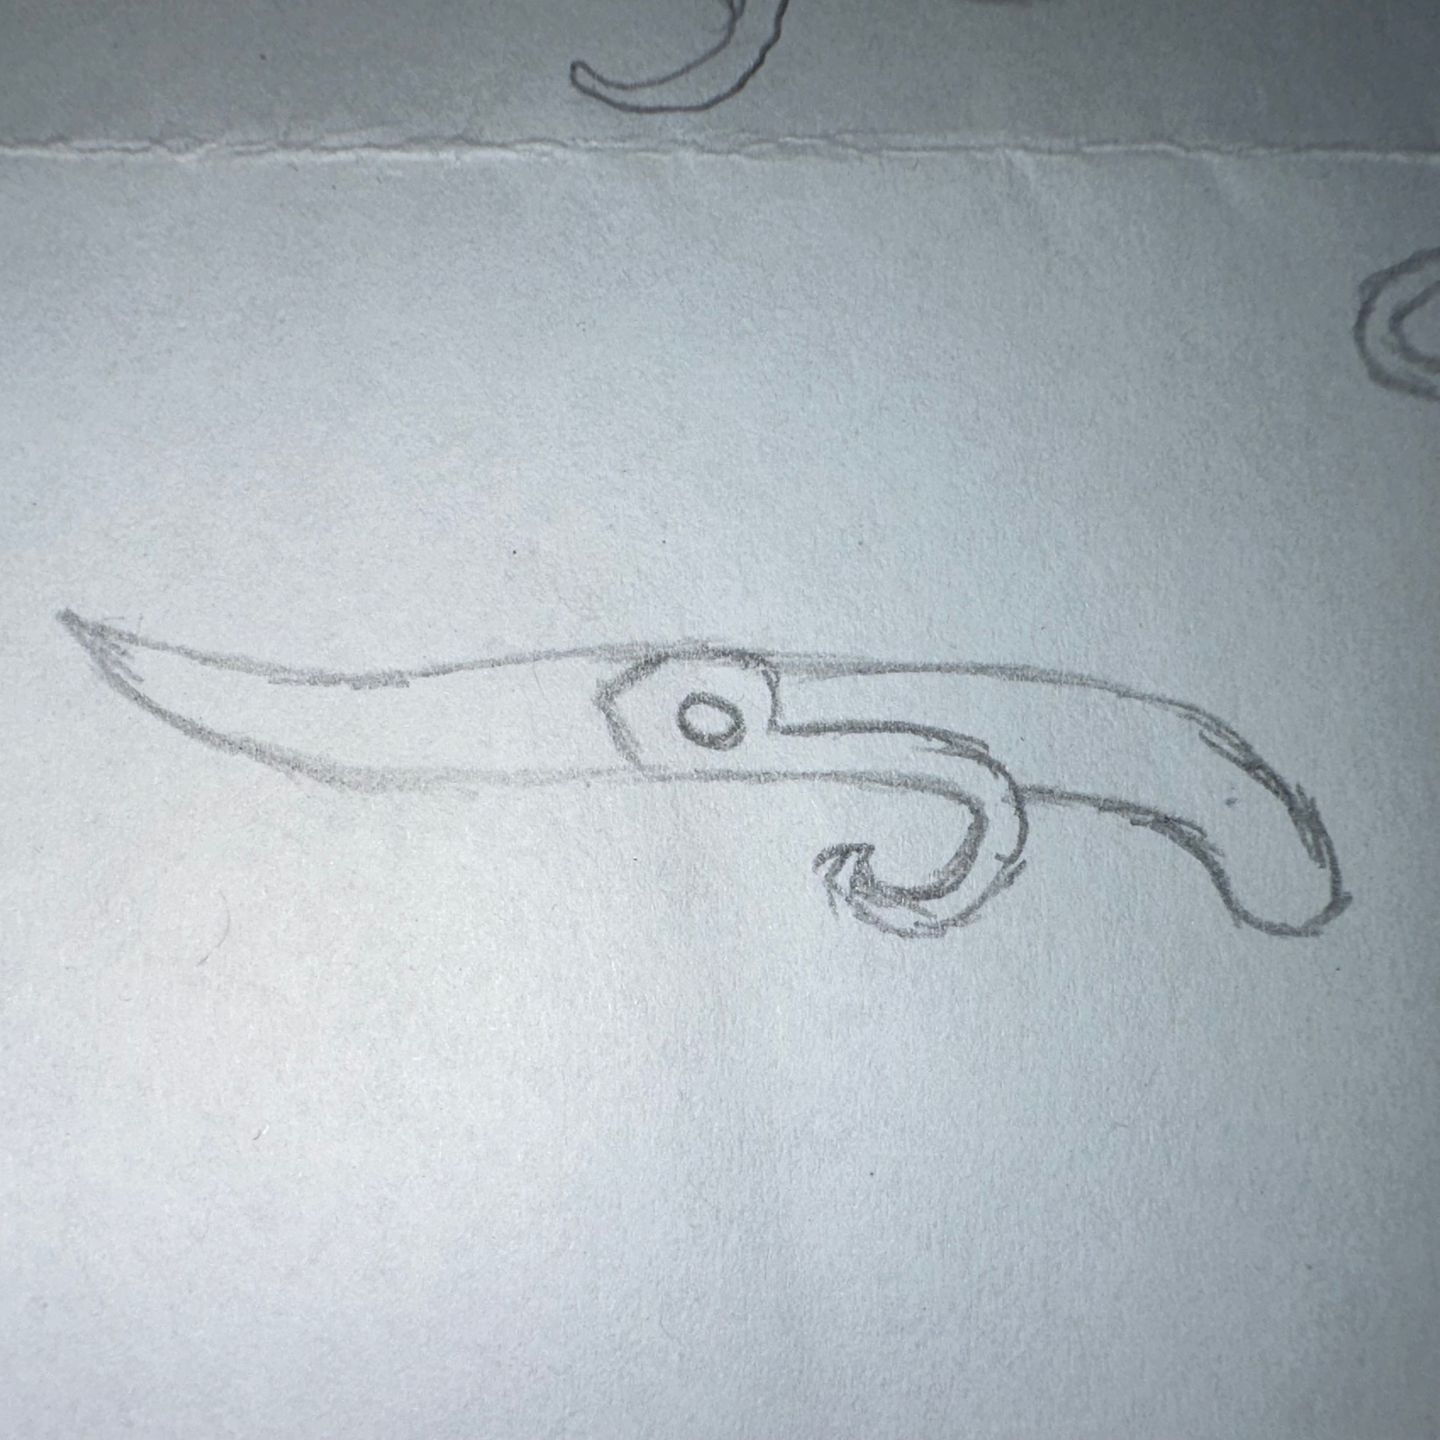
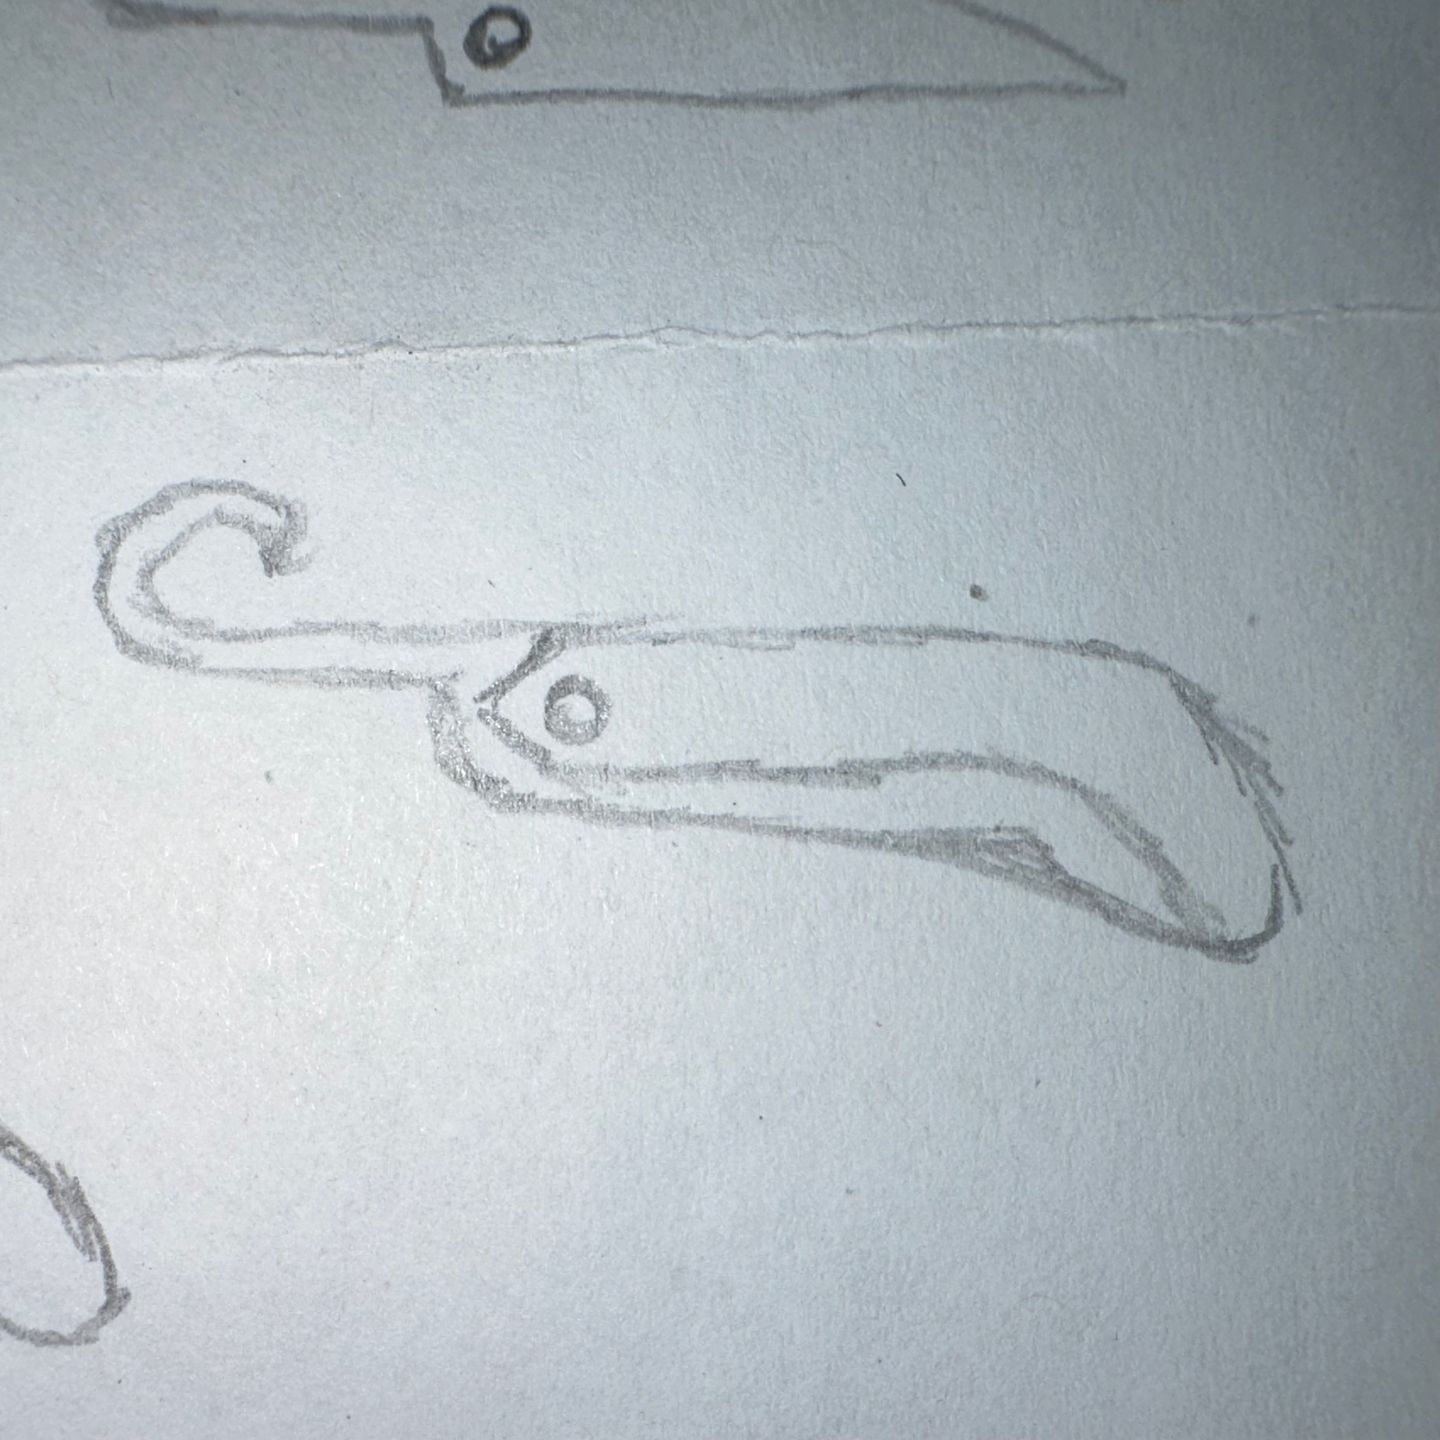
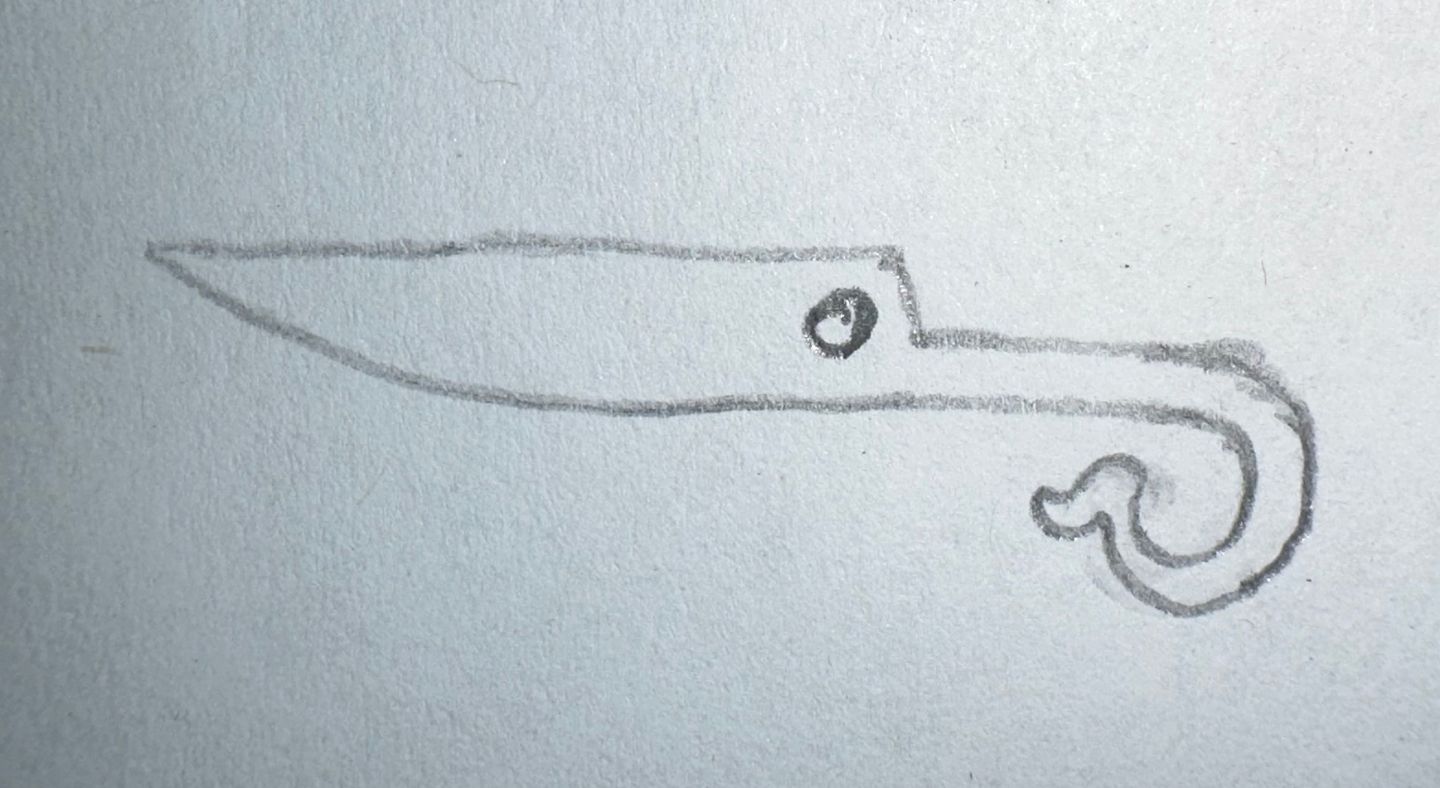
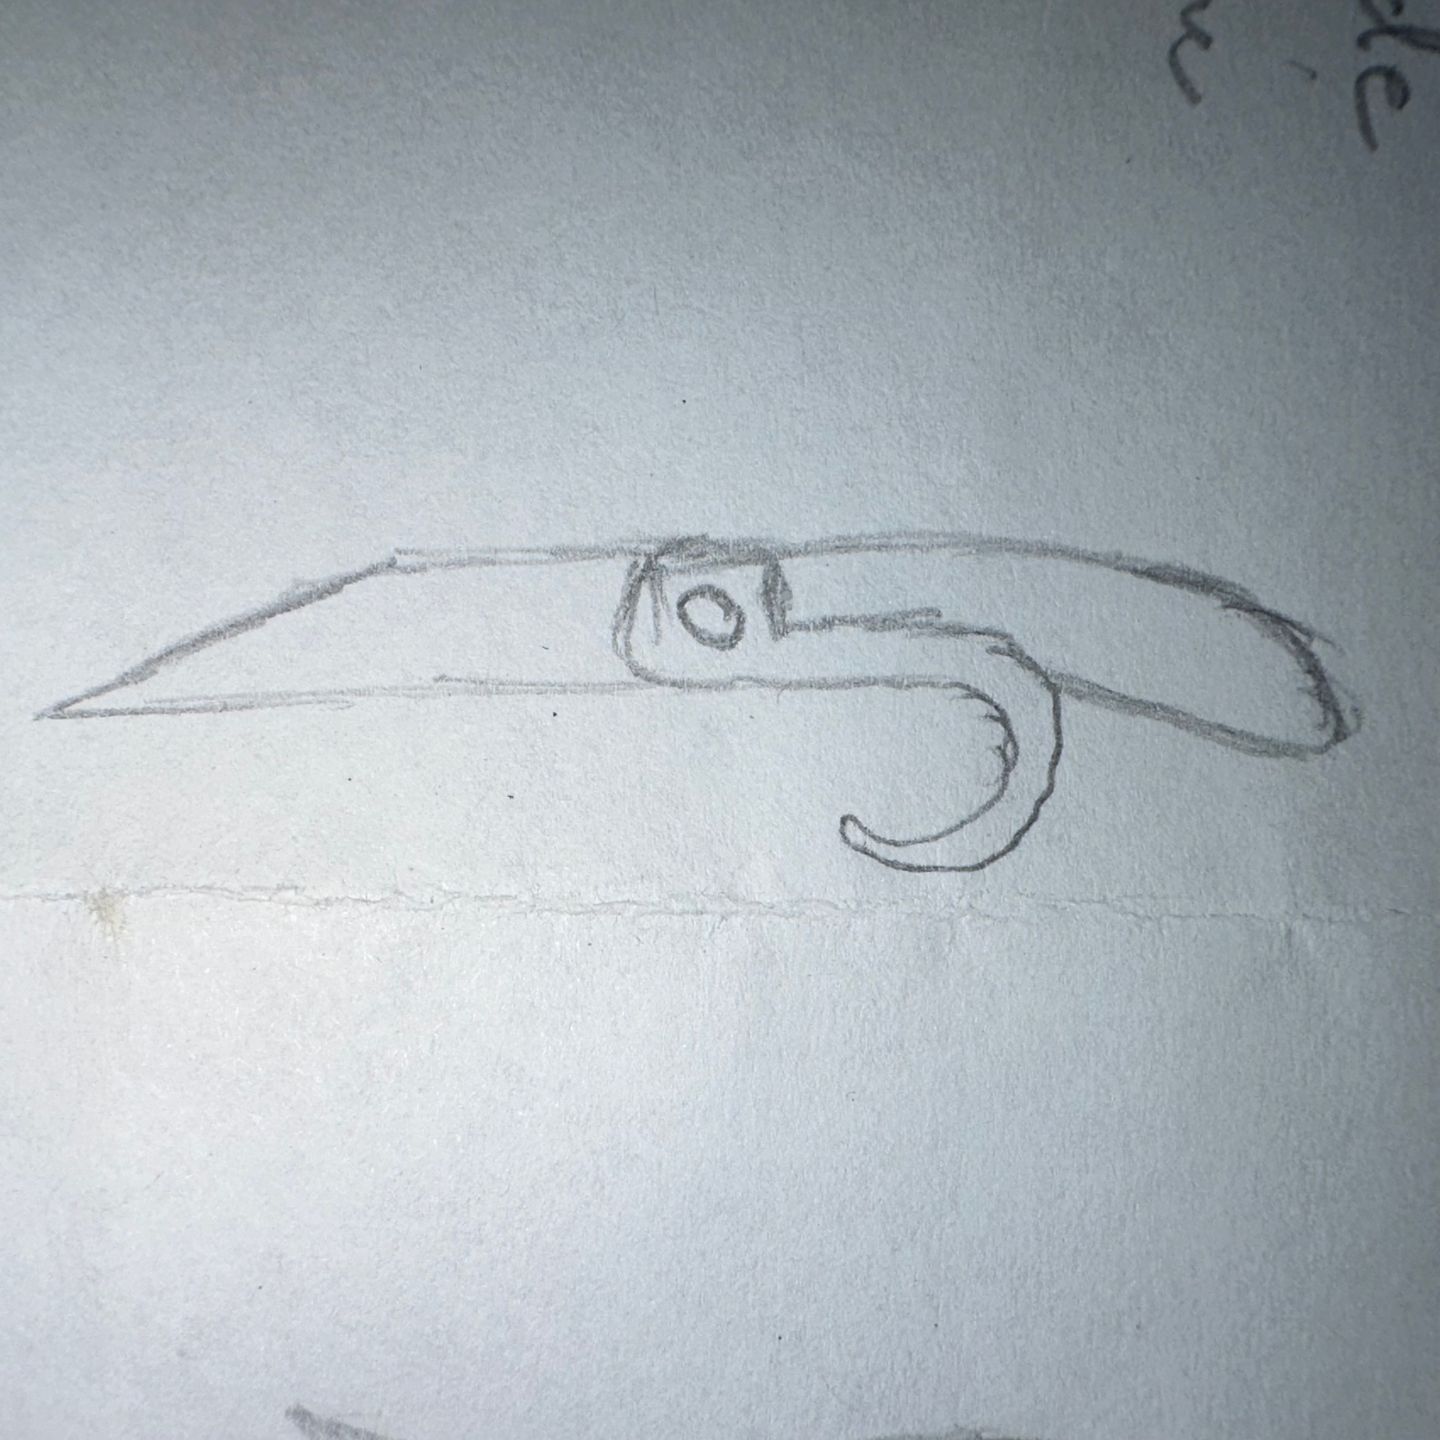
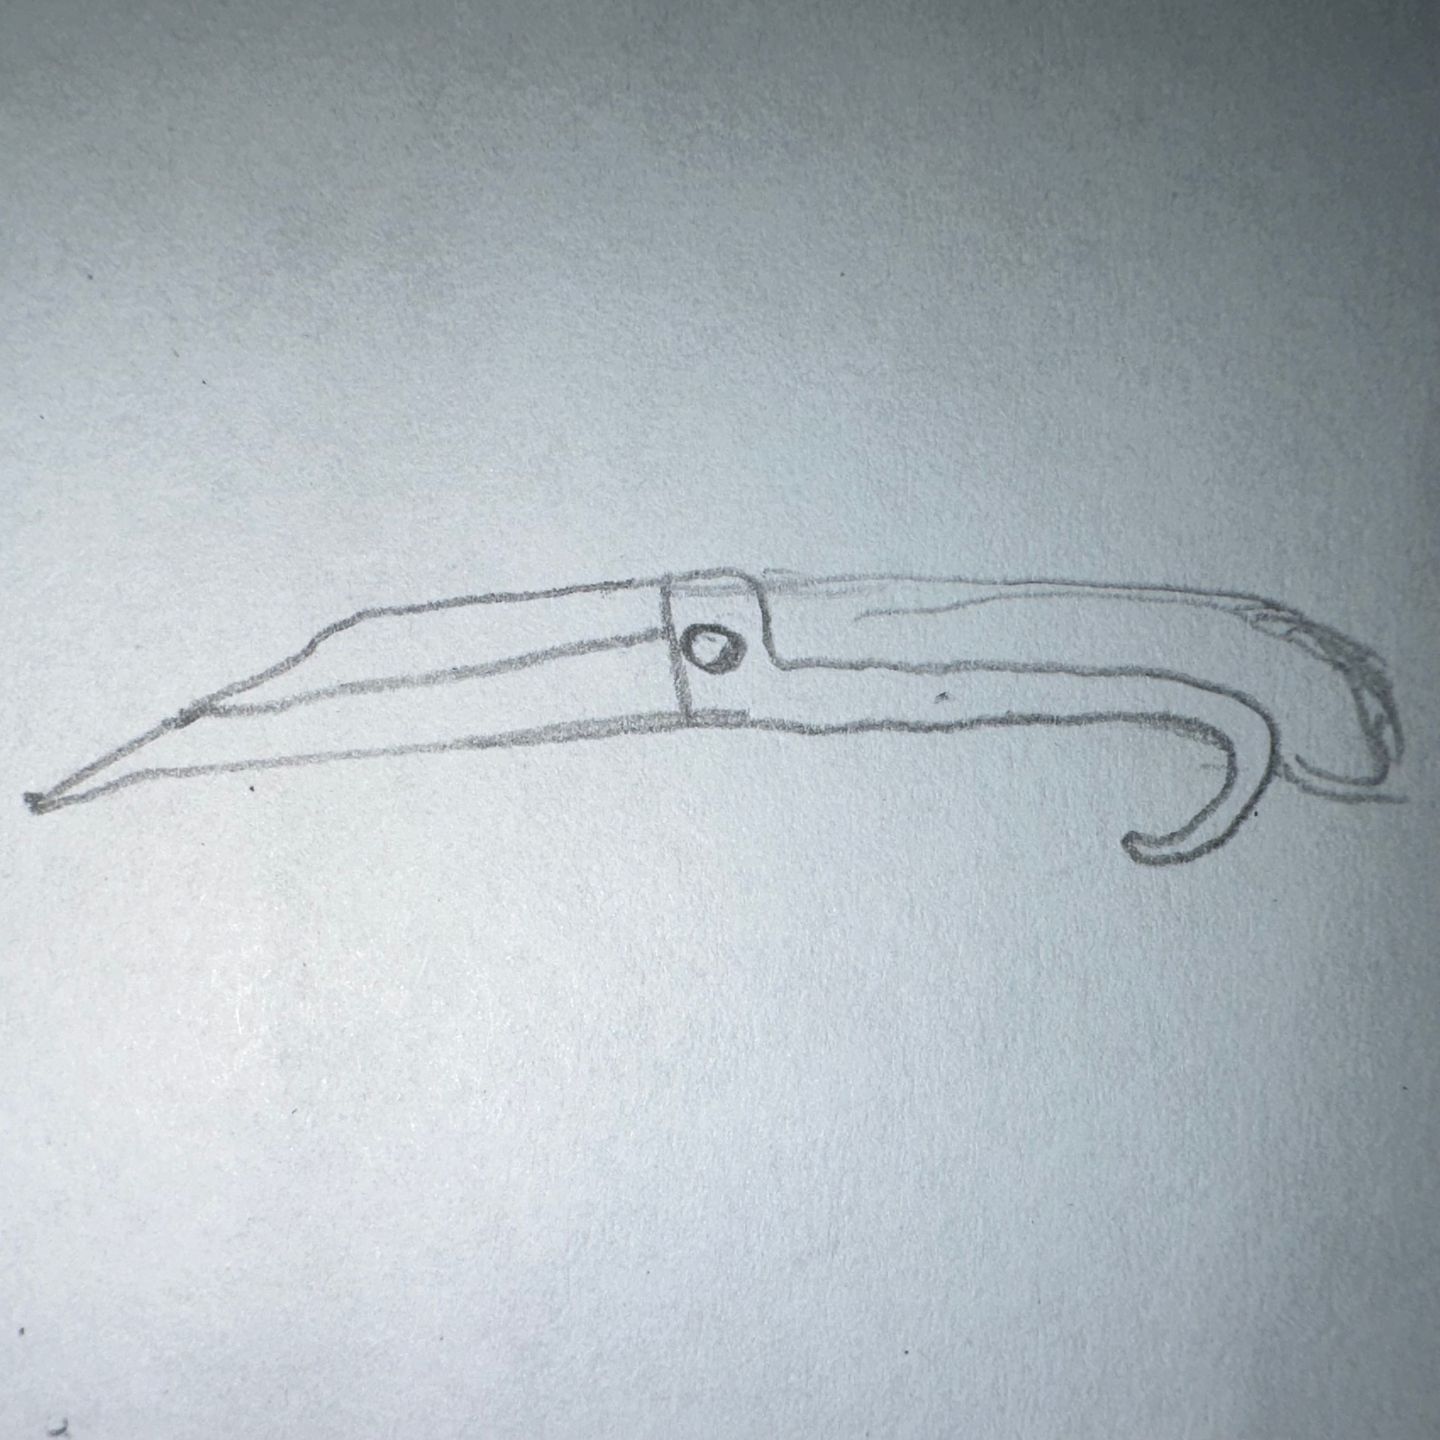
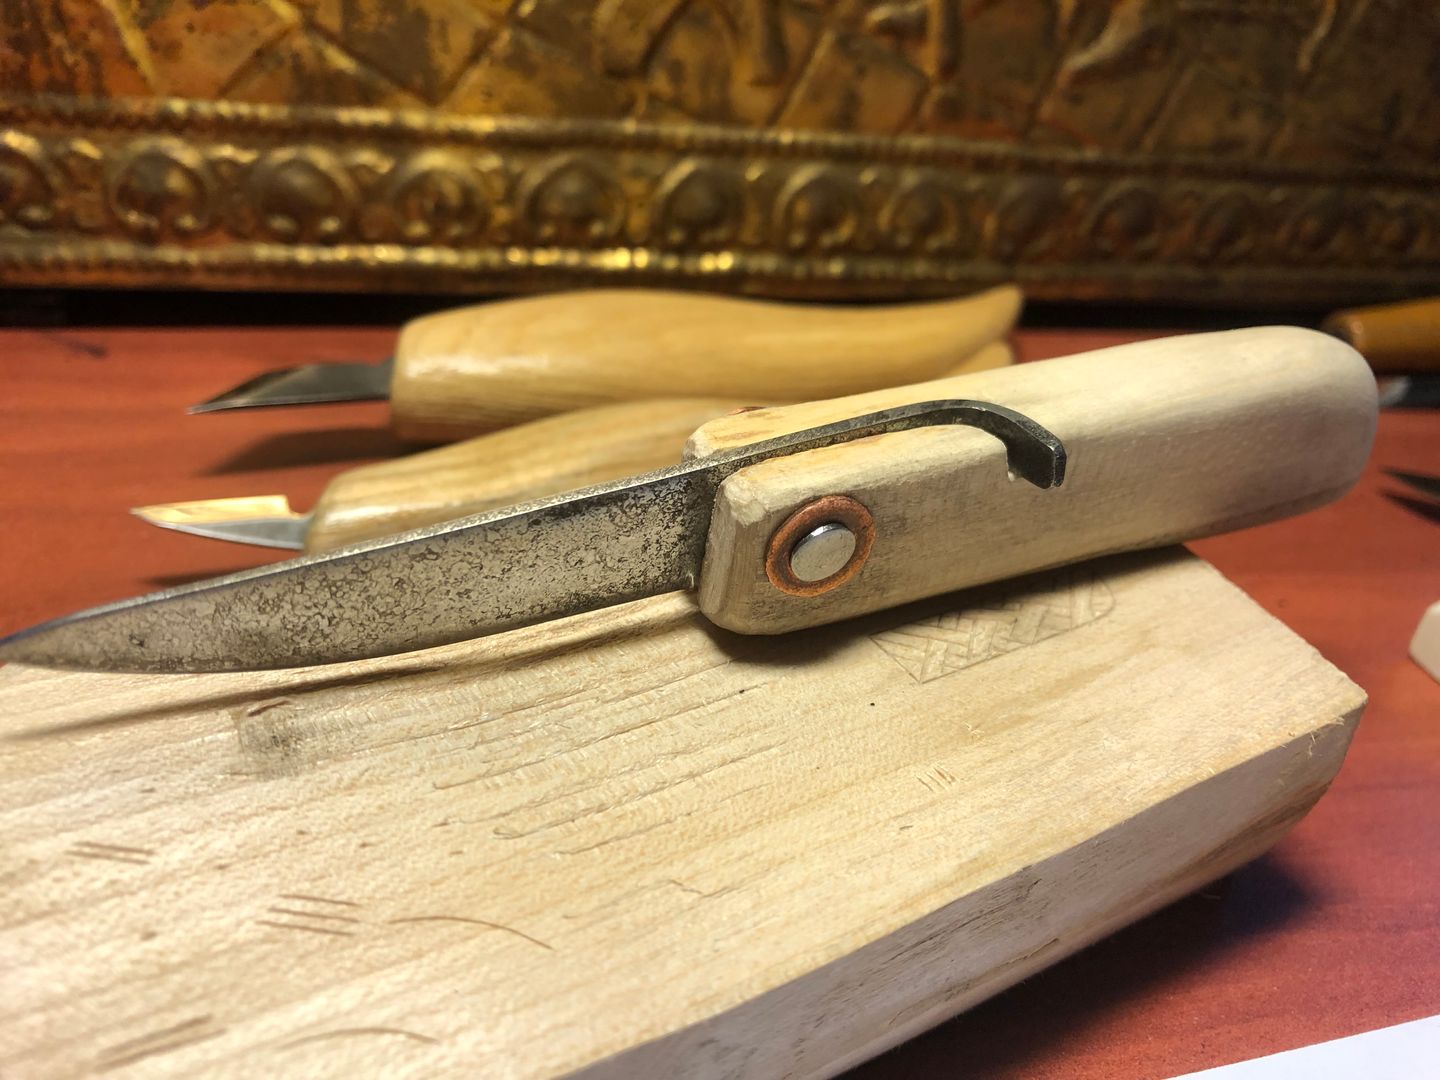
The loop at the end of the tang would hook onto a finger. That way, the blade would be locked so long a finger is holding it.
Now with this great plan in mind, it's off to the forge! I'm sure nothing could go wrong.
For the blade material, I'm using a piece broken off an old file. It was something I had dug in a nearby field (the one in view at my forge) that I detect regularly. In that field I've found coins dating back as far as 1793. So this could very well be off an old, old file.
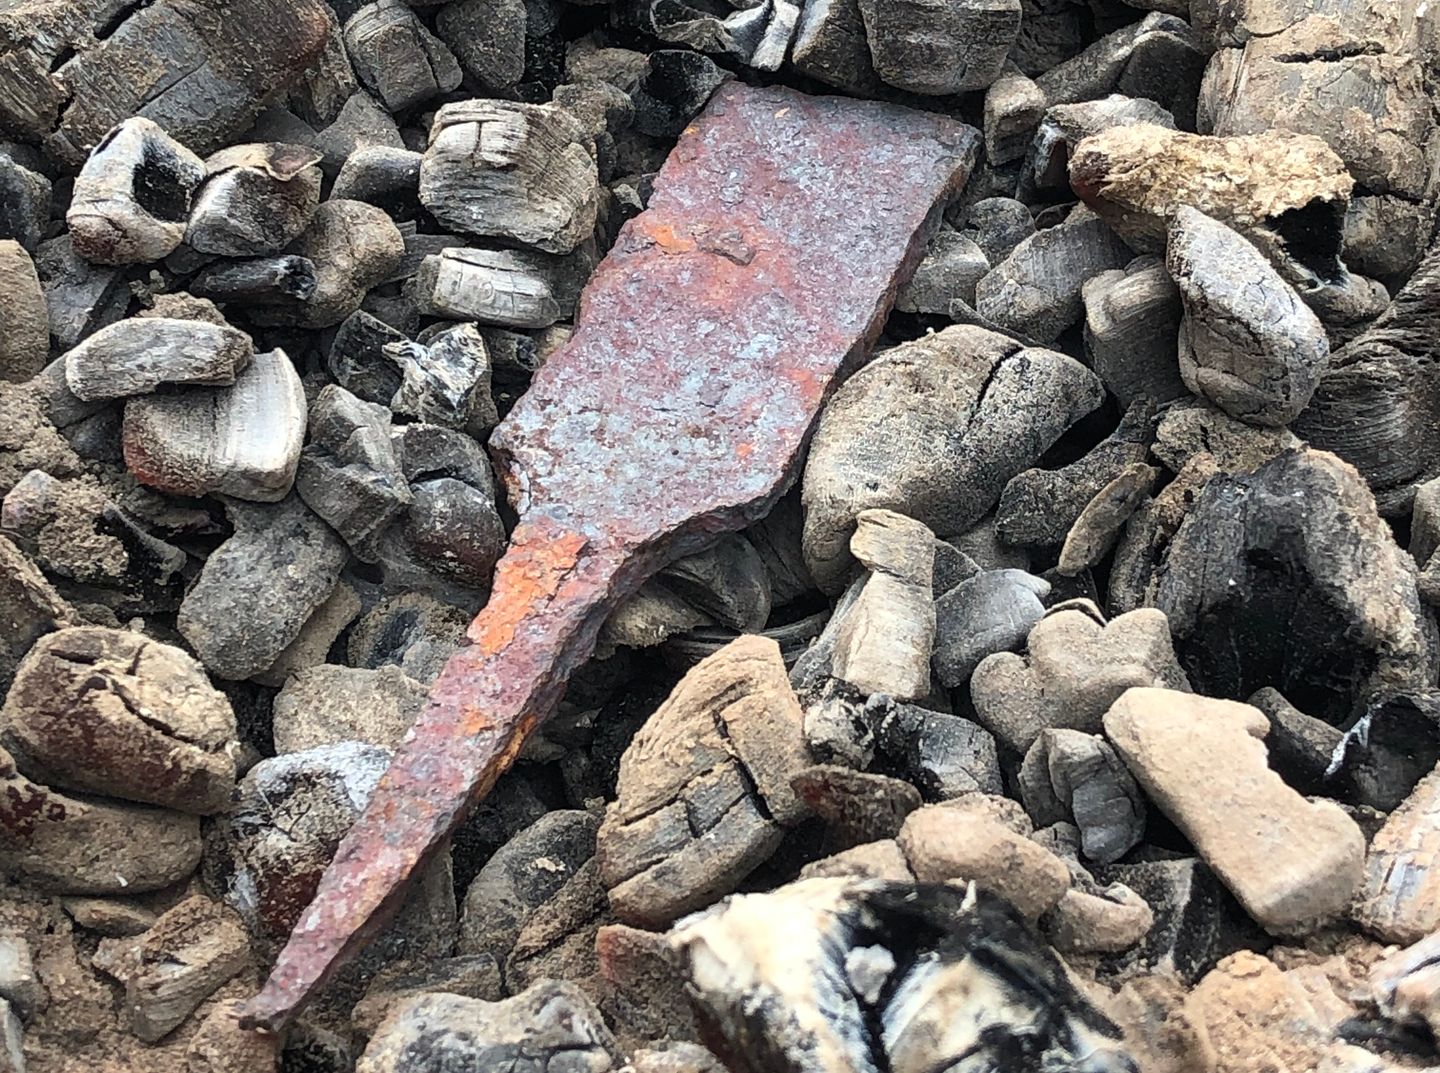
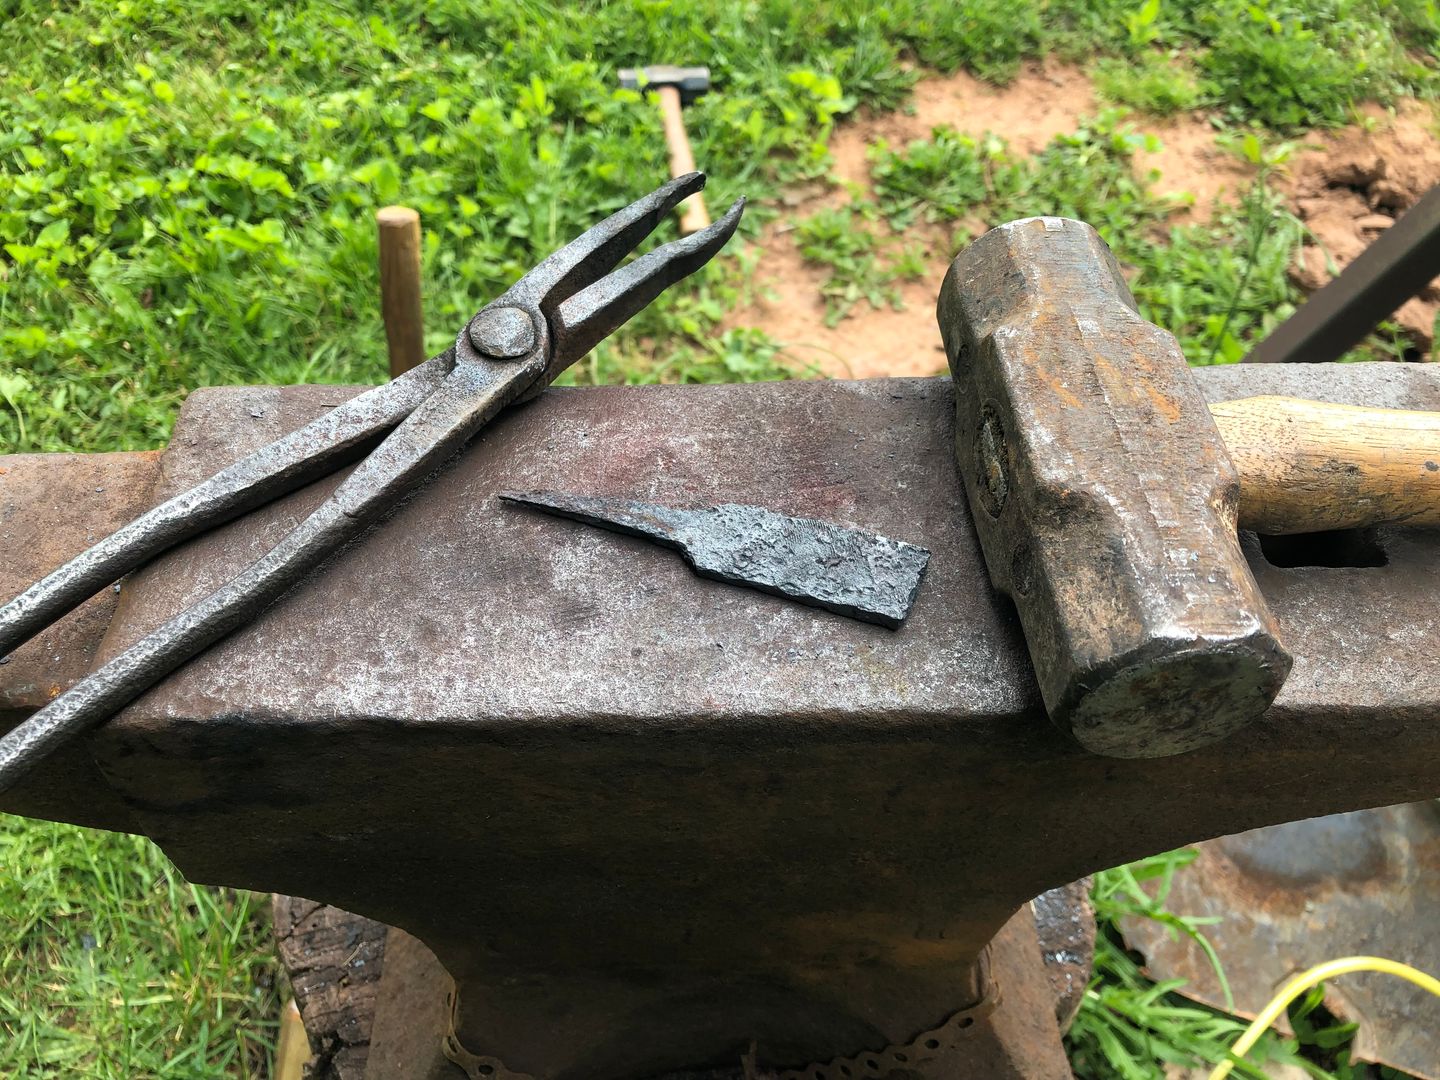
Now, I started with a decent amount of material. I lost quite a bit of it. In my defense, I had just previously learned to work wrought iron. I had developed the habit of working at a very high heat. Which, I learned the hard way, is nearly the opposite of what you want to do with such high carbon steel. Instead of being as workable as butter, it started literally crumbling! I lost about half the material. After doing some research, I learned to keep it to lower temps. On the plus side, that does mean that it should in fact be high carbon steel. And I didn't actually burn the steel, so I'd think (hope) that the carbon content is still intact.
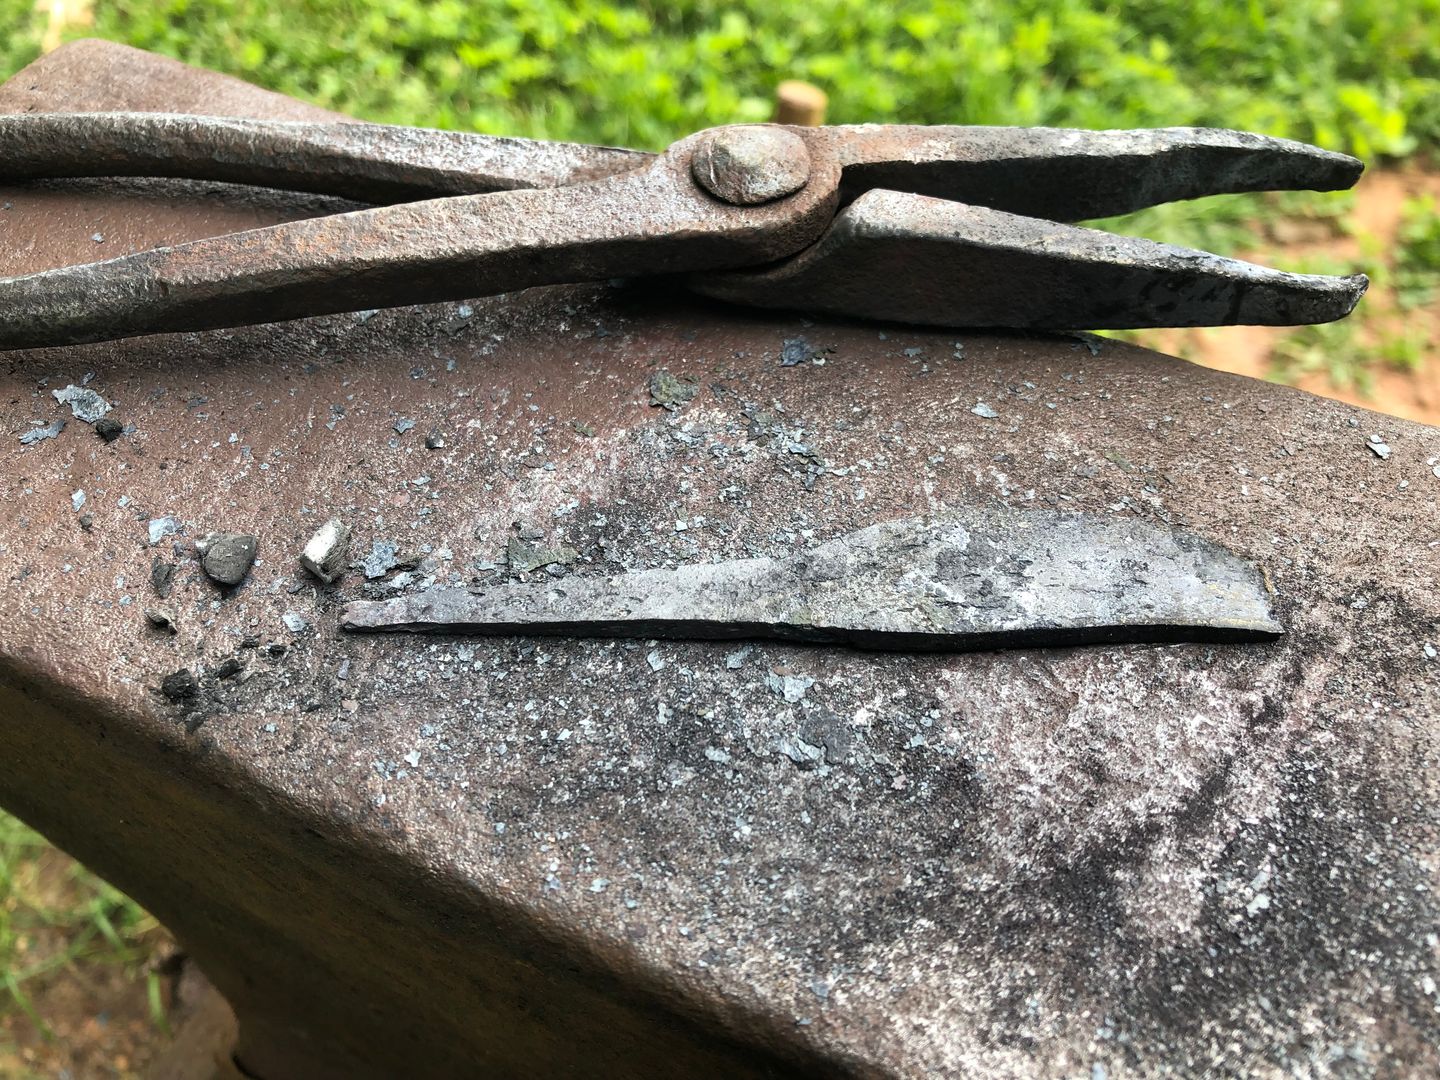
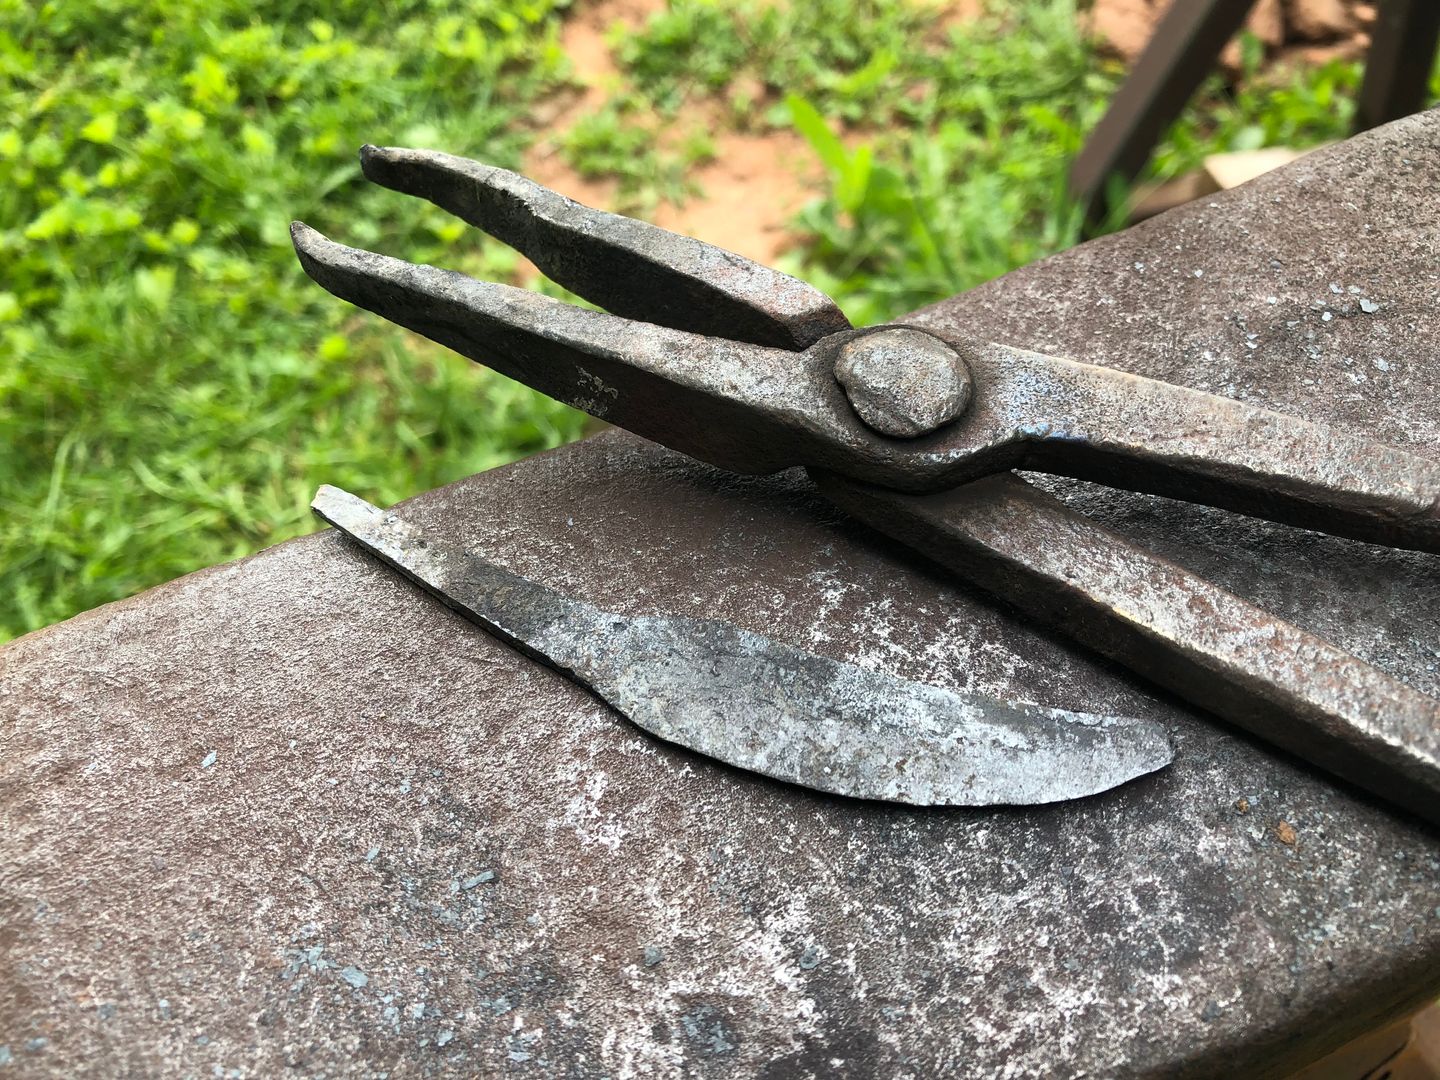
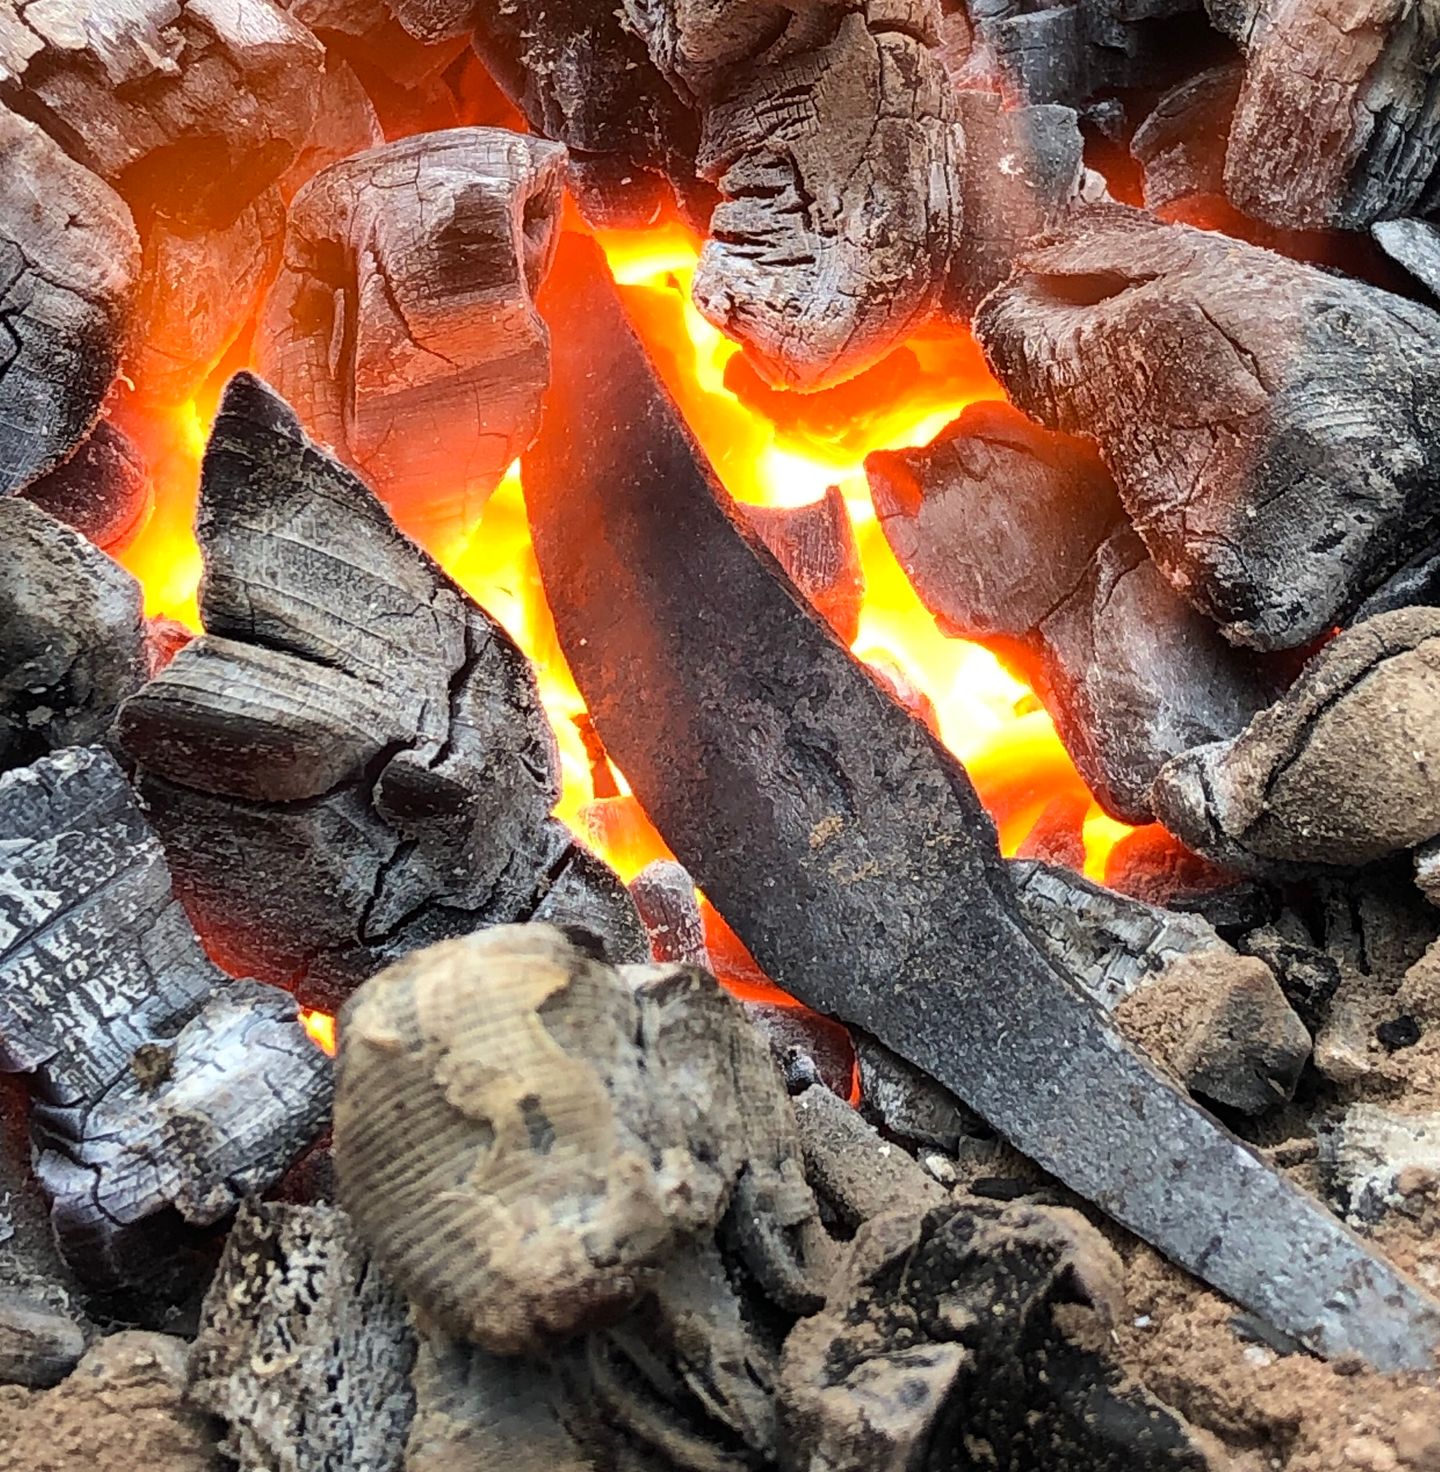
I drew out enough material to forge a nice long, slender tang. Which is rather delicate work given the size. And given my imperceivable finesse.
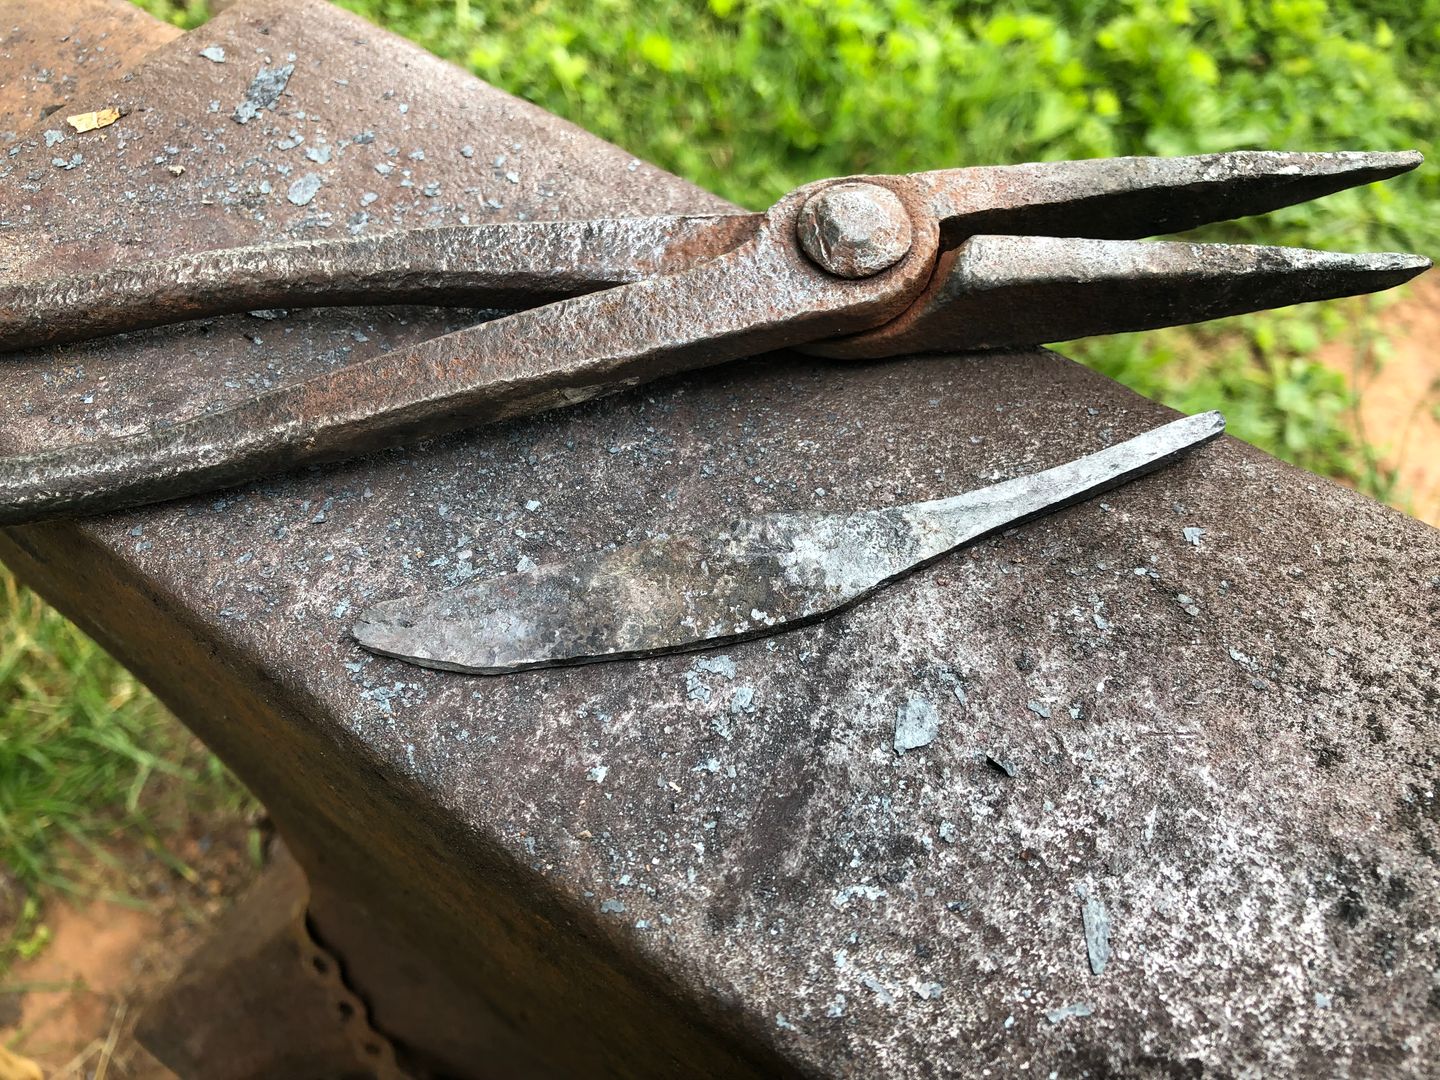
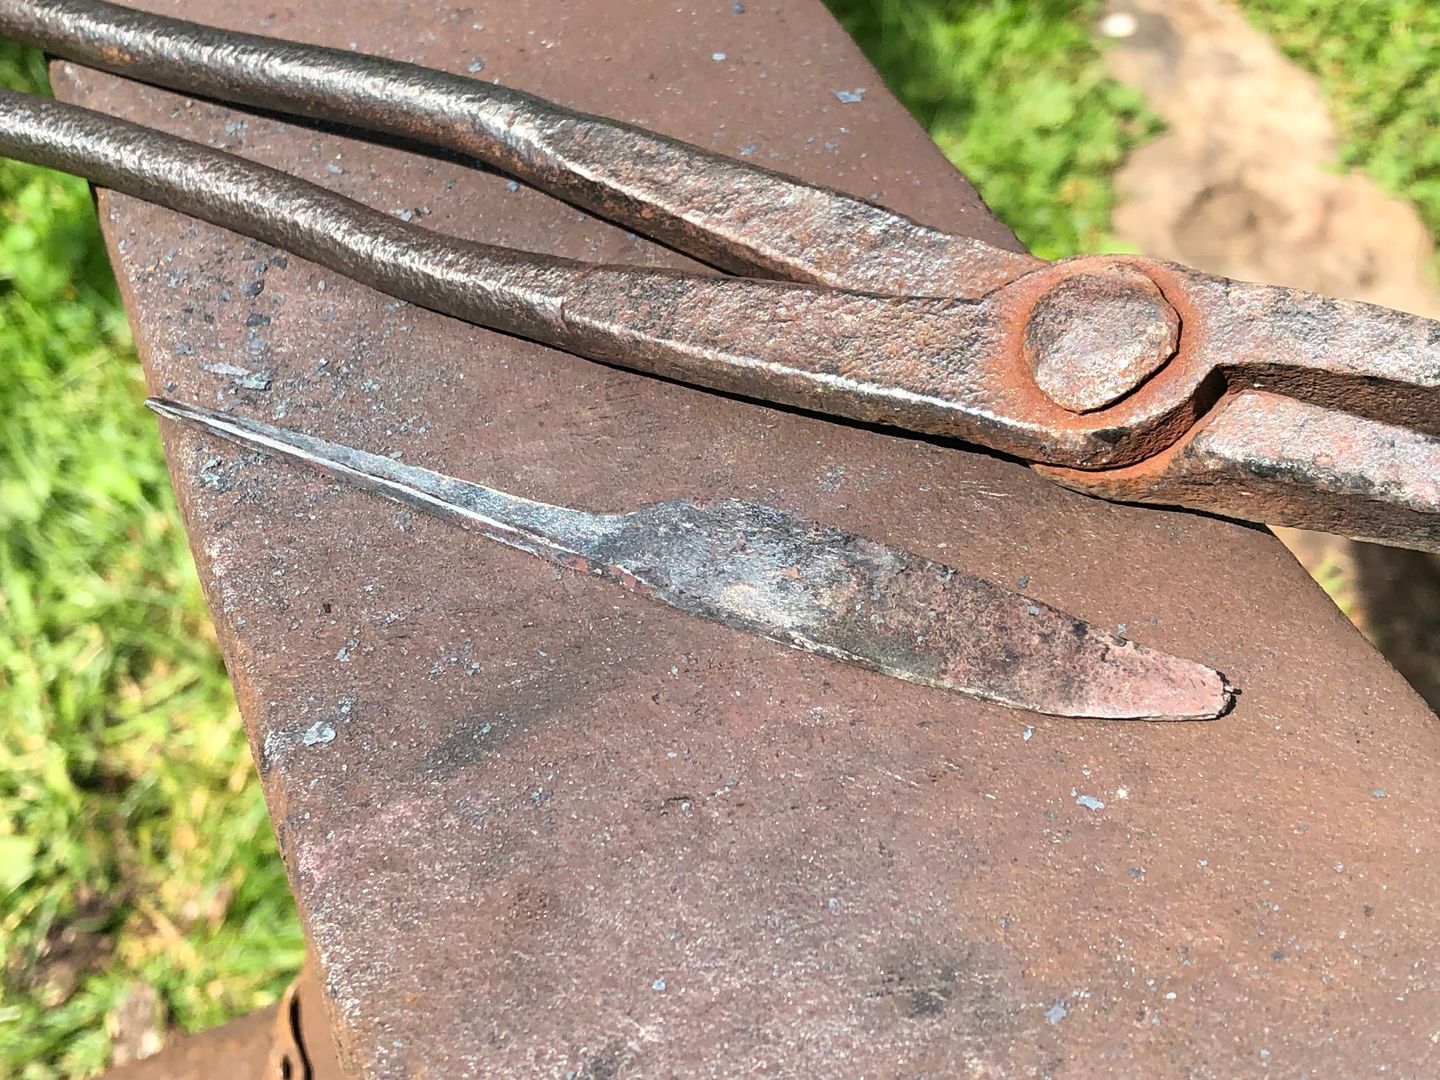
The tang is finally long enough. Time to start curling the finger hold.
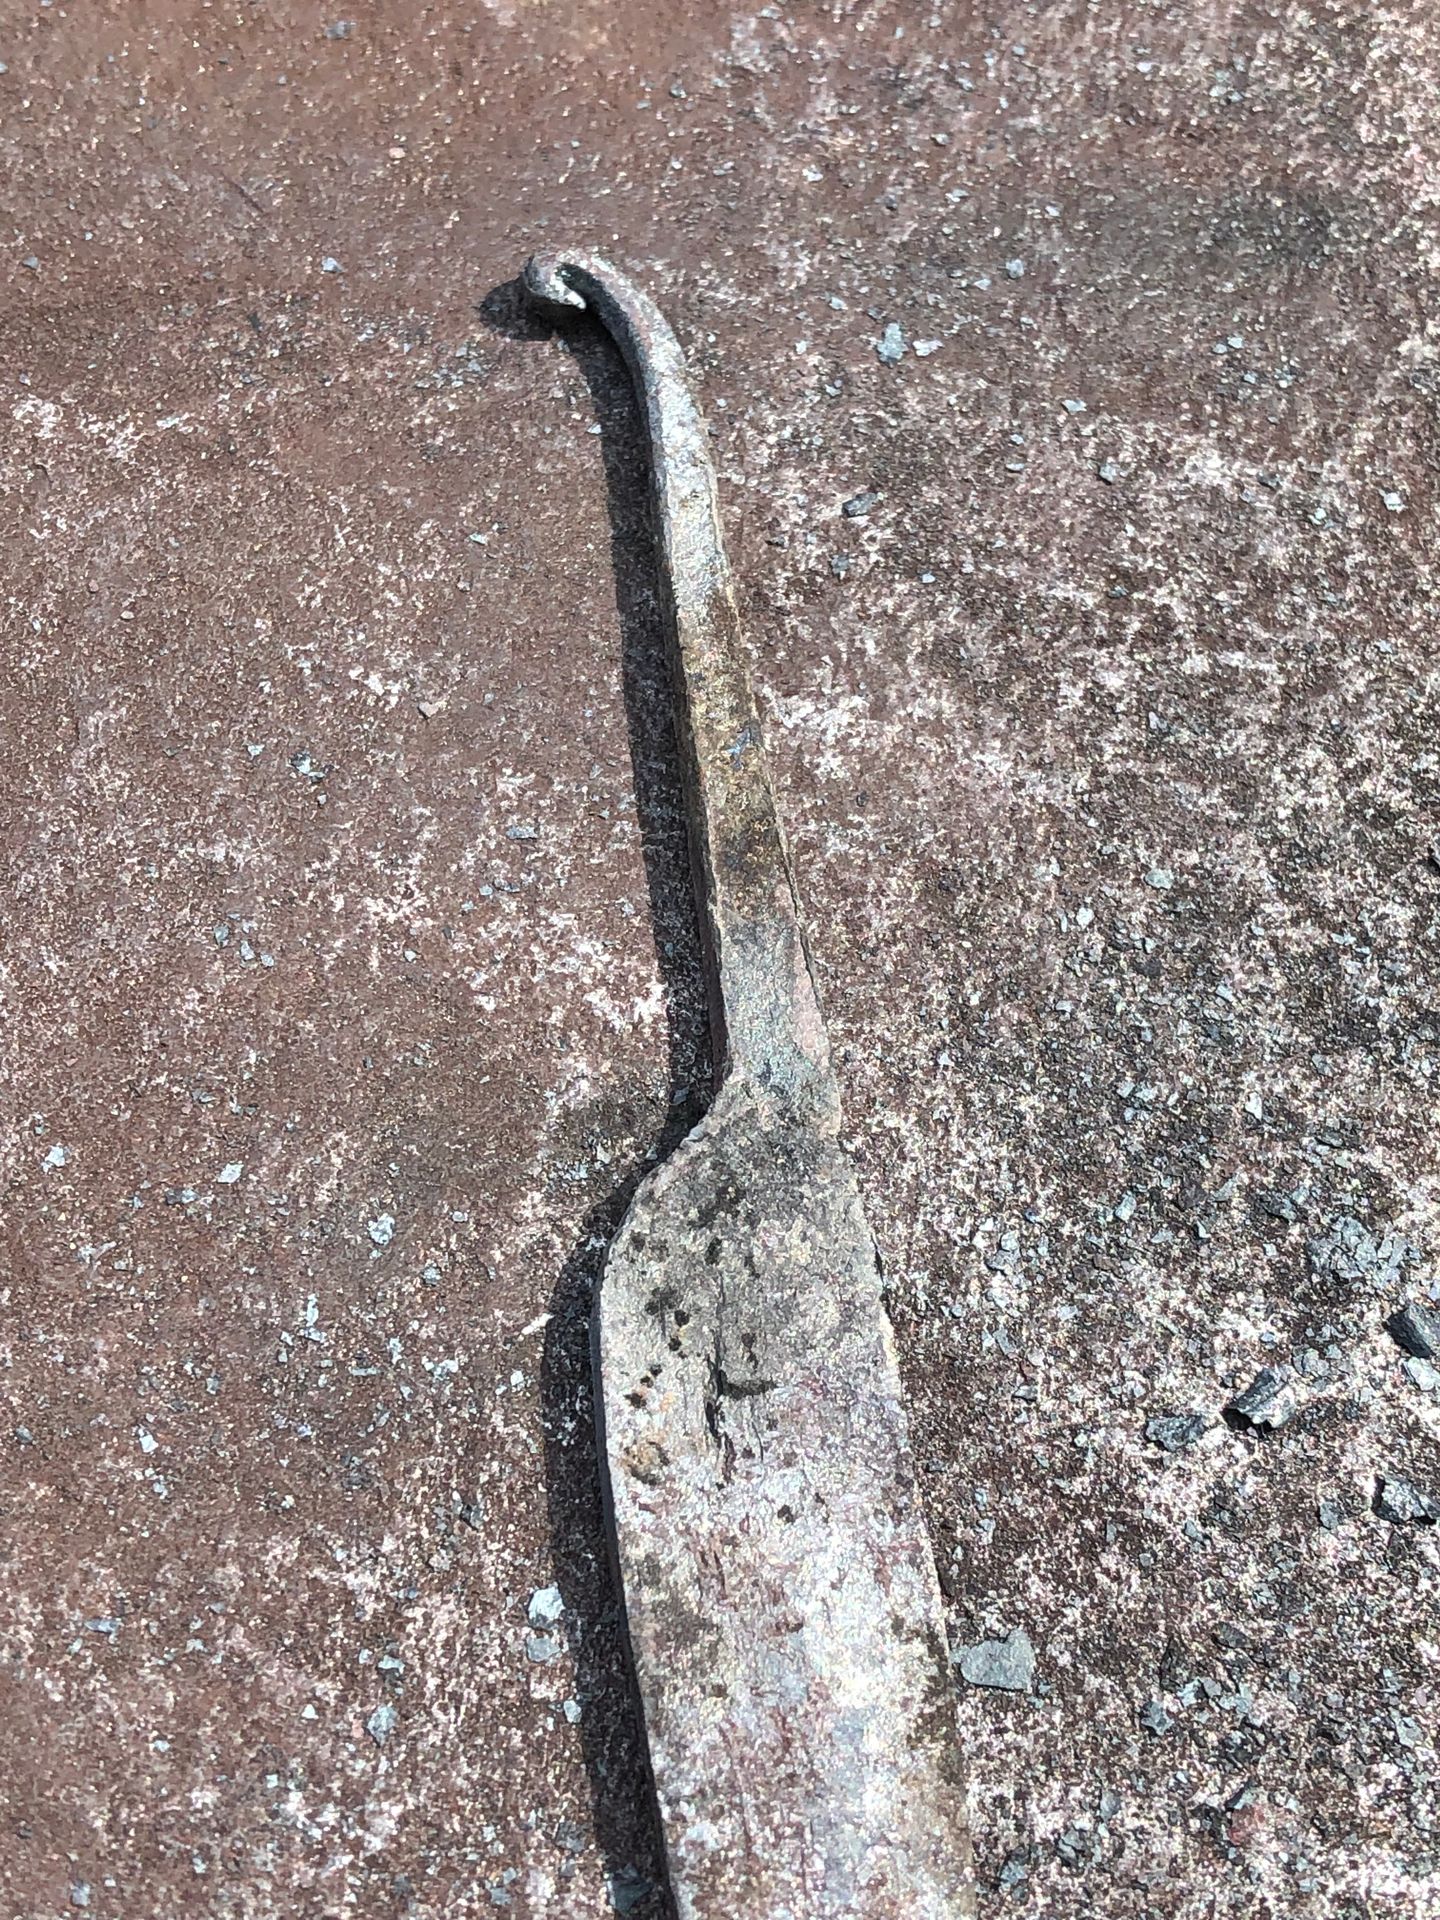
And then, shocker, tragedy struck once again. Half the tang burnt off in the fire. I had it too far down, near the air blast, and didn't use enough charcoal. So, what with the thinness of the tang and the jettison of oxygen, a mere lapse in vigil caused irreparable damage.
a mere lapse in vigil caused irreparable damage
I had just spent hours working on the fine drawing of the tang. I just stood there, a good couple minutes, in silent indignation.
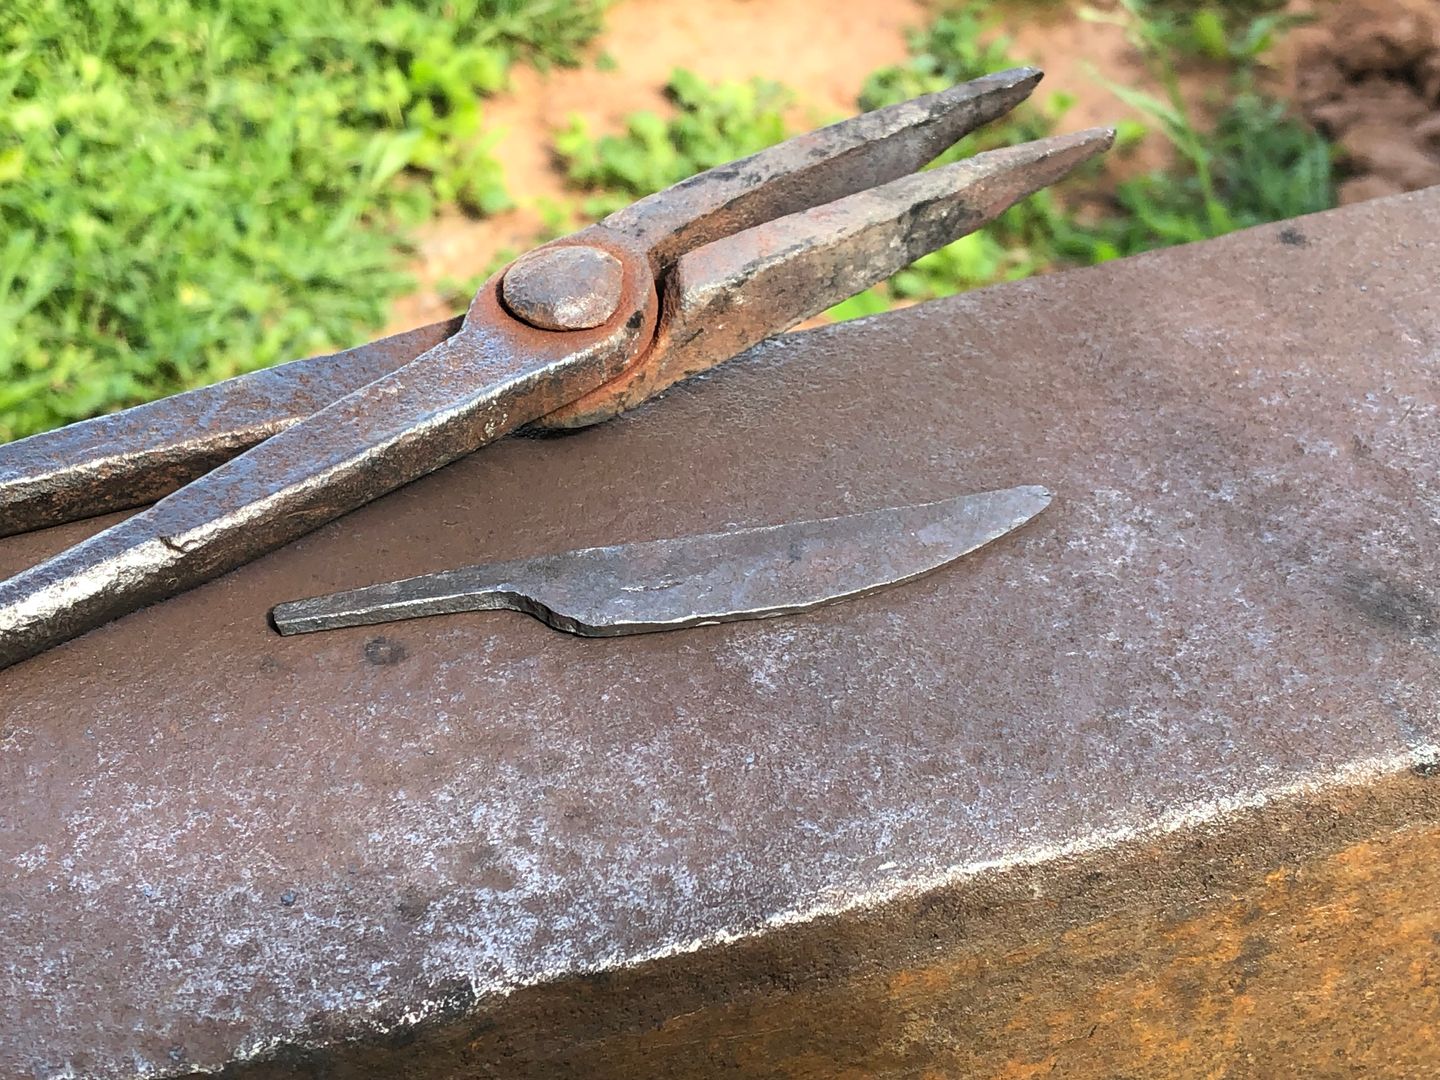
But, what can you do? Time for a design pivot. If everyone else just uses a second pin to stop the tang then so be it. Who am I to buck the trend.
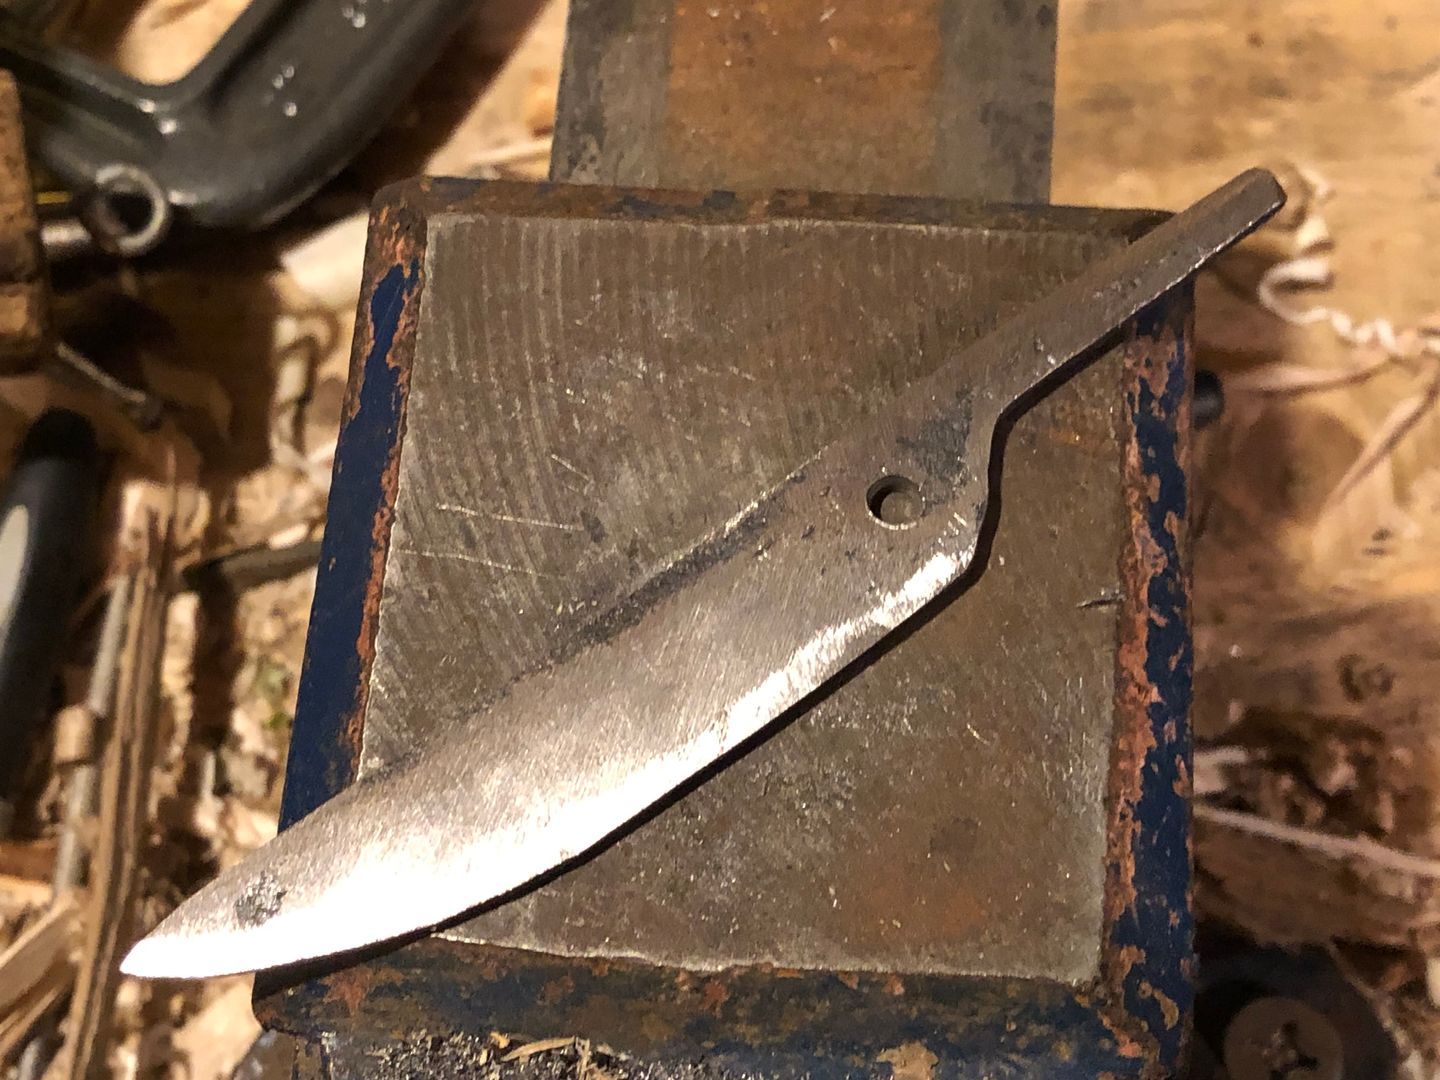
Actually I take it back. I don't, in fact, need a second pin to block the tang. What if we just bent part of the tang 90° and cut a notch in the handle. The blade could then push against the handle instead of just a pin. And the protrusion of tang can be used to open and close the knife with your thumb.
And then I made the mistake of being lazy. I figured I could just use my little butane torch to heat the tang enough to bend. So I mounted the knife in my vice (which acted as a heat sink) and gave it a shot. And I snapped half of the already shortened tang.
I snapped off half of the half I hadn't burnt
And so I just cleaned up the bevels. Sanded out the scratches. Drilled the pin hole (with an egg beater drill; which took forever).
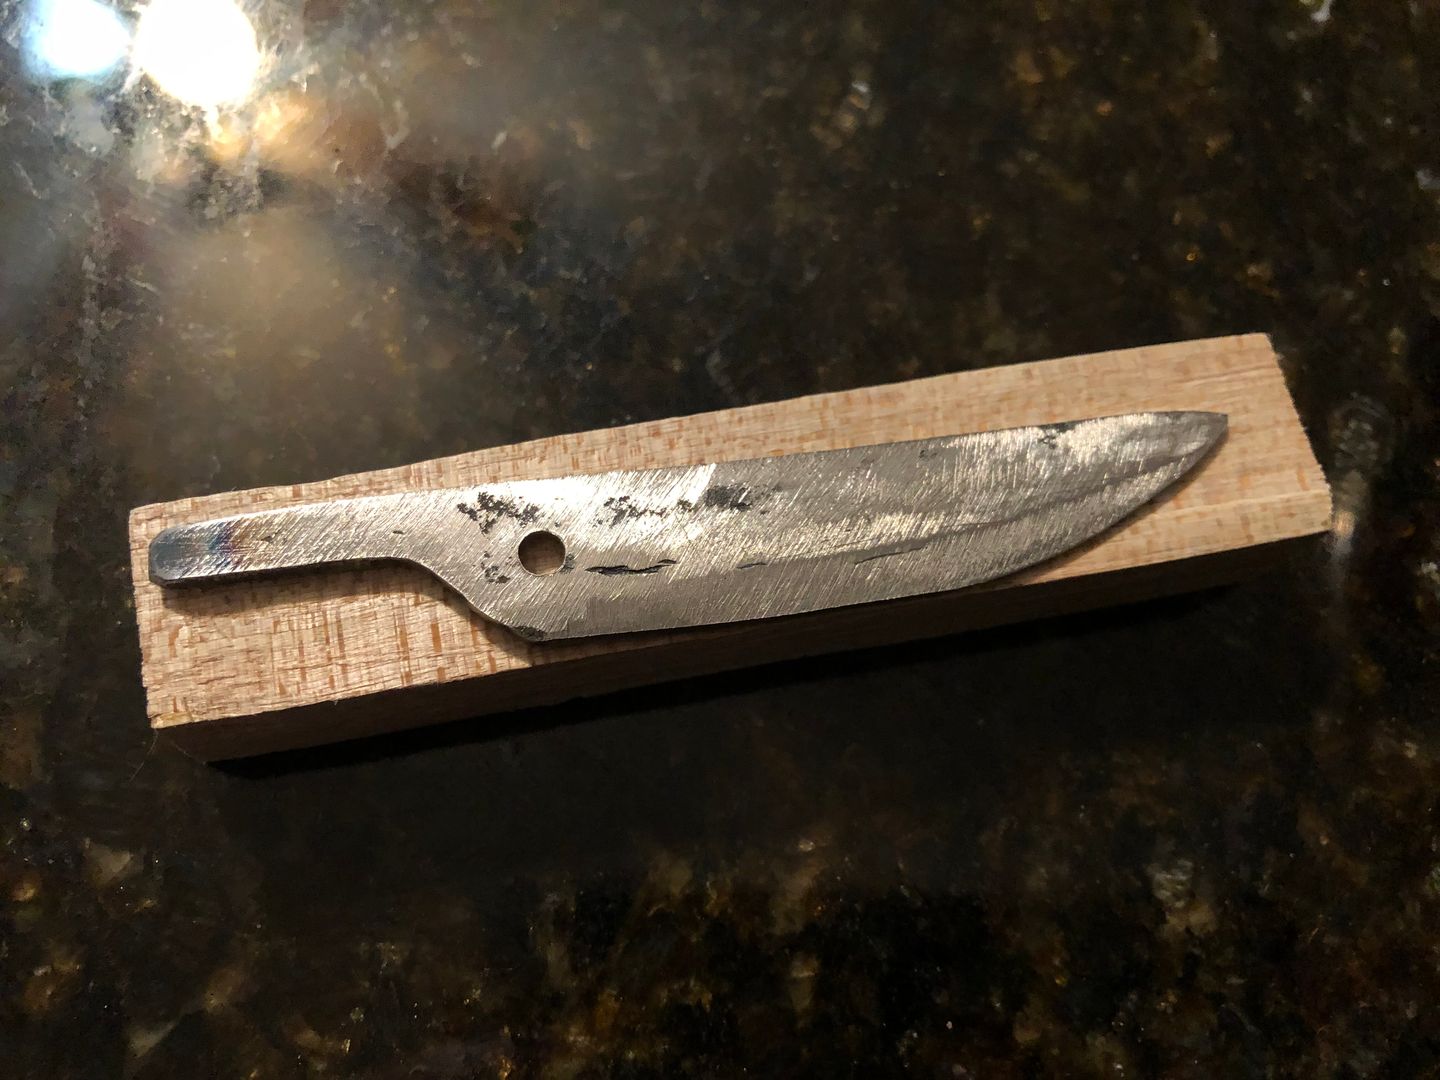
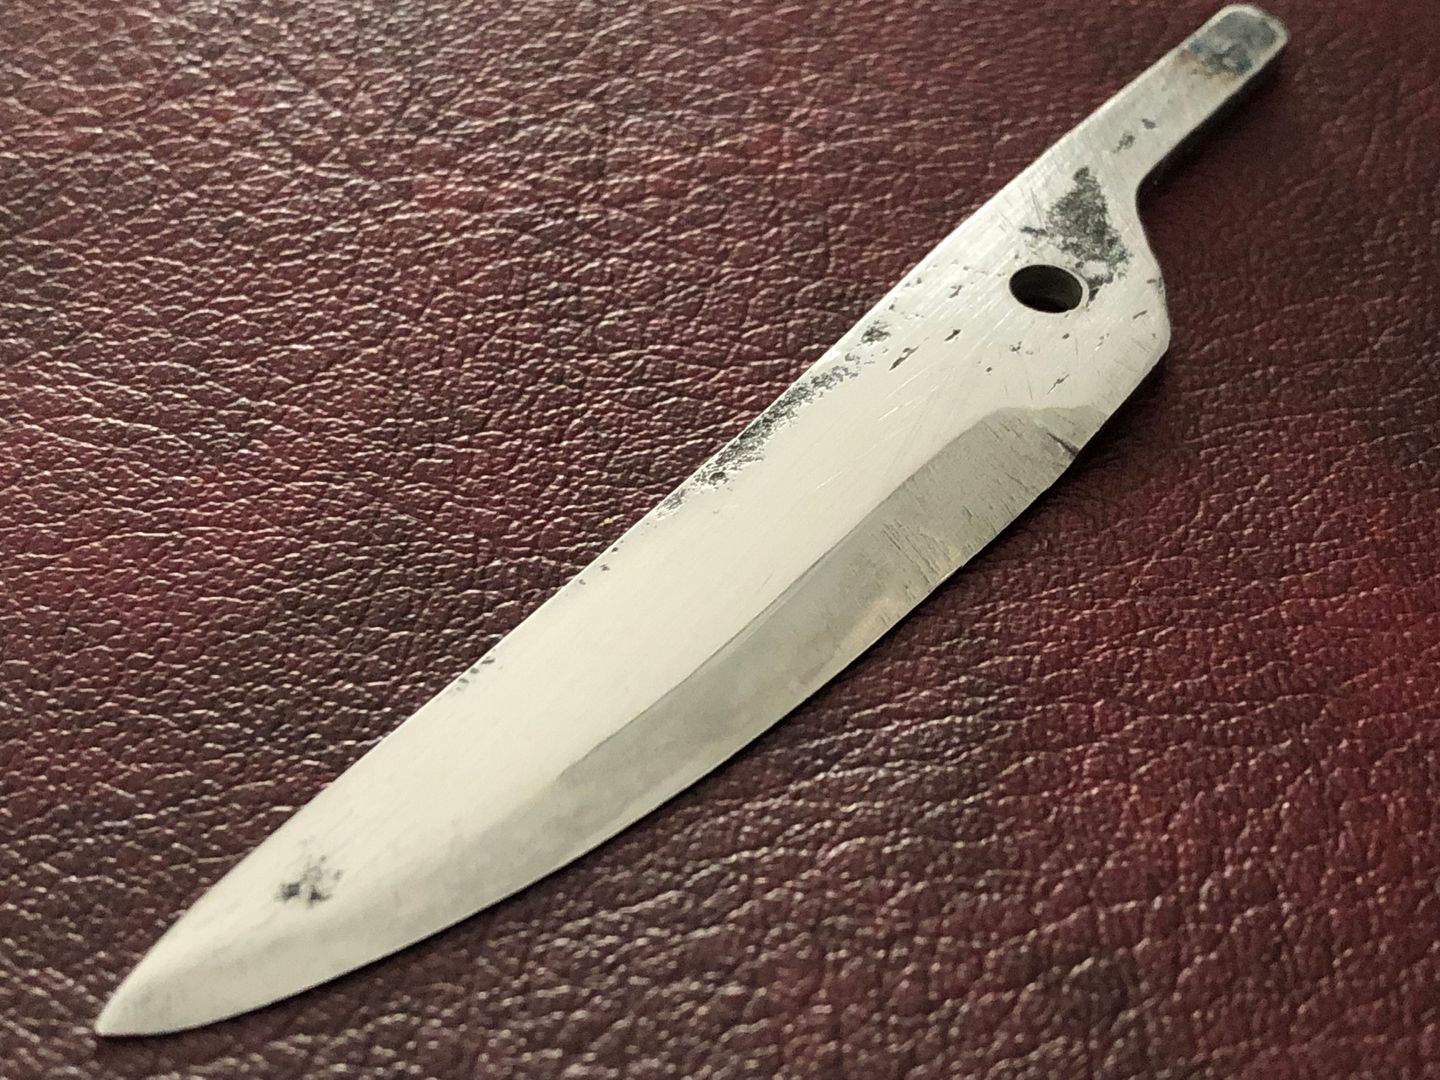
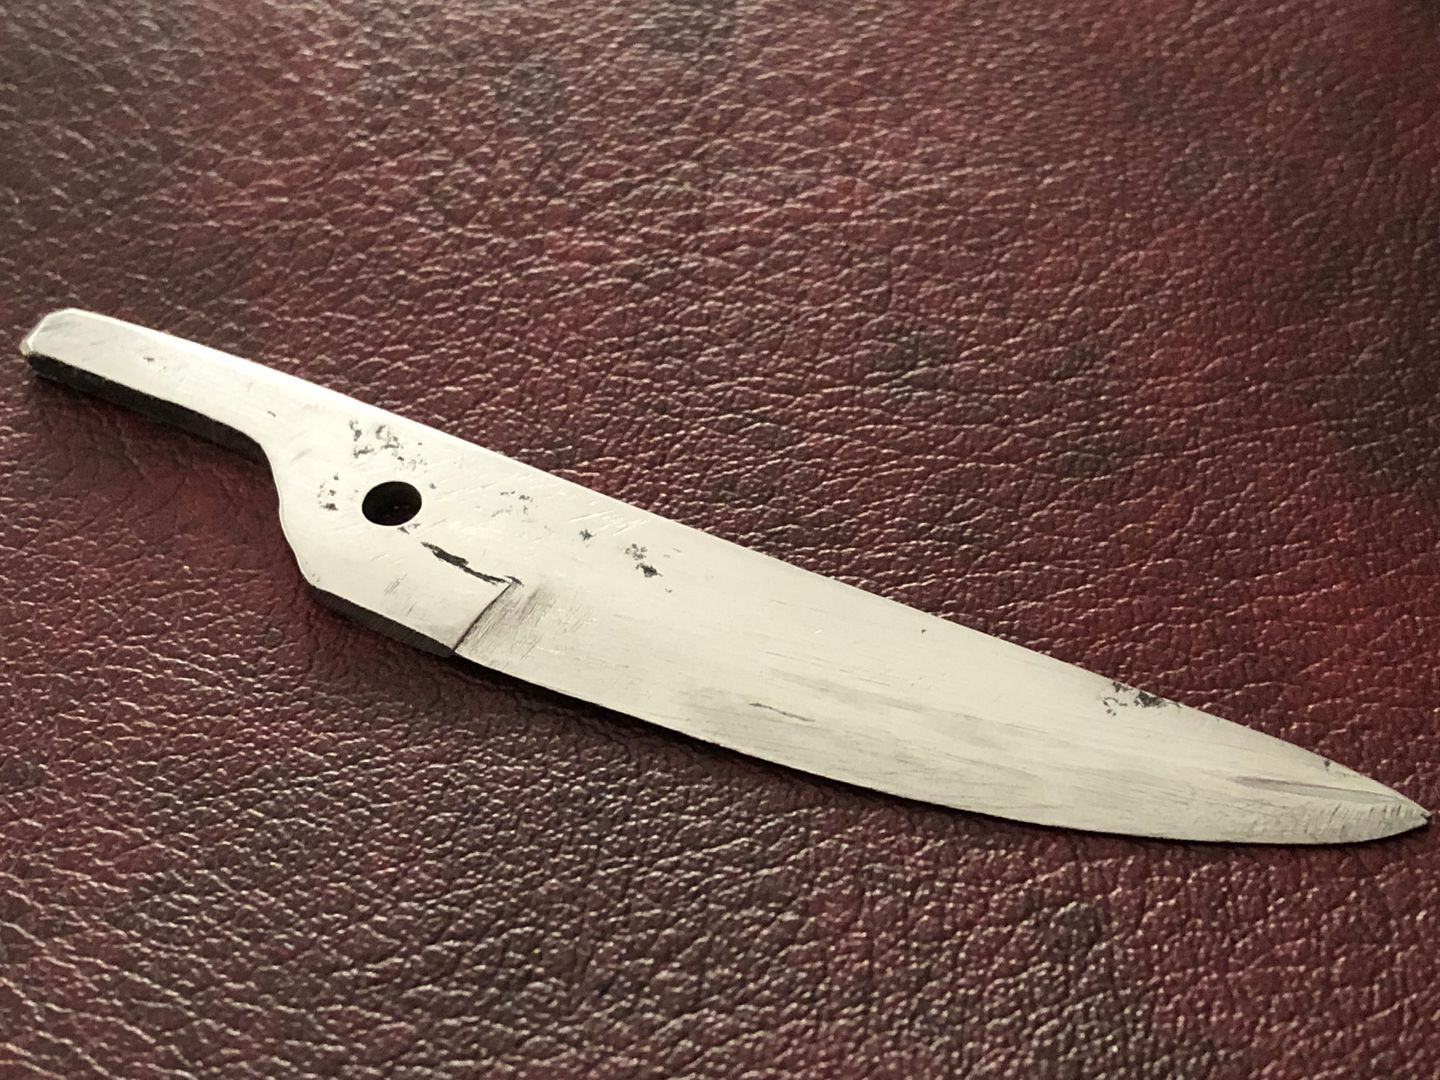
Given how little tang I had left, there's no longer any room for error. So back in the forge it goes.
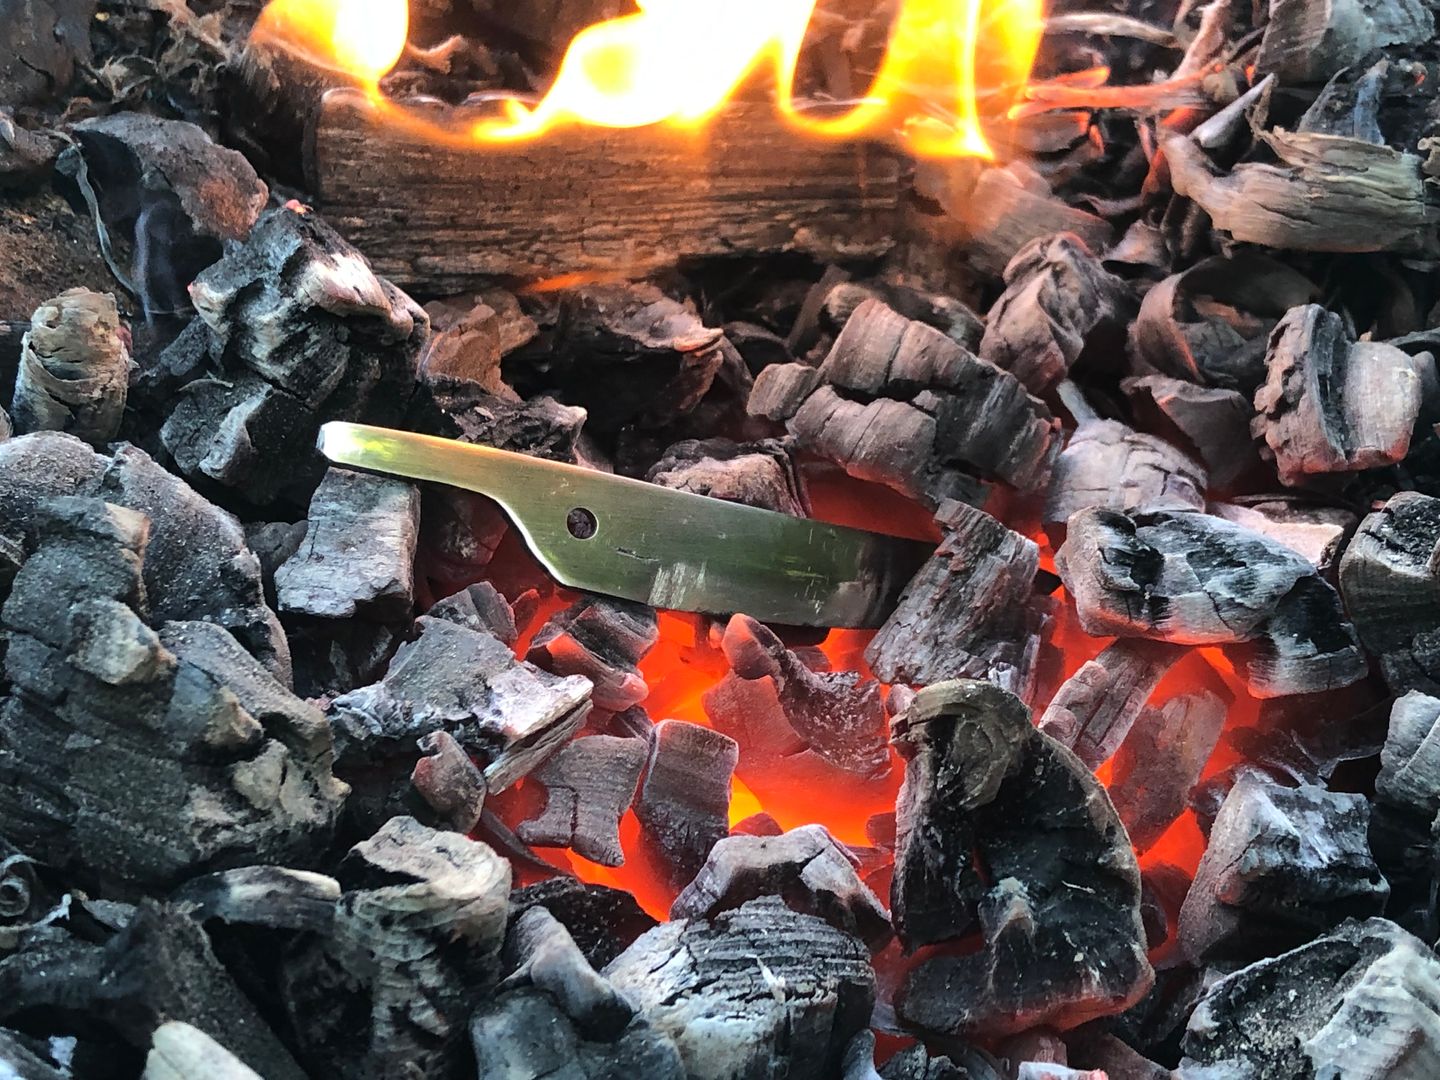
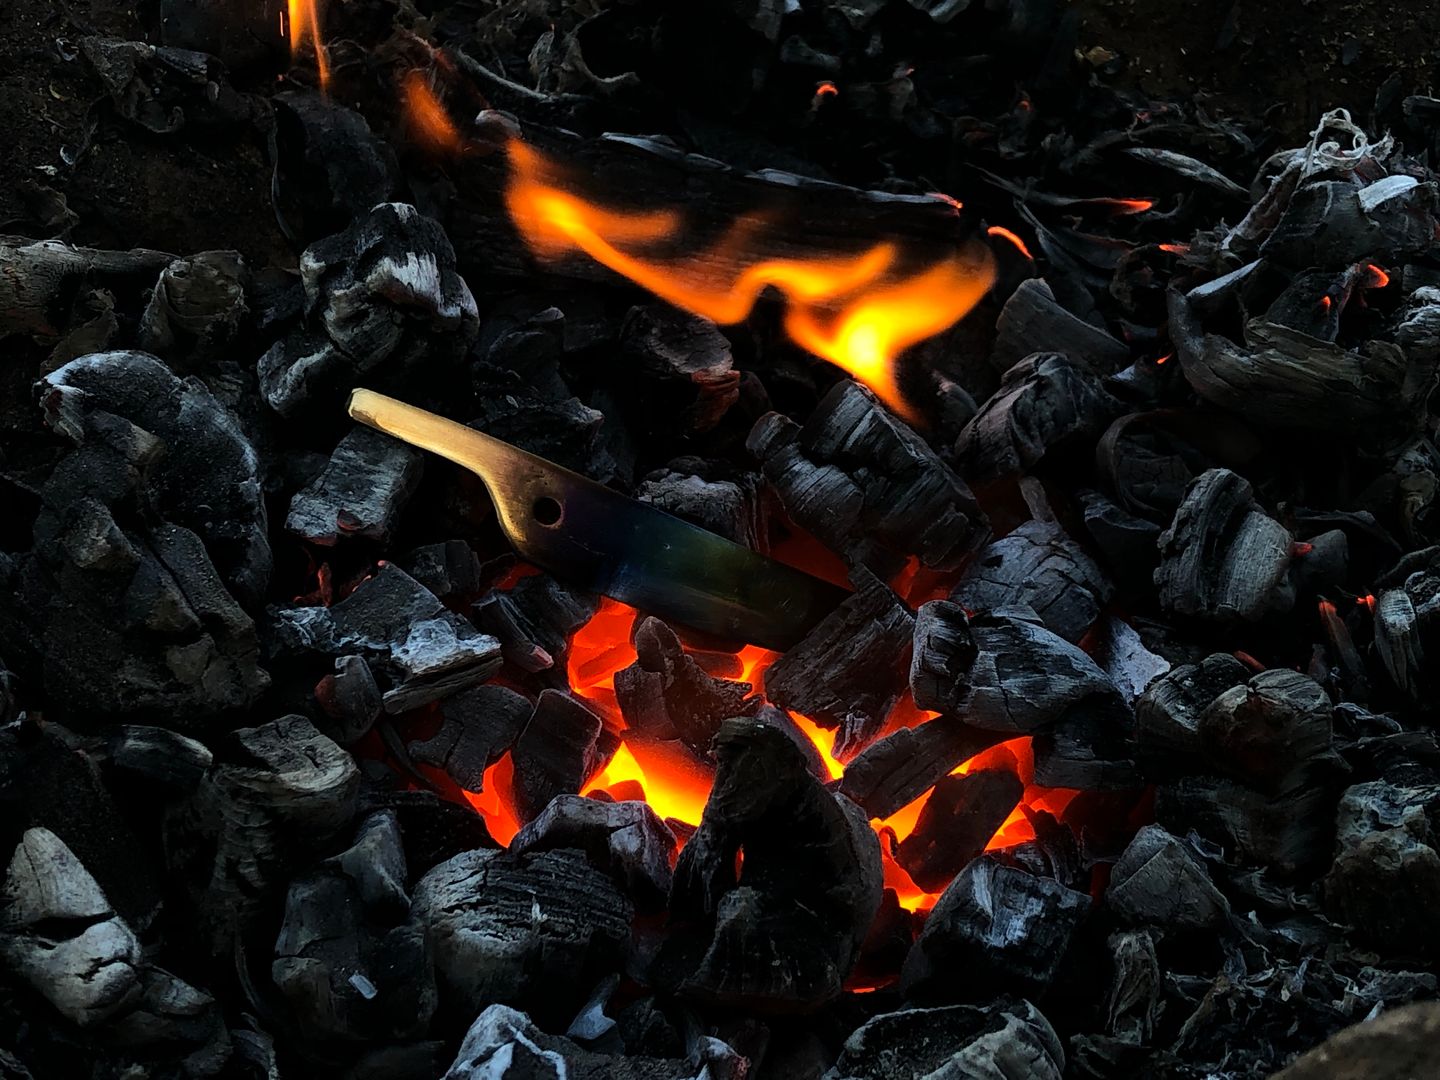
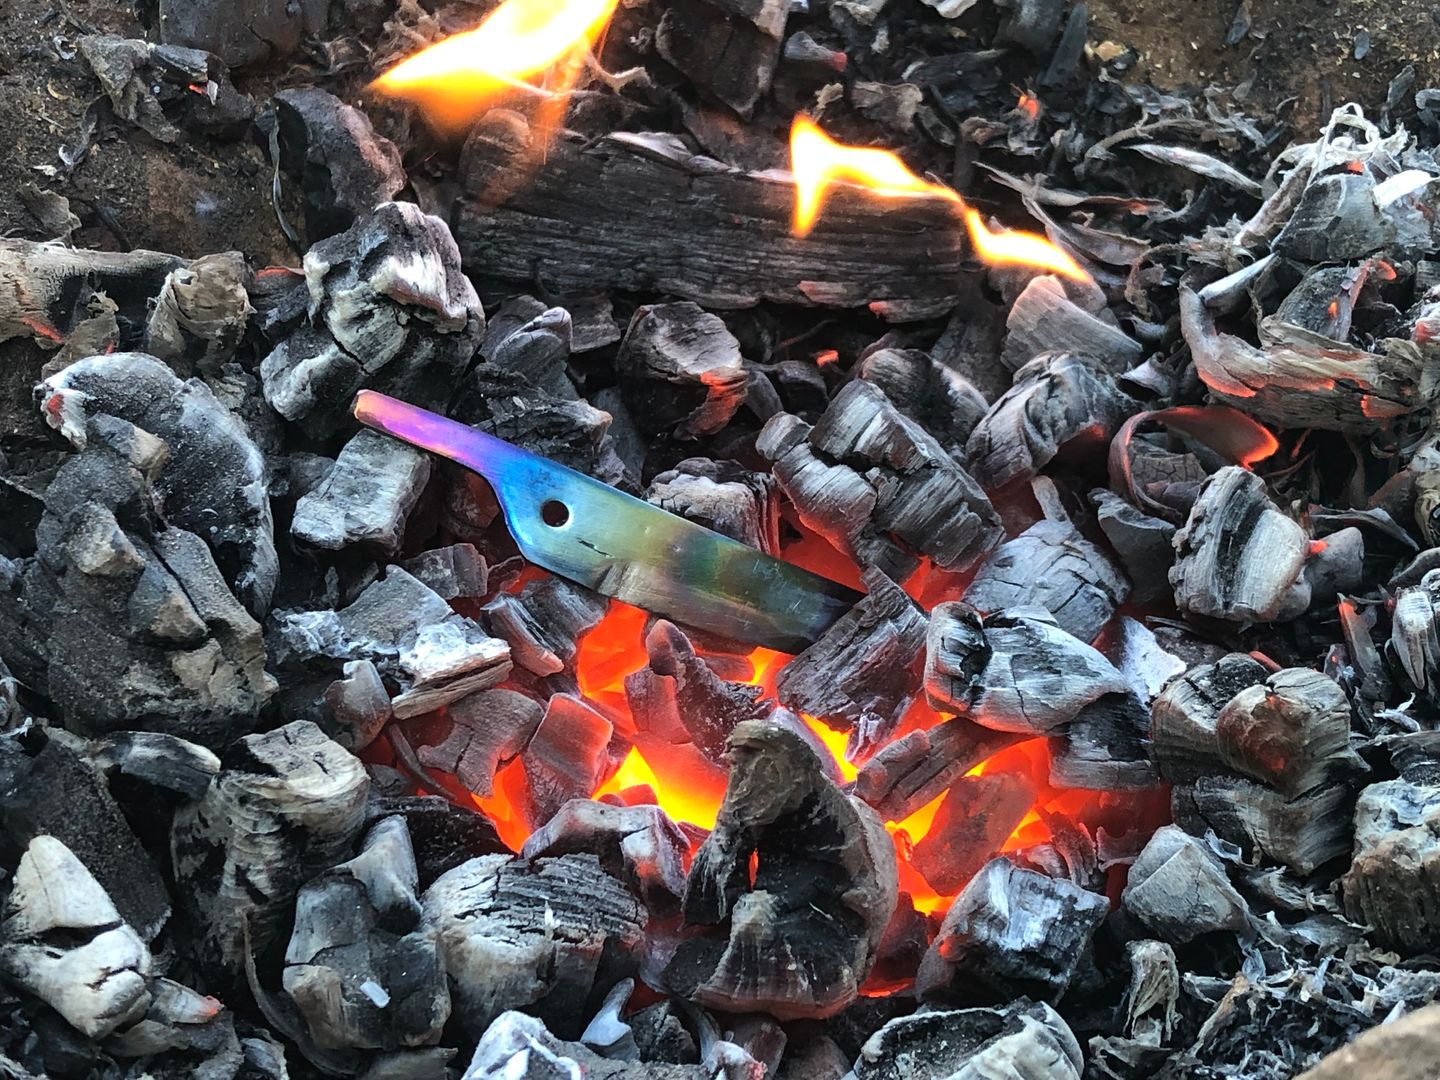
This time, it bent correctly. And having all this done, it was time for heat treating.
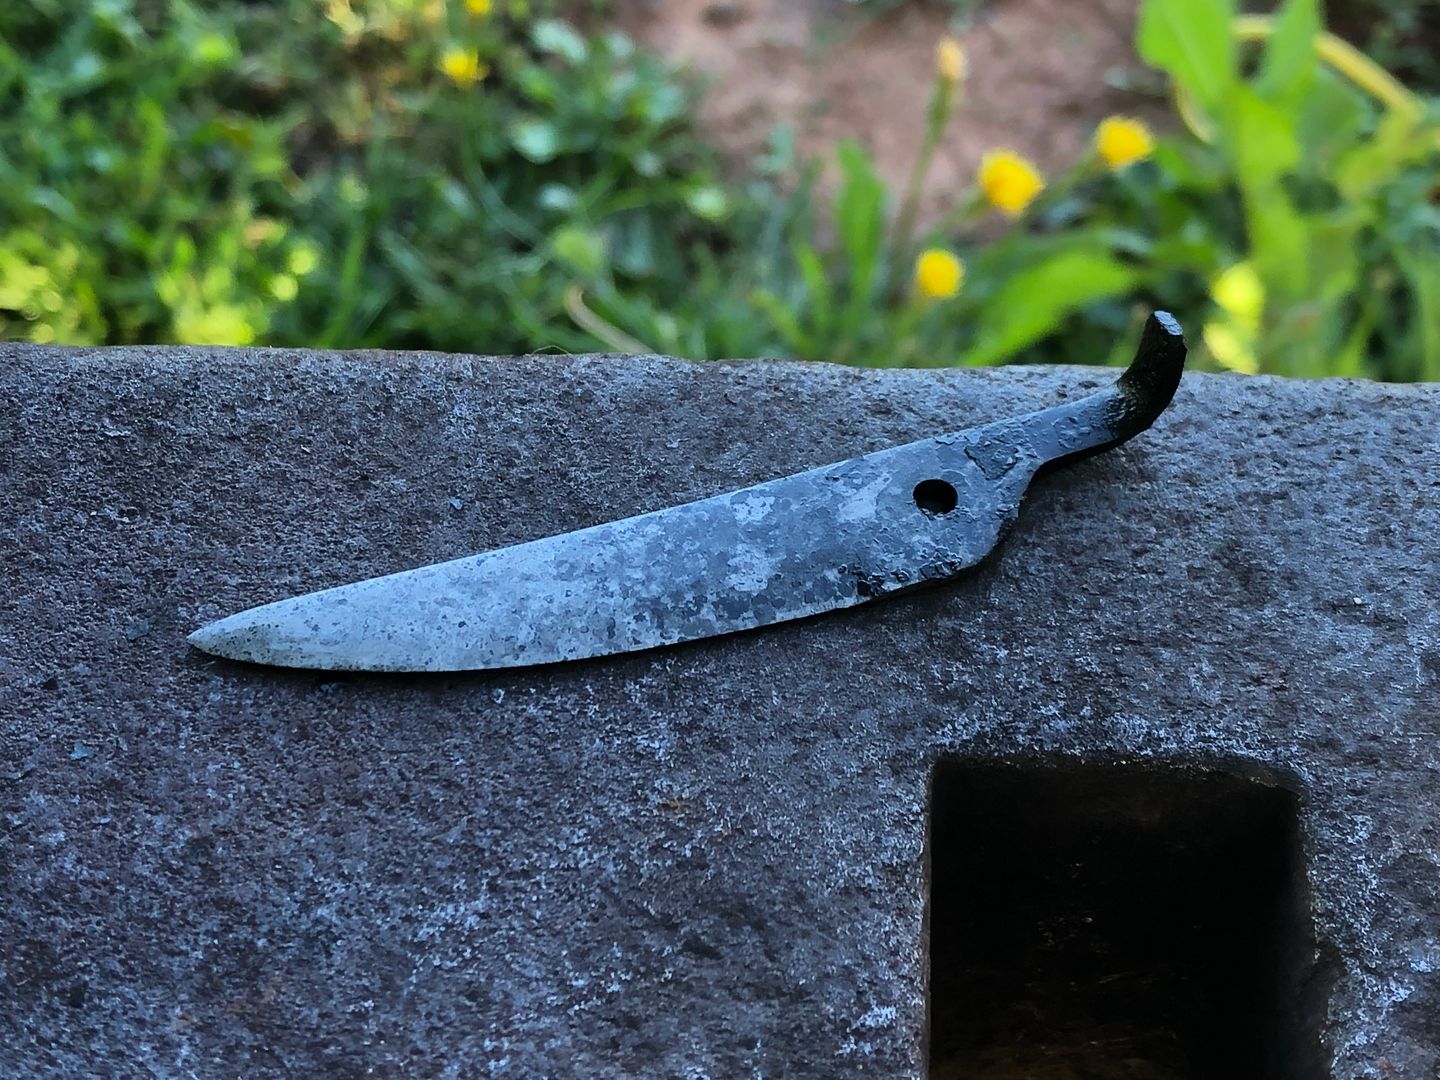
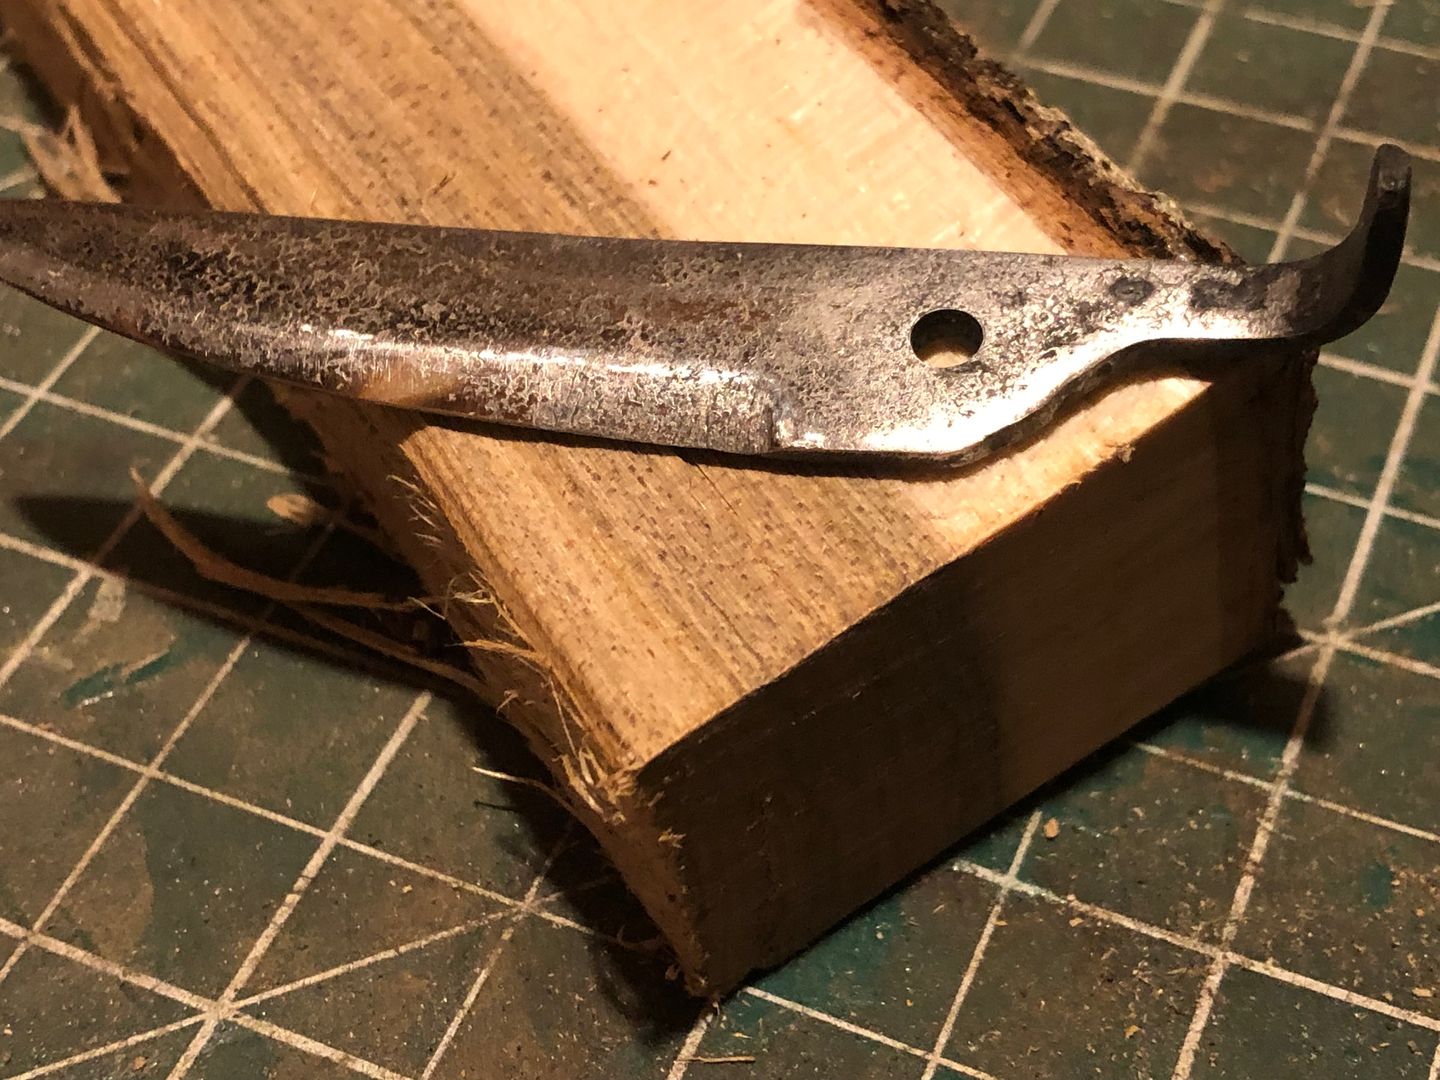
Thankfully, the heat treating process went without a hitch.
I decided against sanding/filing down the rippling from the quetch. As much as I liked the brilliant, polished steel, I found this gave it more character. So instead I just polished it without leveling the steel flat. And I liked the look of it.
Now on to making the handle out of some hickory I had drying. Which was a most finicky and frustrating process. I opted to use only one pin for the whole knife. Which means that I had to hollow out the section where the blade tucks into. Meaning, a lot of test fits were required to get it just right.
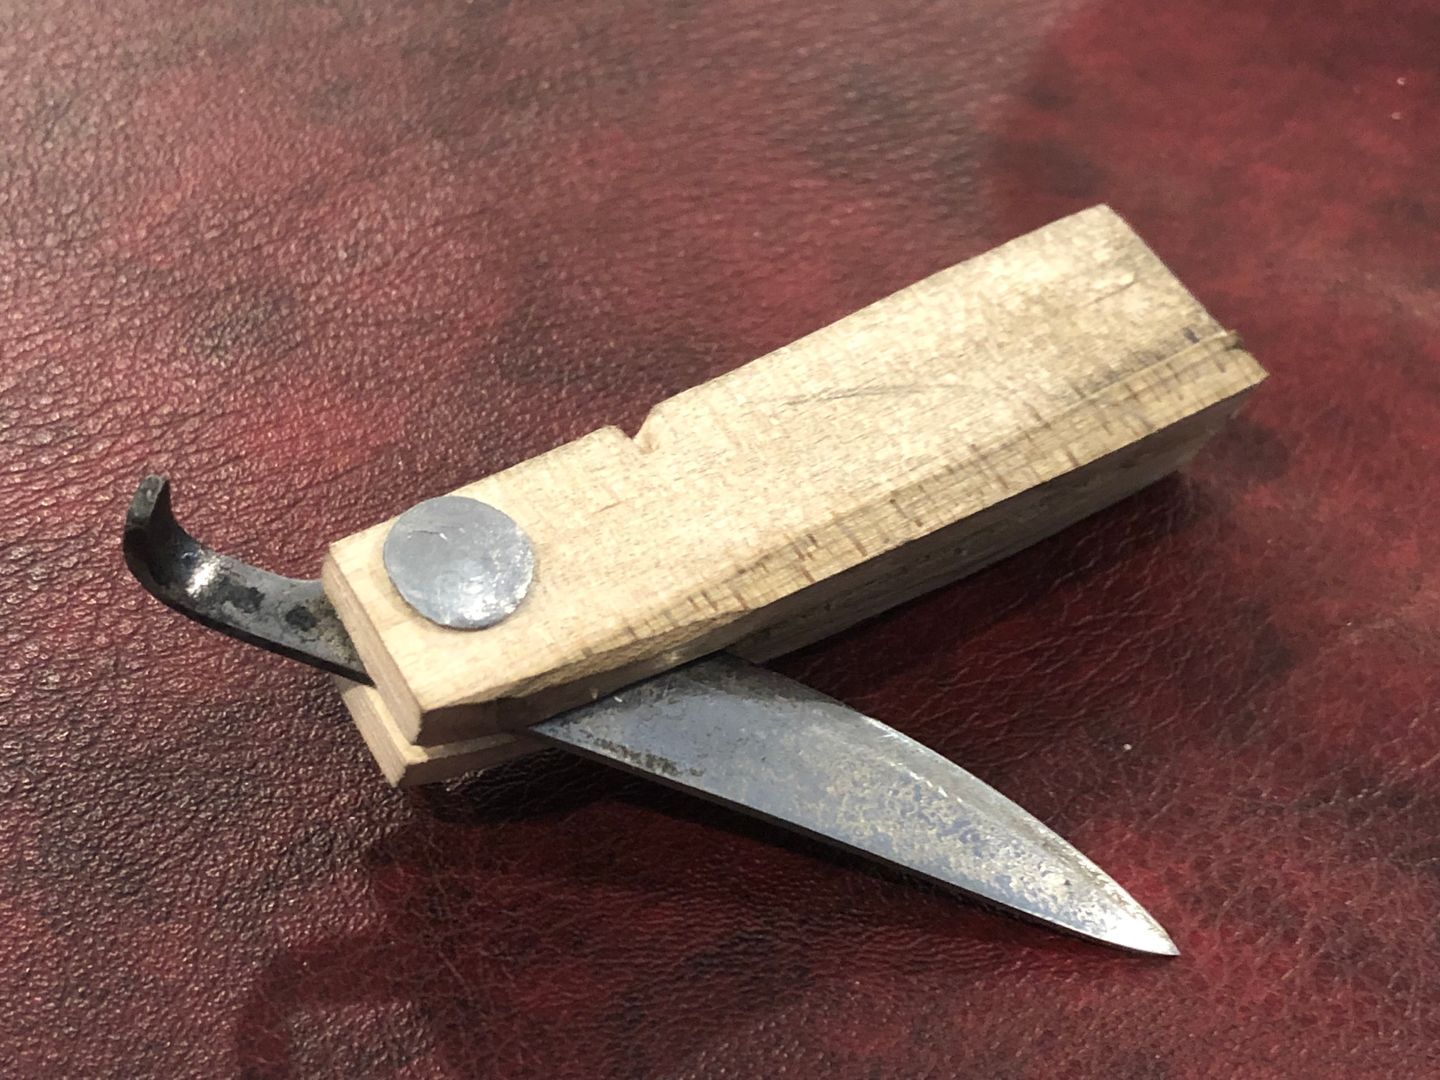
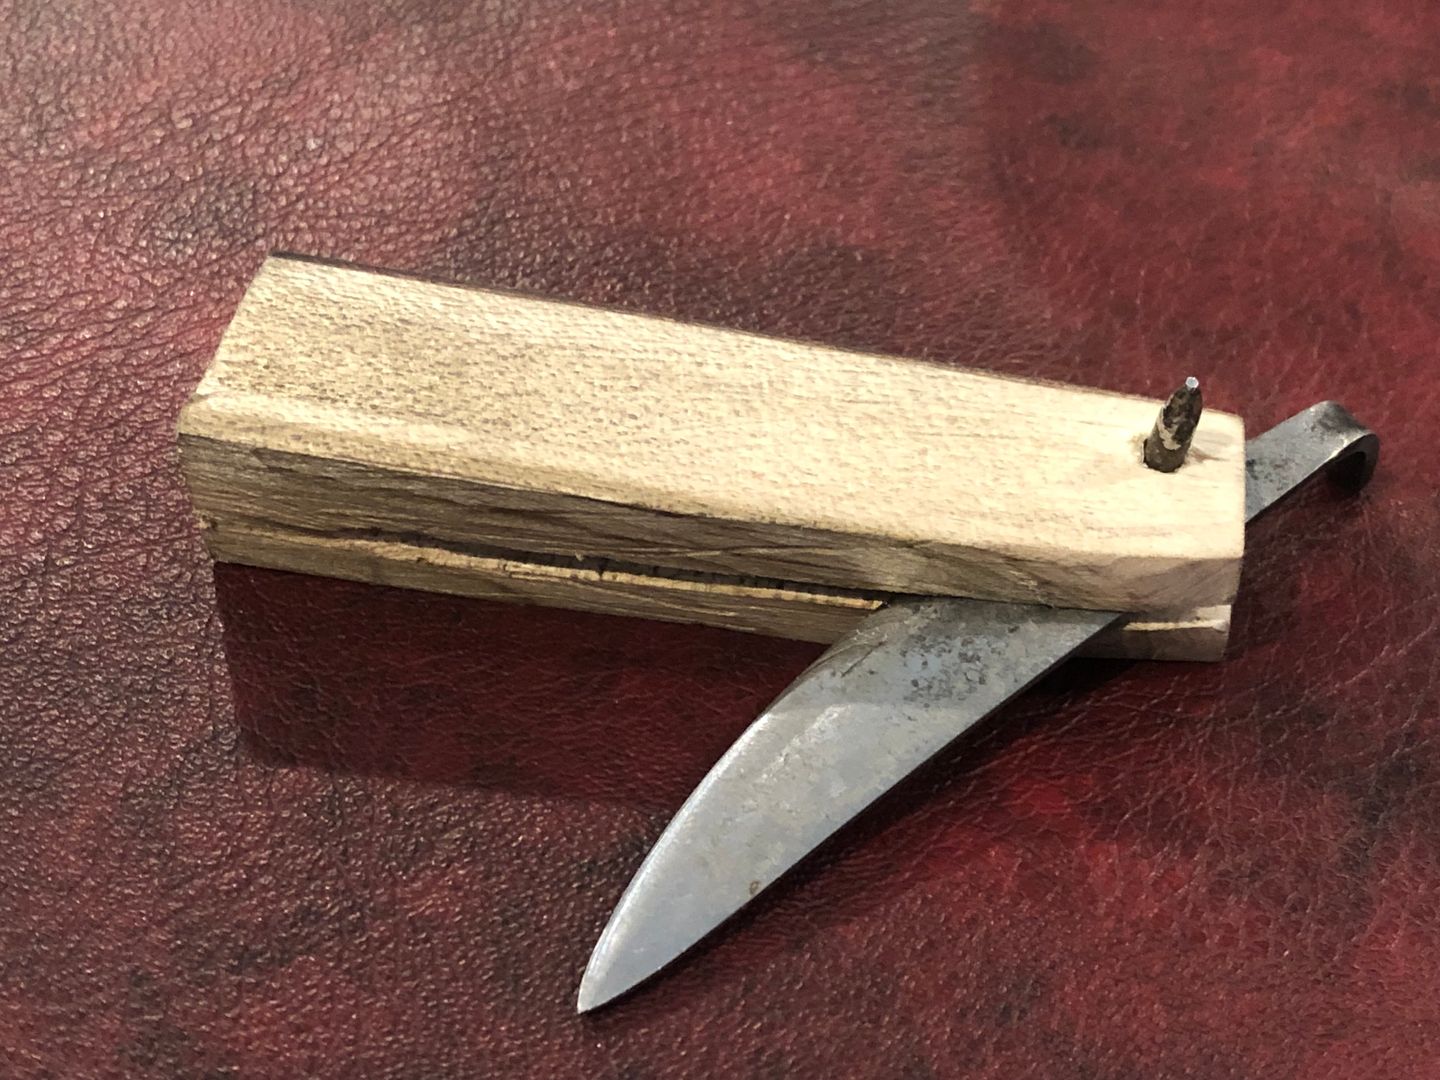
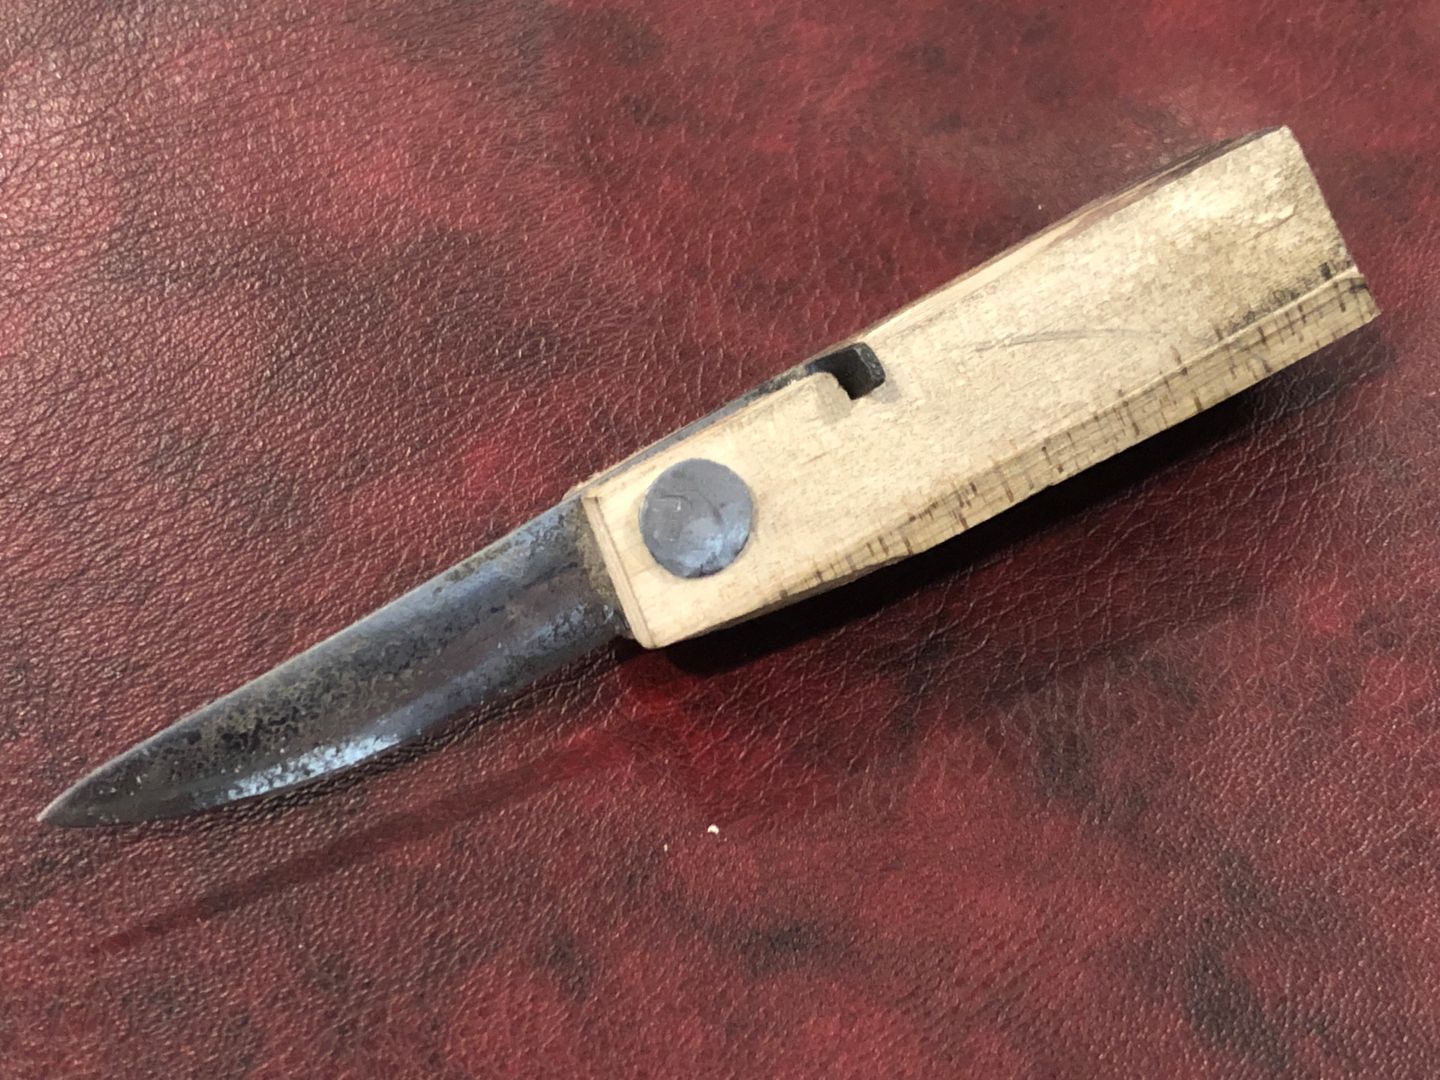
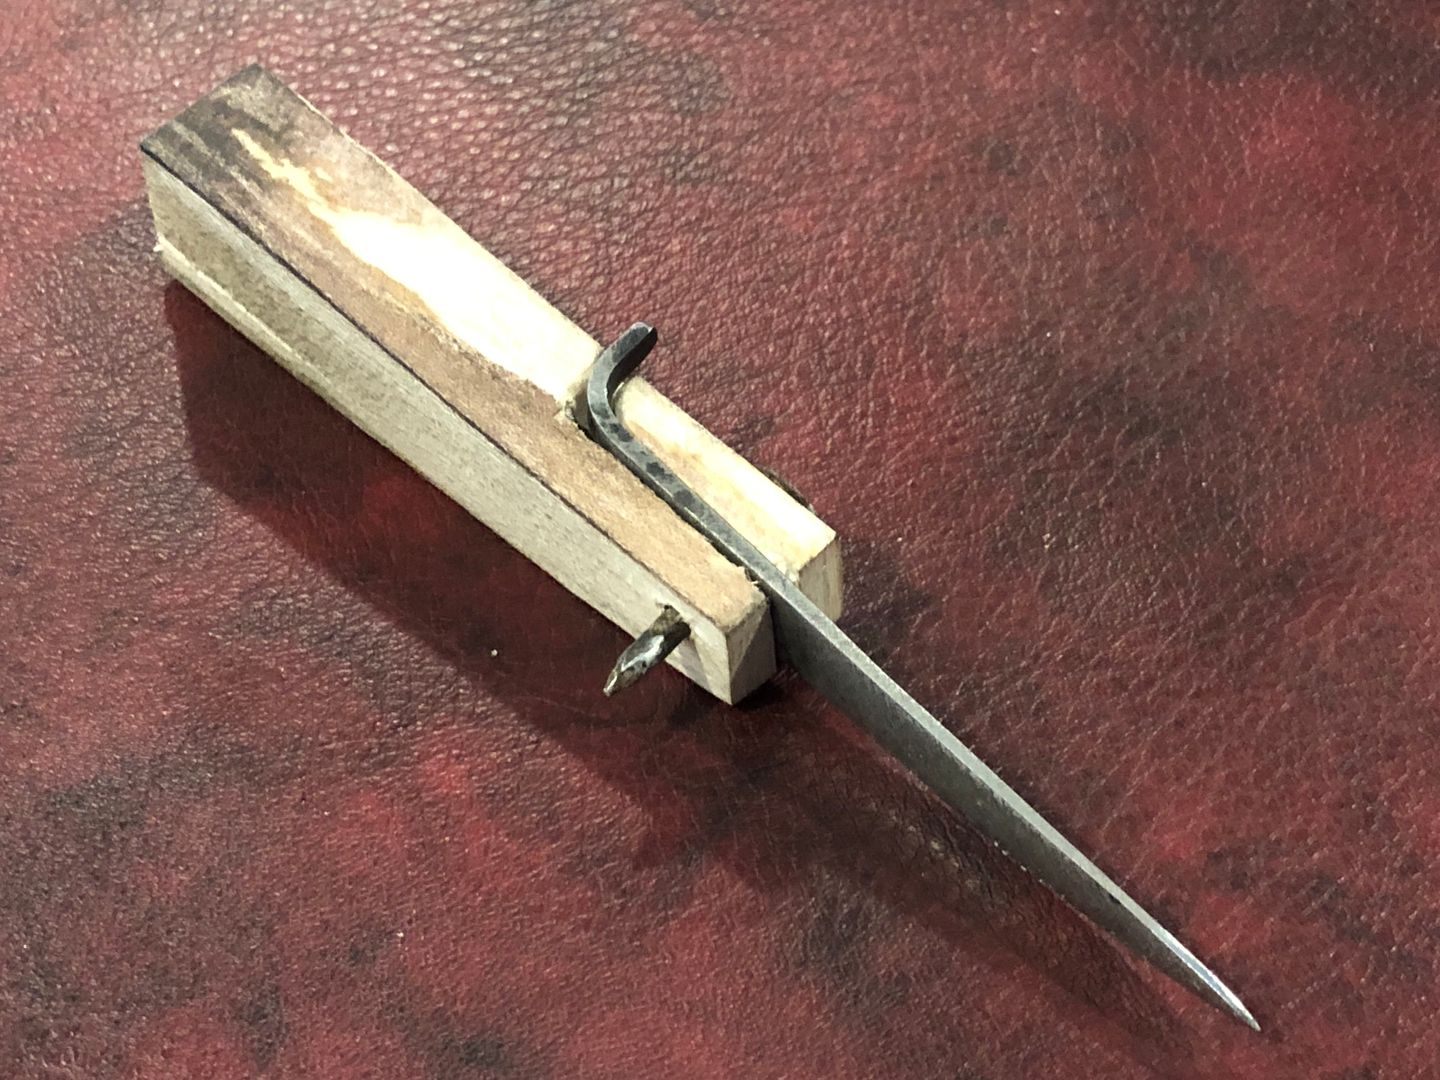
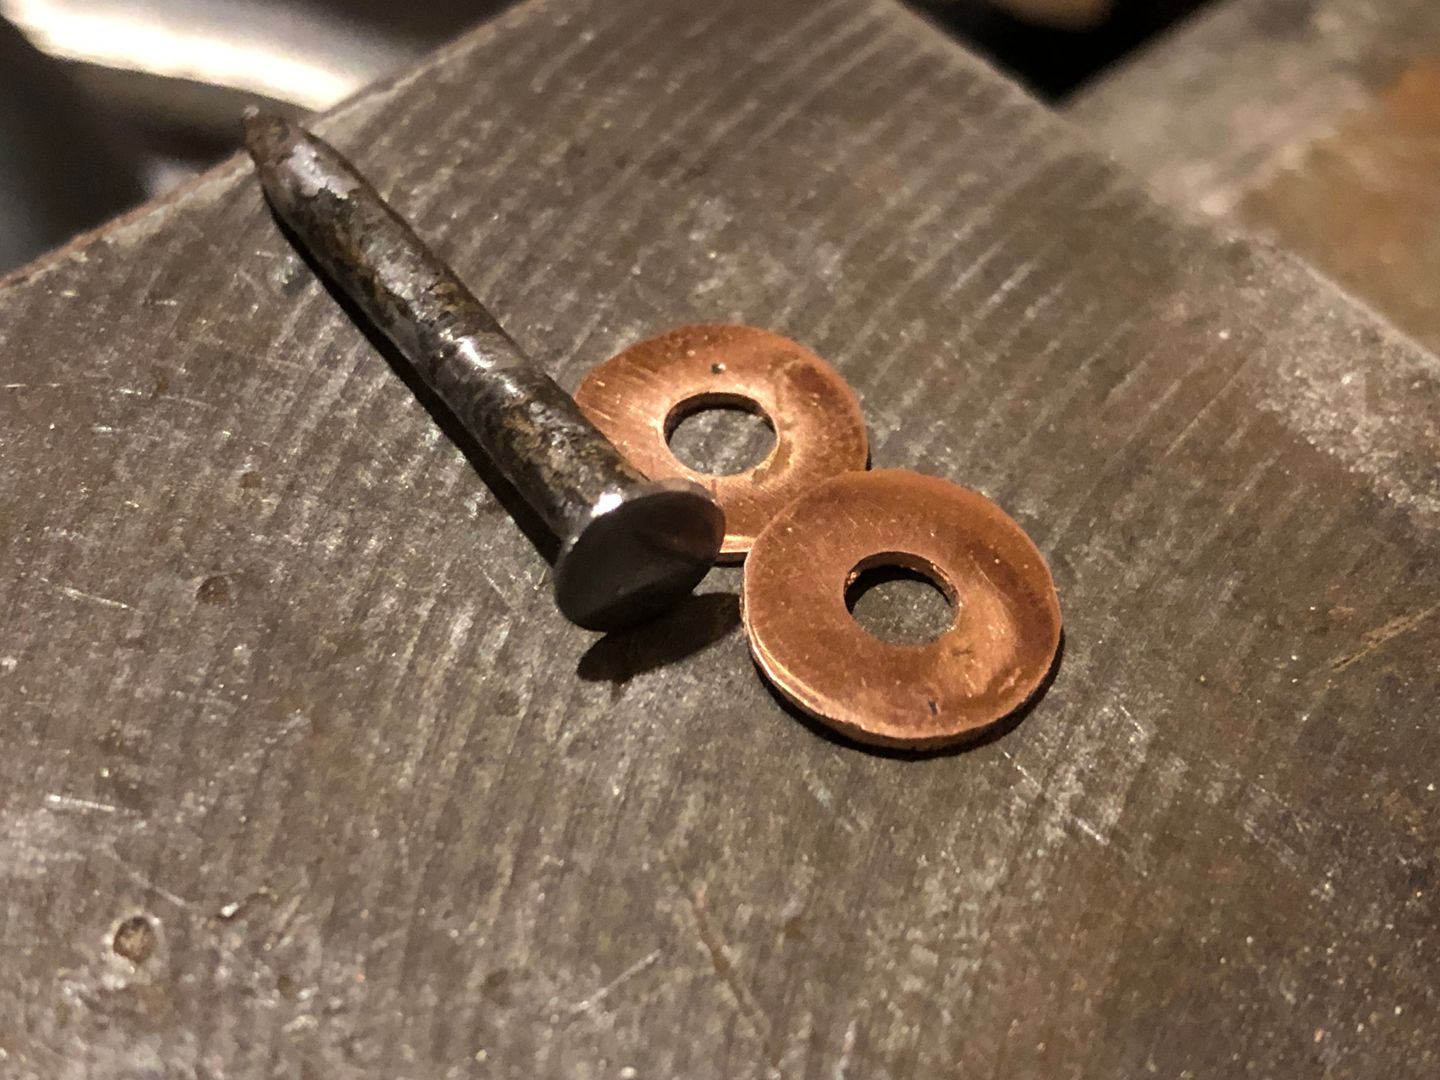
For the pin and washers, I decided to use steel and copper. The pin was fashioned from a roofing nail I once dug up. And the washers I cut out of some scrap copper piping.
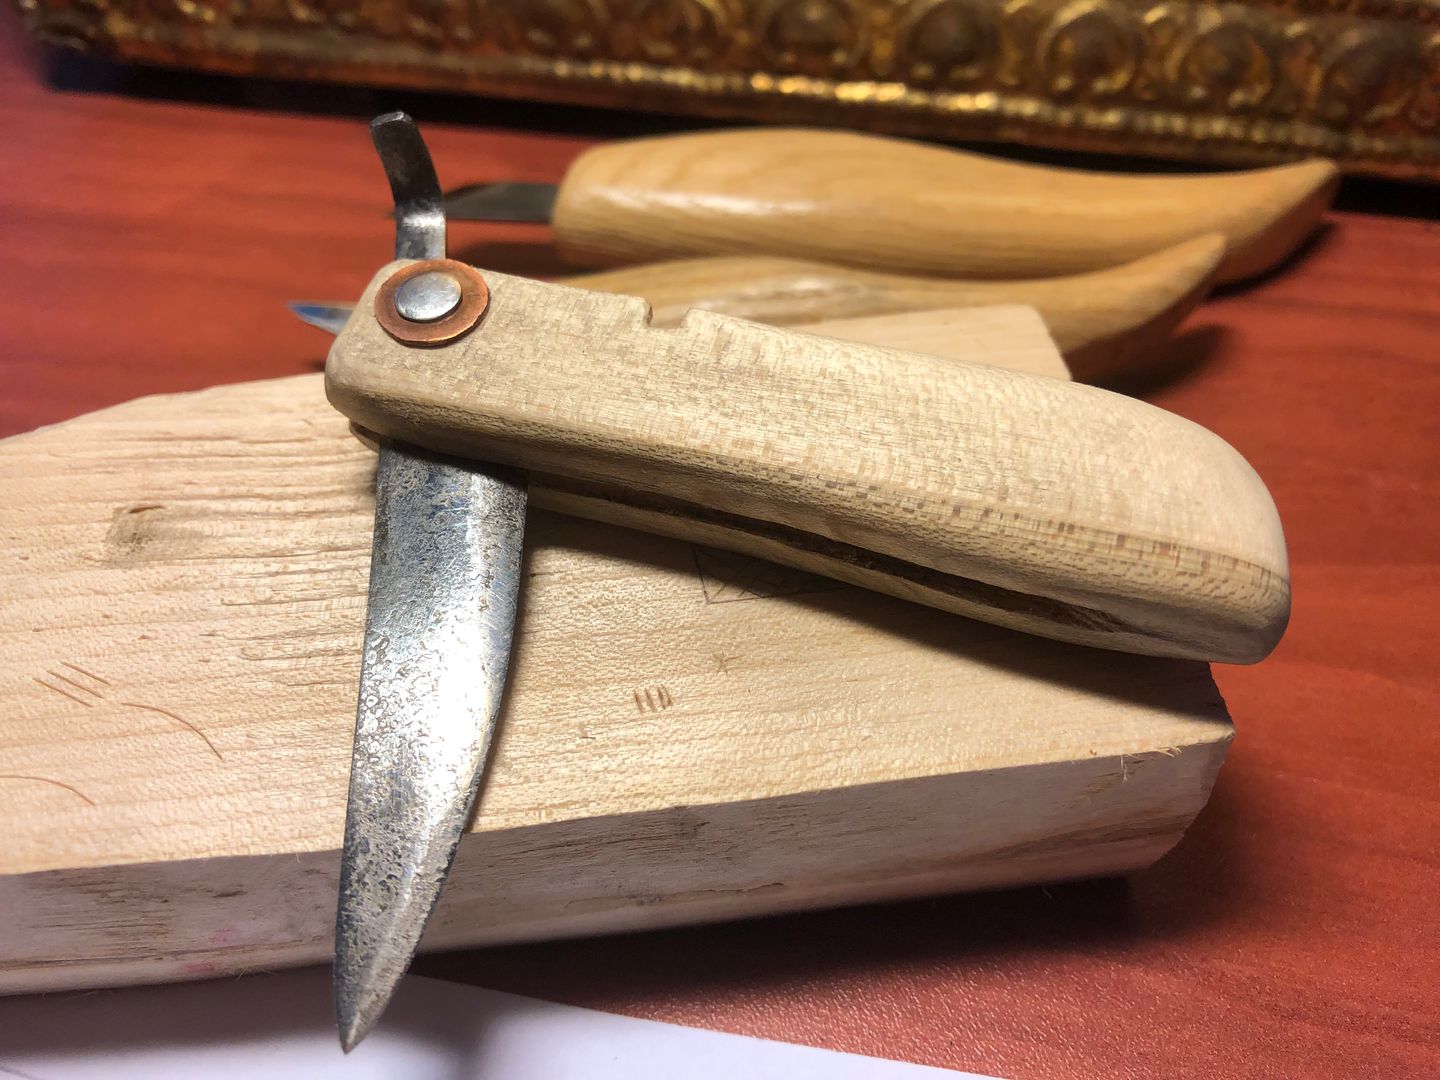
All that done, just a matter of finished that handle. Making sure it a good fit in the hand and then peening the pin.
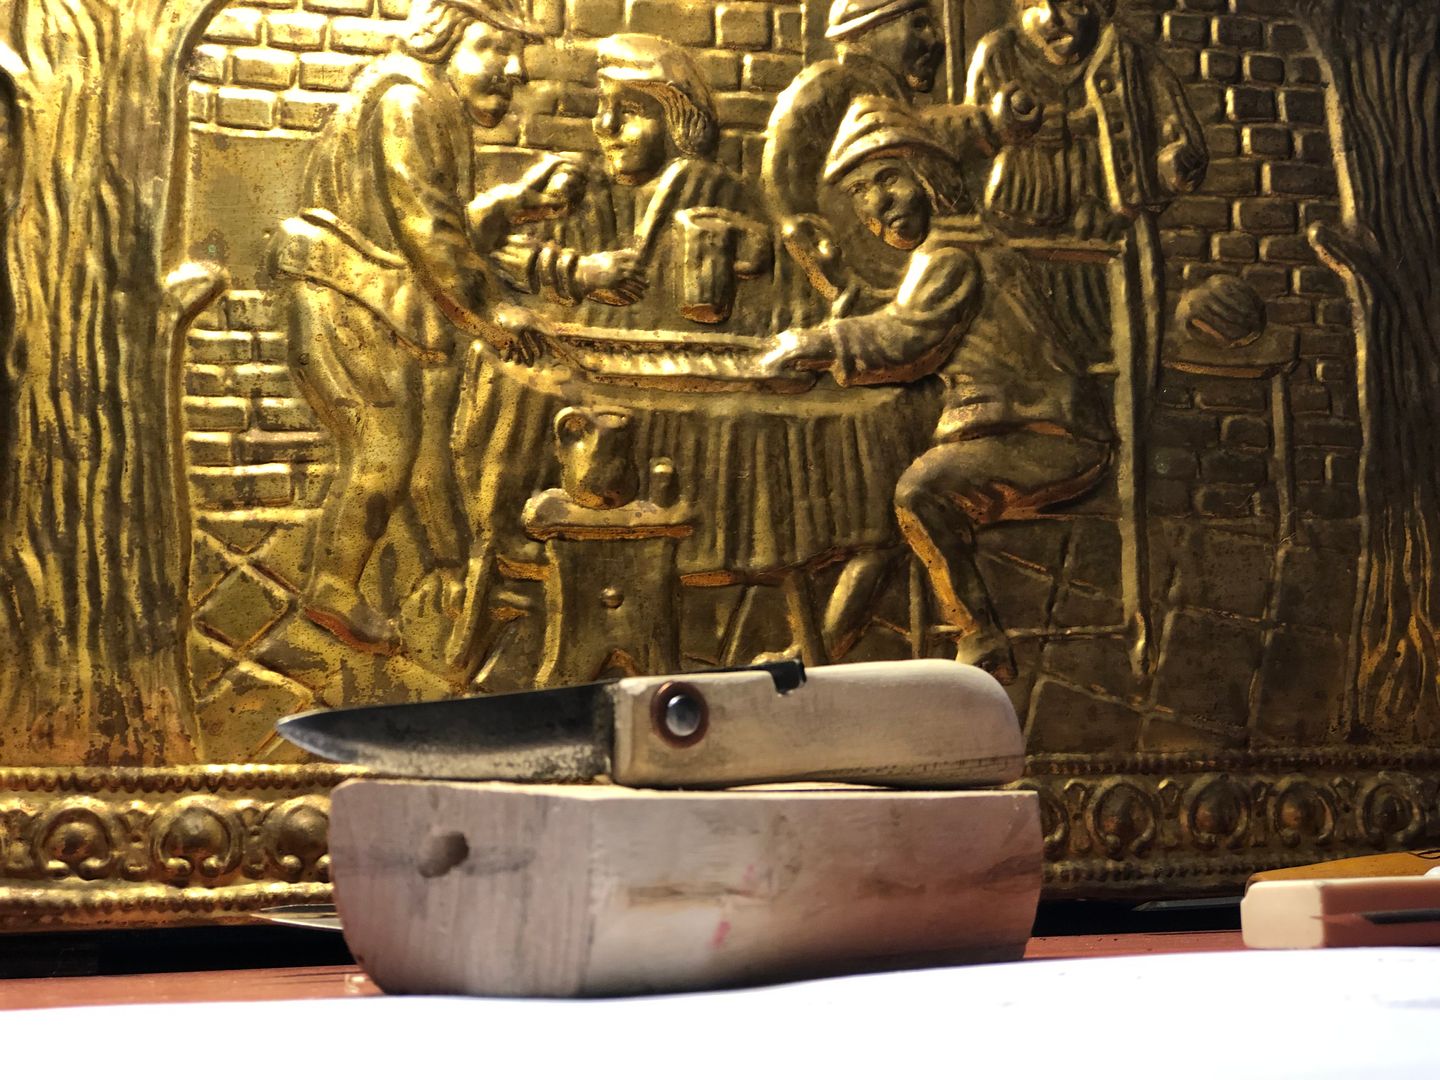
Time for the decorative work. Now, DJ told me that he has some Nordic ancestry. And the one request he had was that the Elder Futhark rune know as Wunjo (ᚹ) be included. Using kolrosing as the method of decoration felt quite apropos. So I drew up a few possible designs.
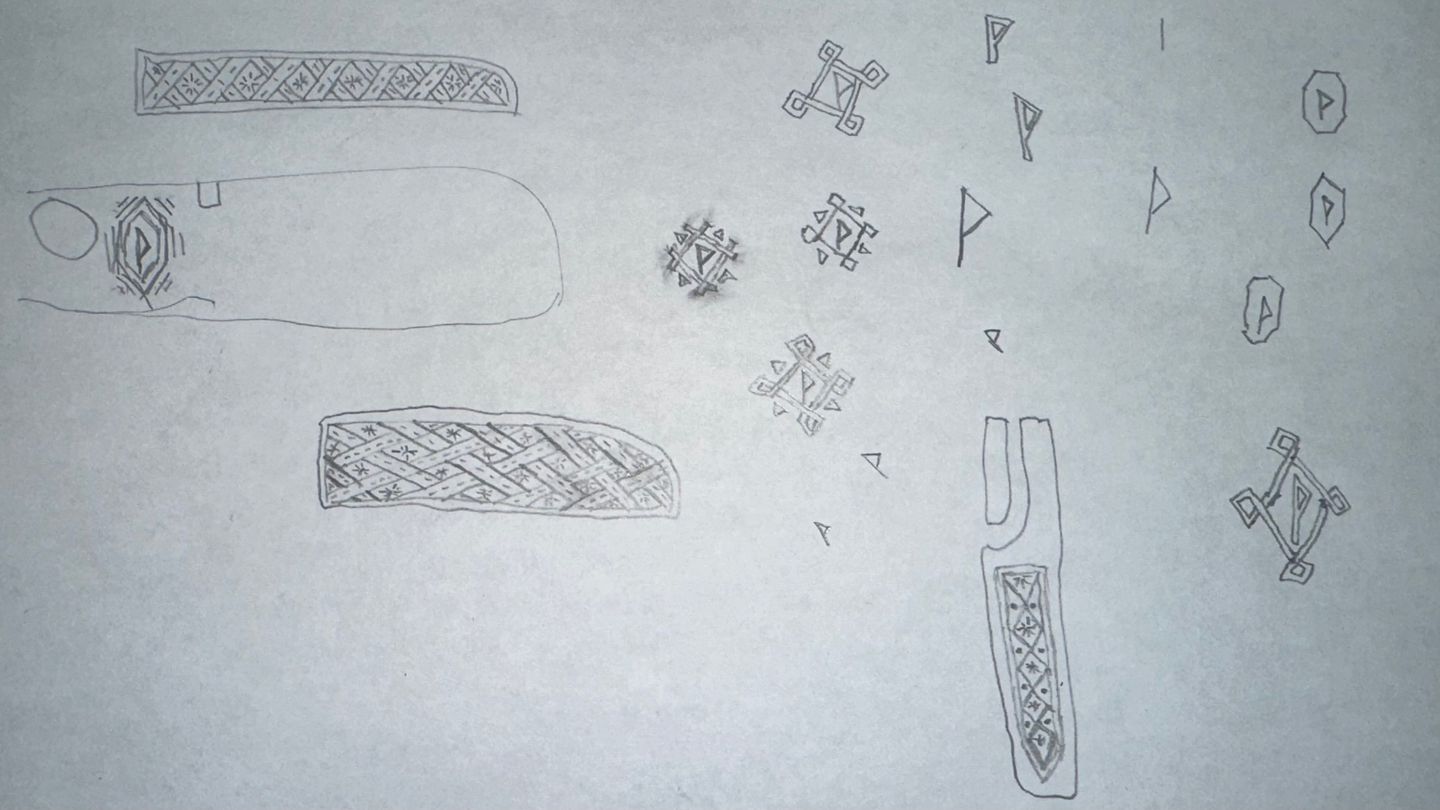
Having these sketches for reference; it was time to get cutting. Which despite the simplicity of the process, I find it absolutely nerve-racking. Because one foul move and you've ruined it. Or at the very least, means you've got to think up a new approach.
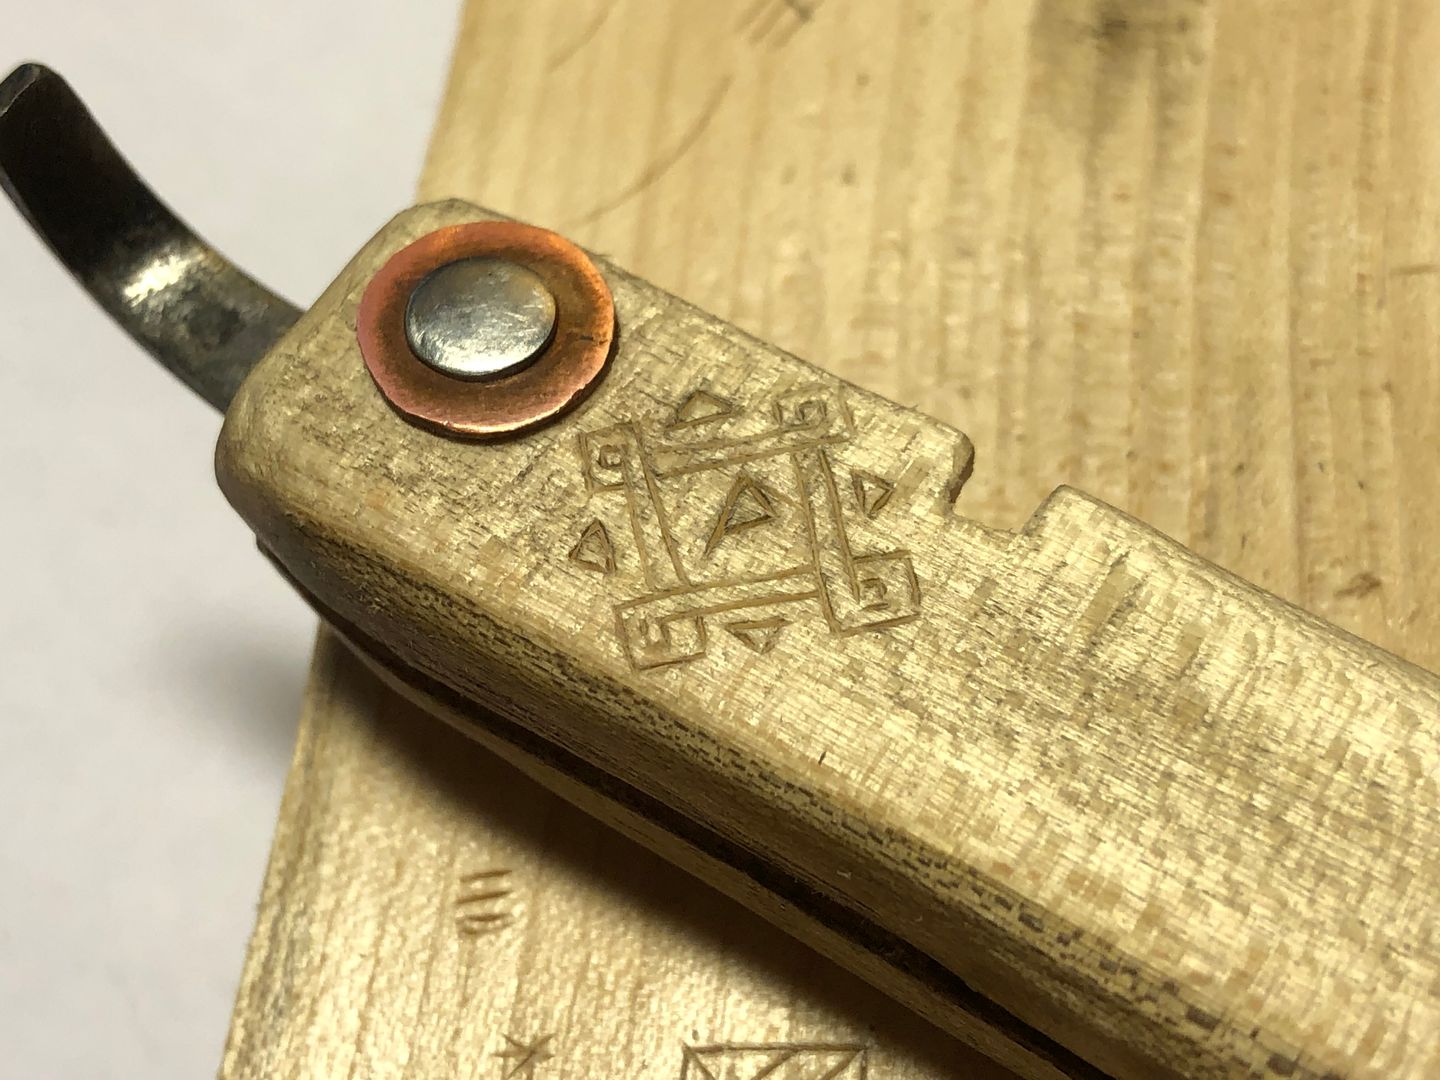
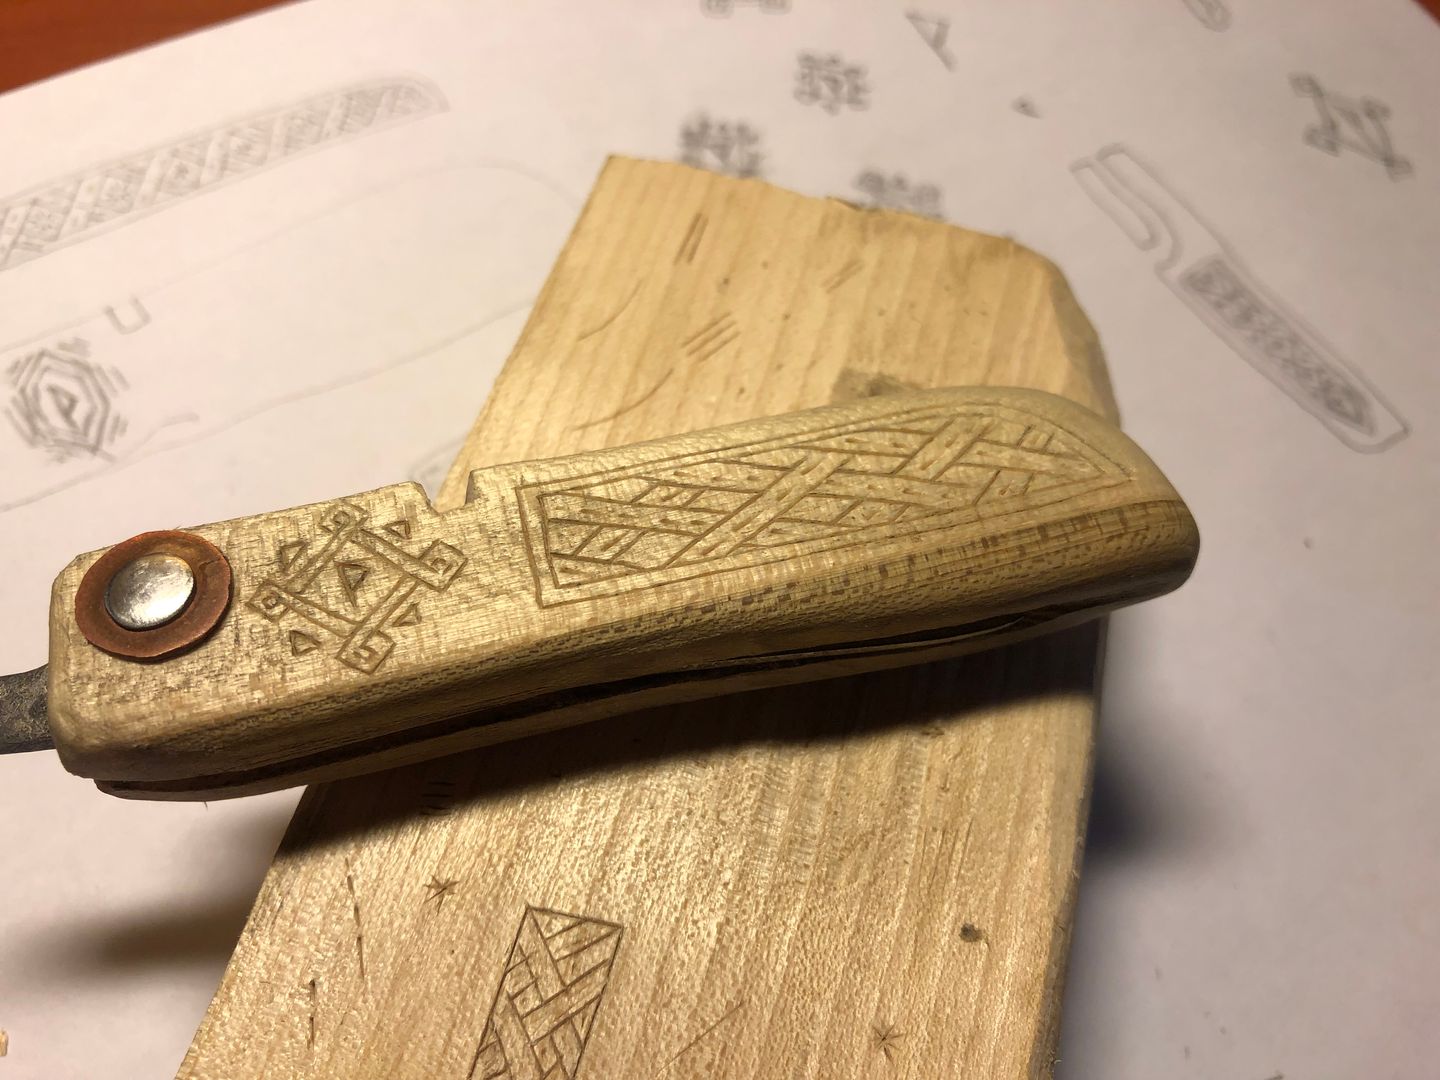
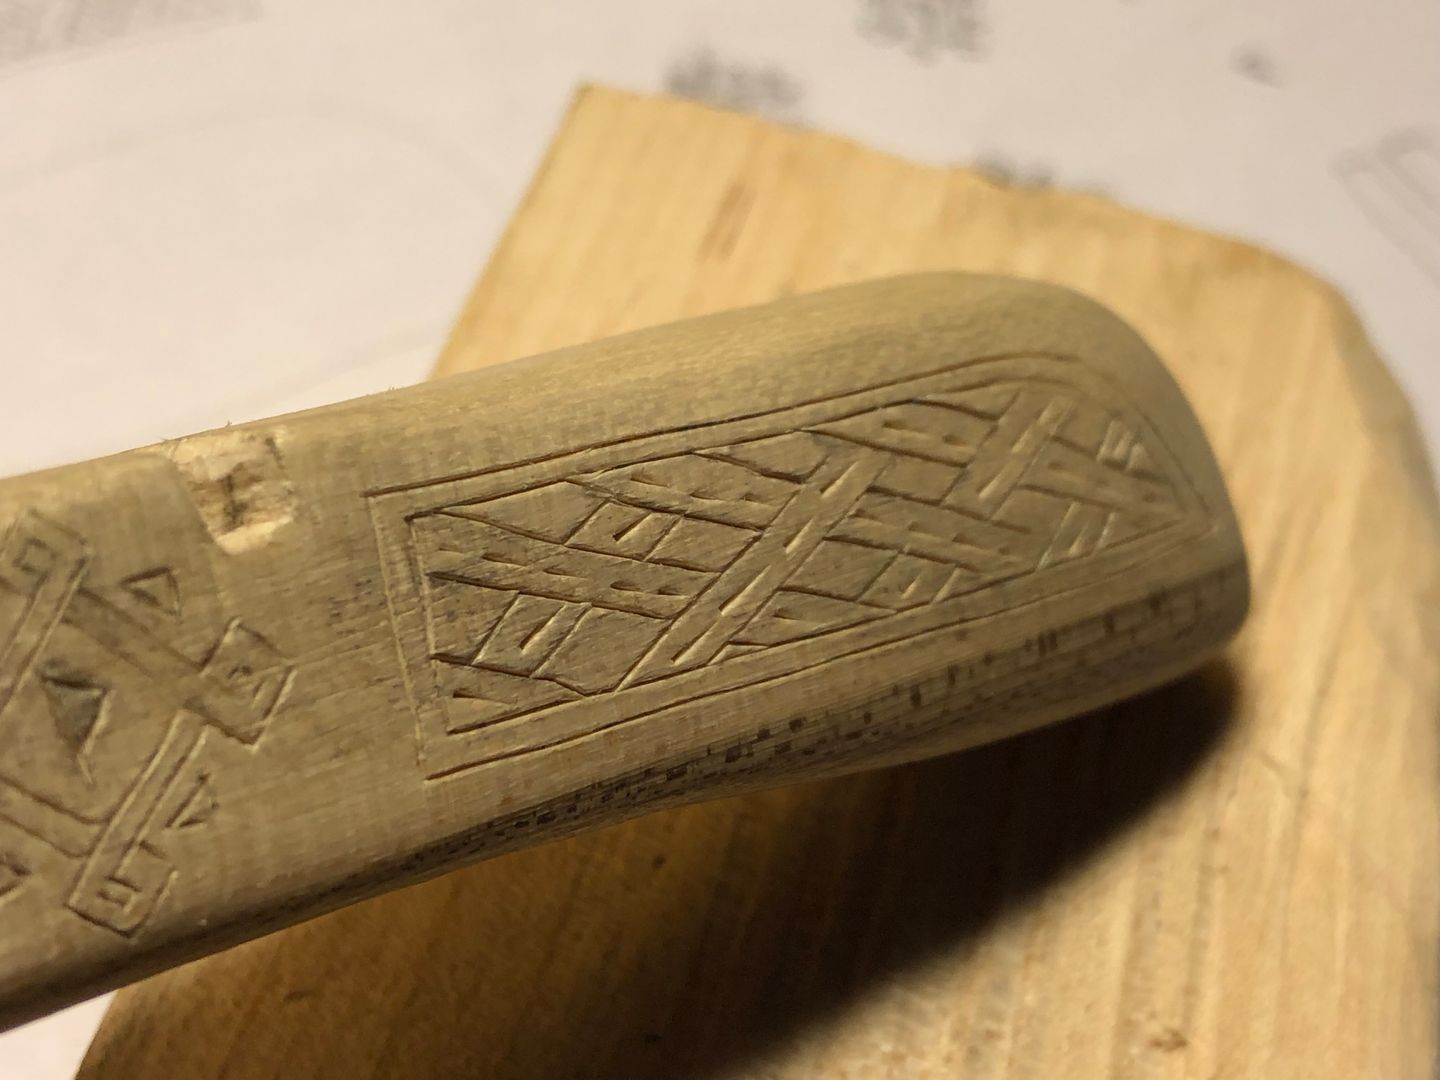
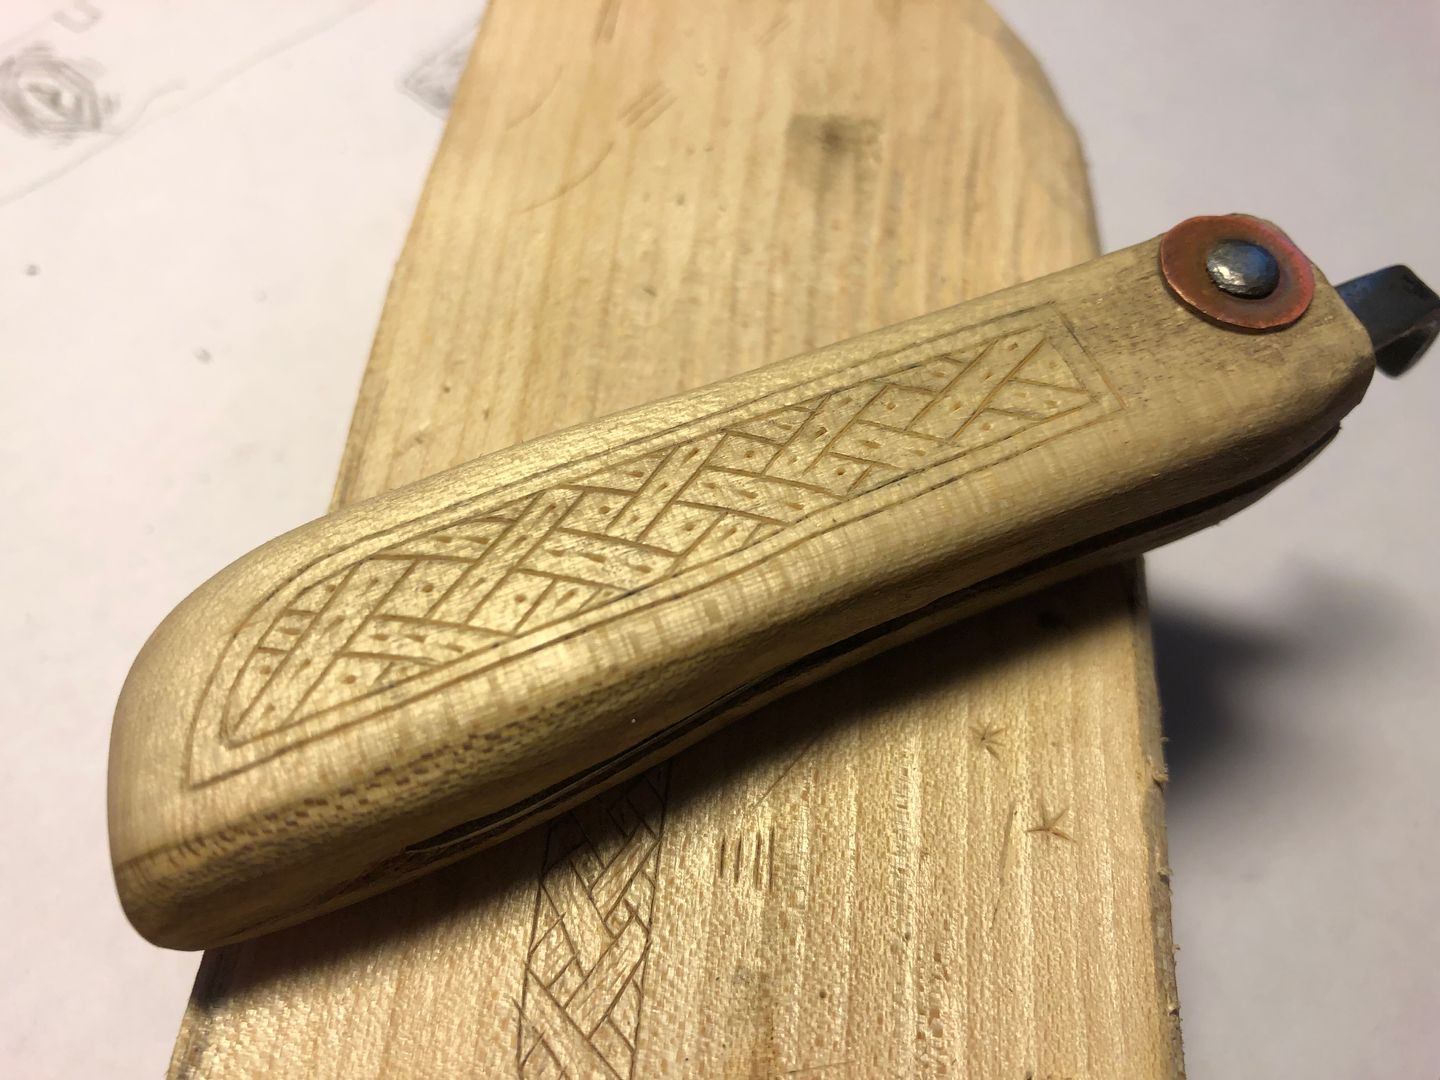
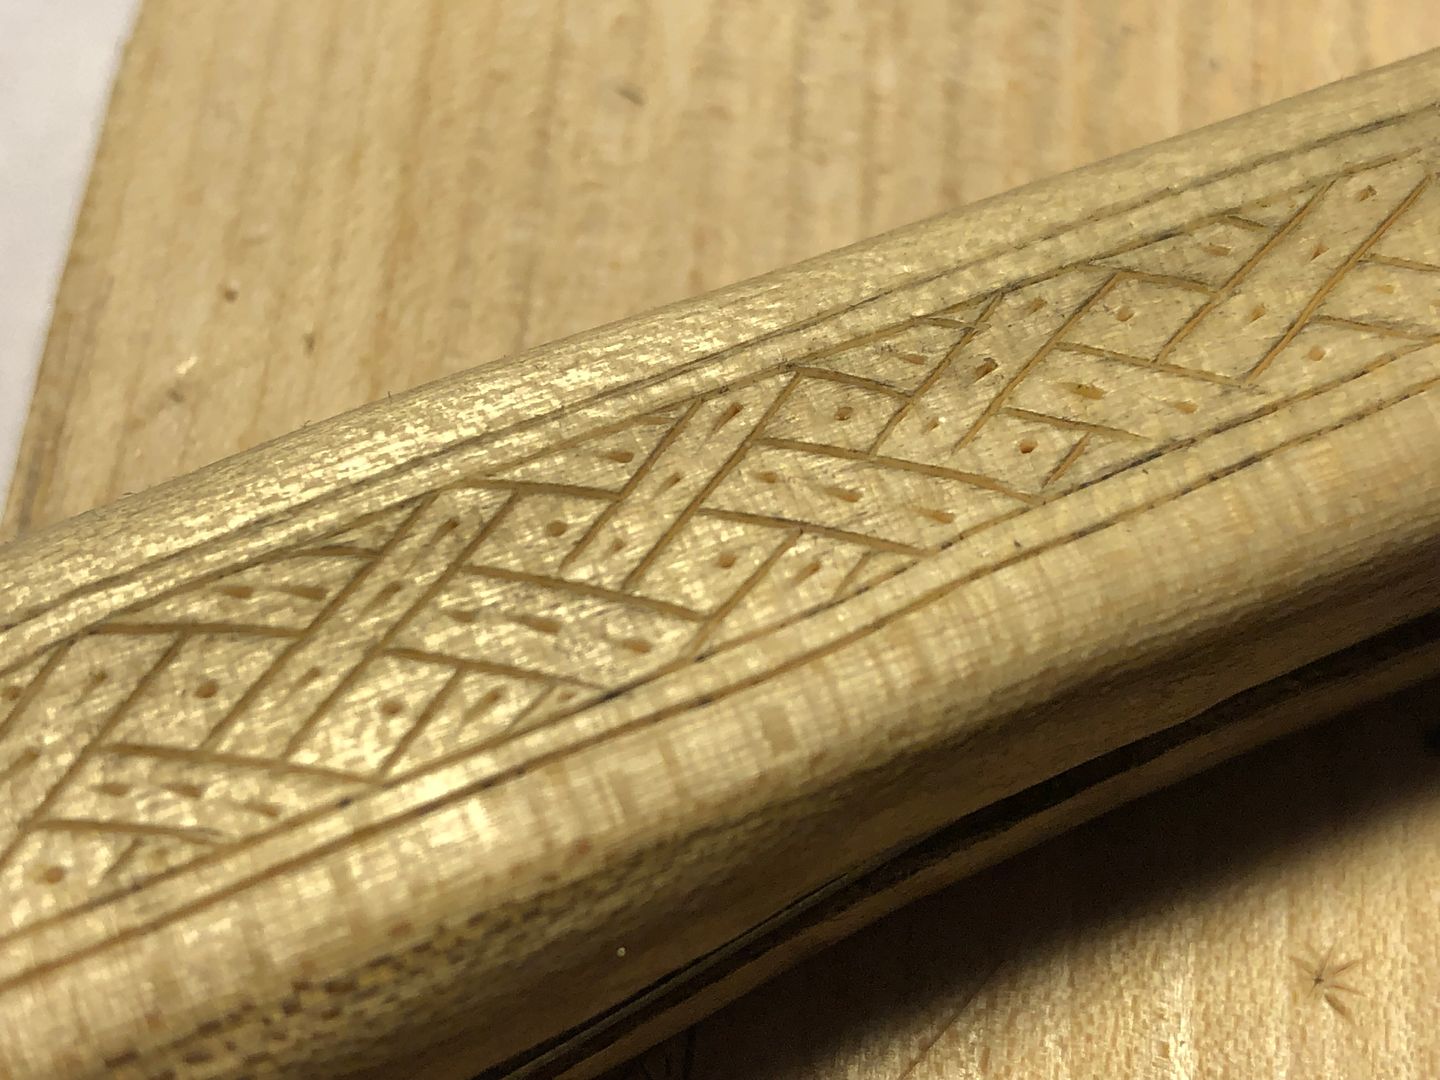
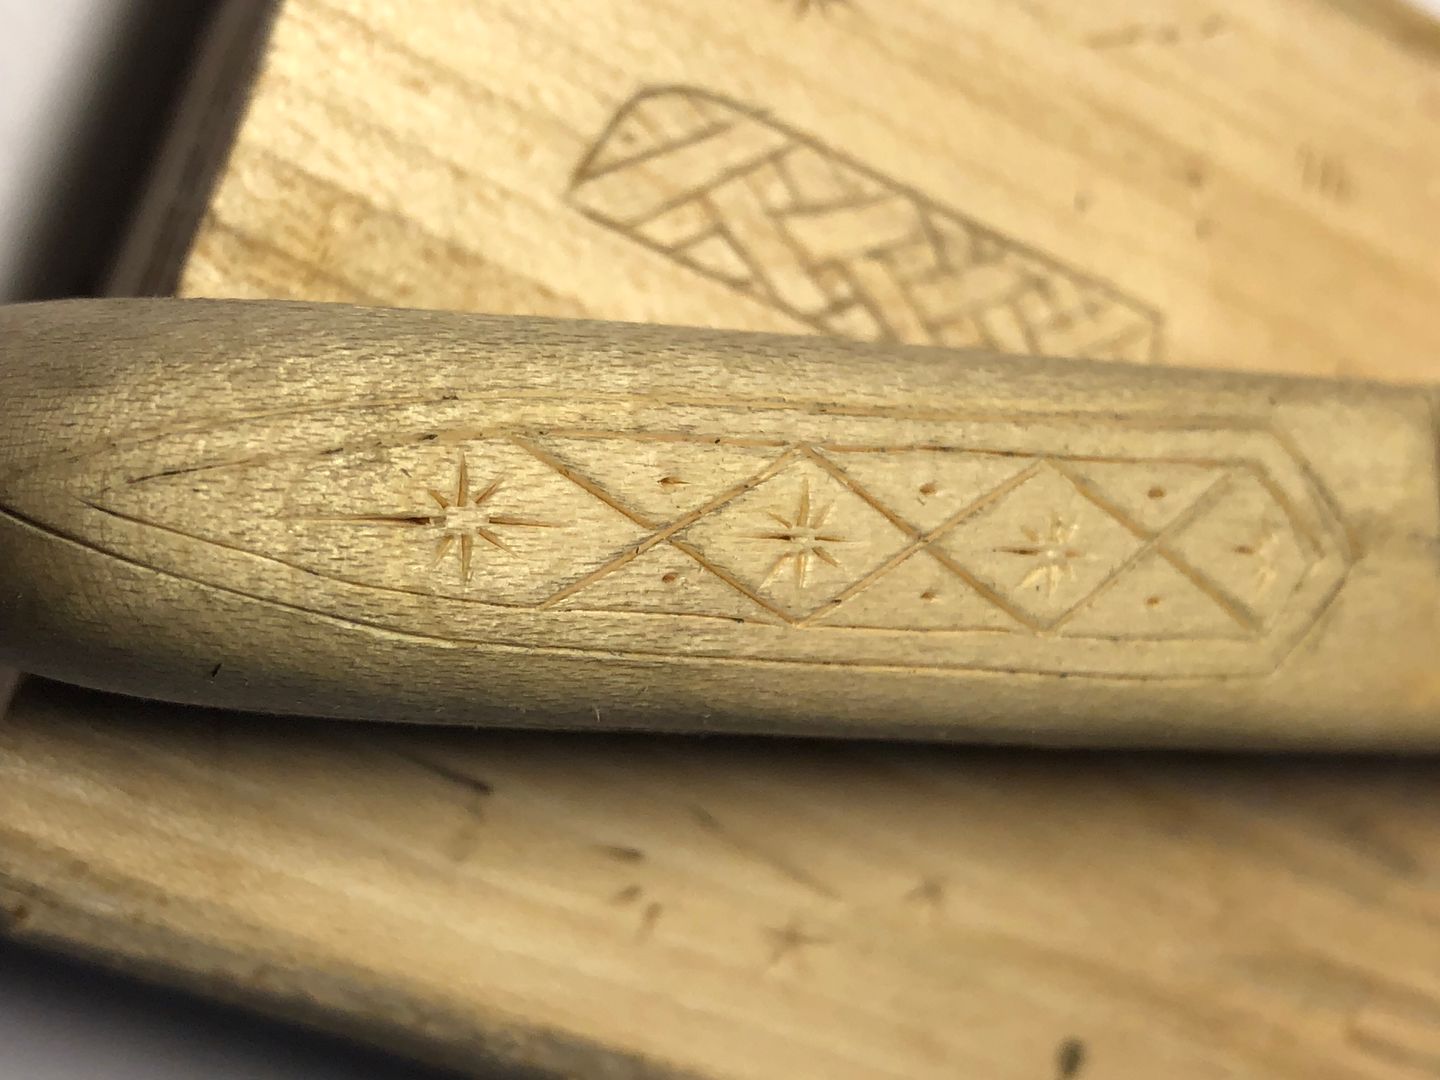
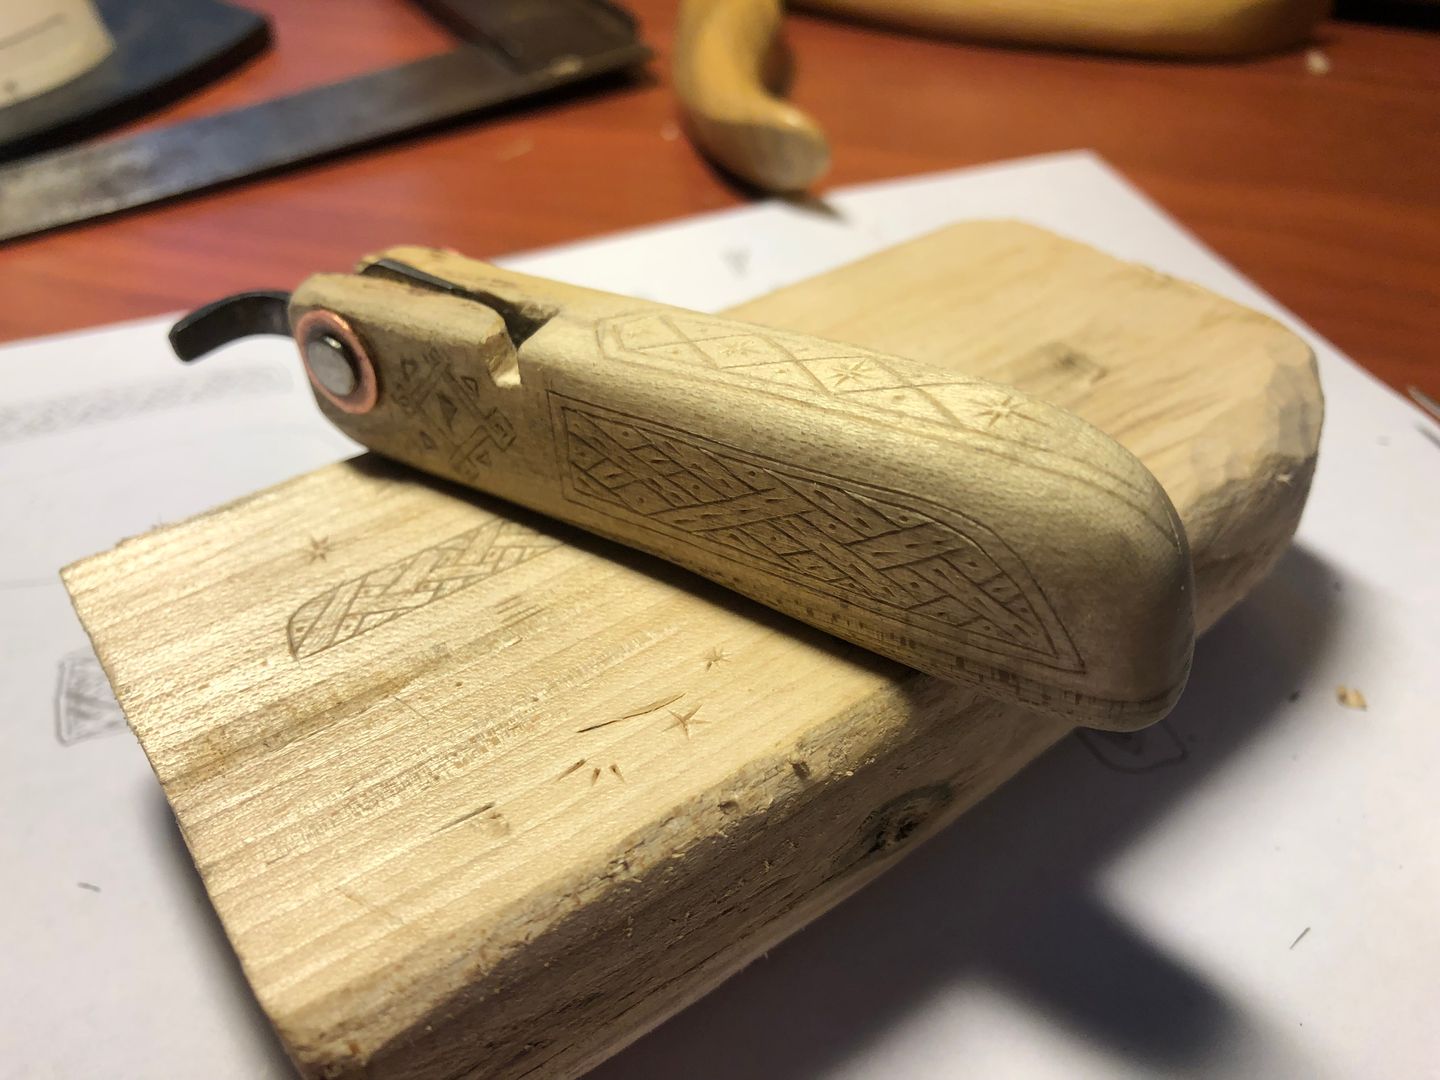
Having that part done, and done well enough for my sensibilities; it was time to add some pigment. I used charcoal dust. Simple, straightforward. And I found a certain thematic enjoyment. That the handle should be decorated in the same substance that allowed the blade to be forged.
And then I applied linseed oil.
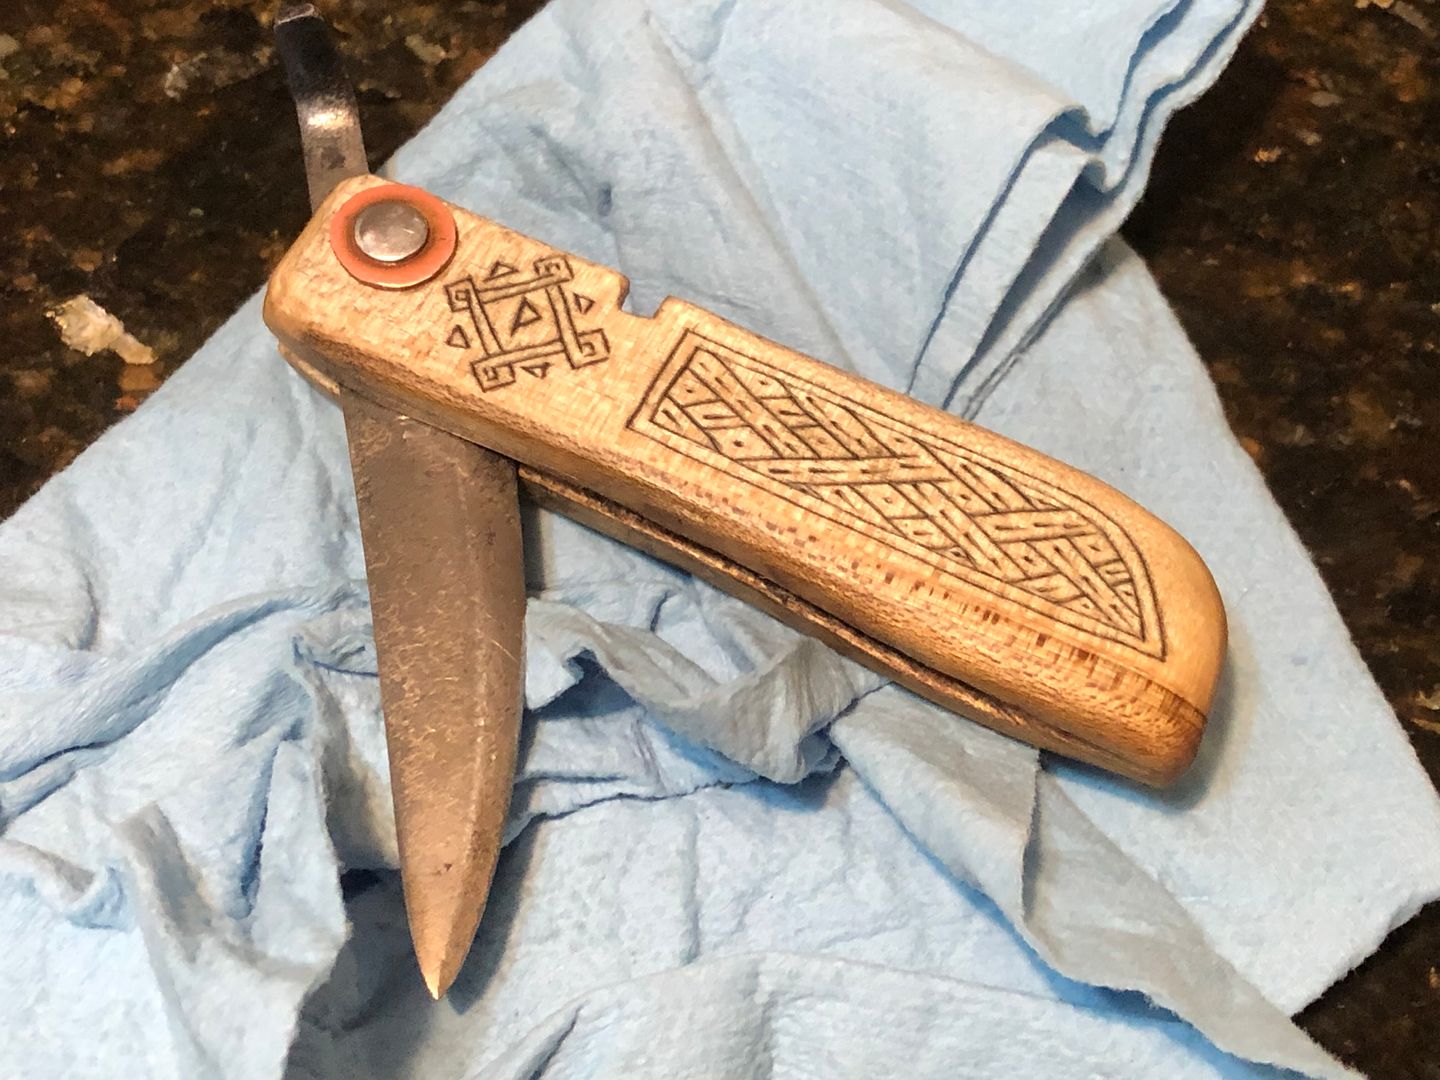
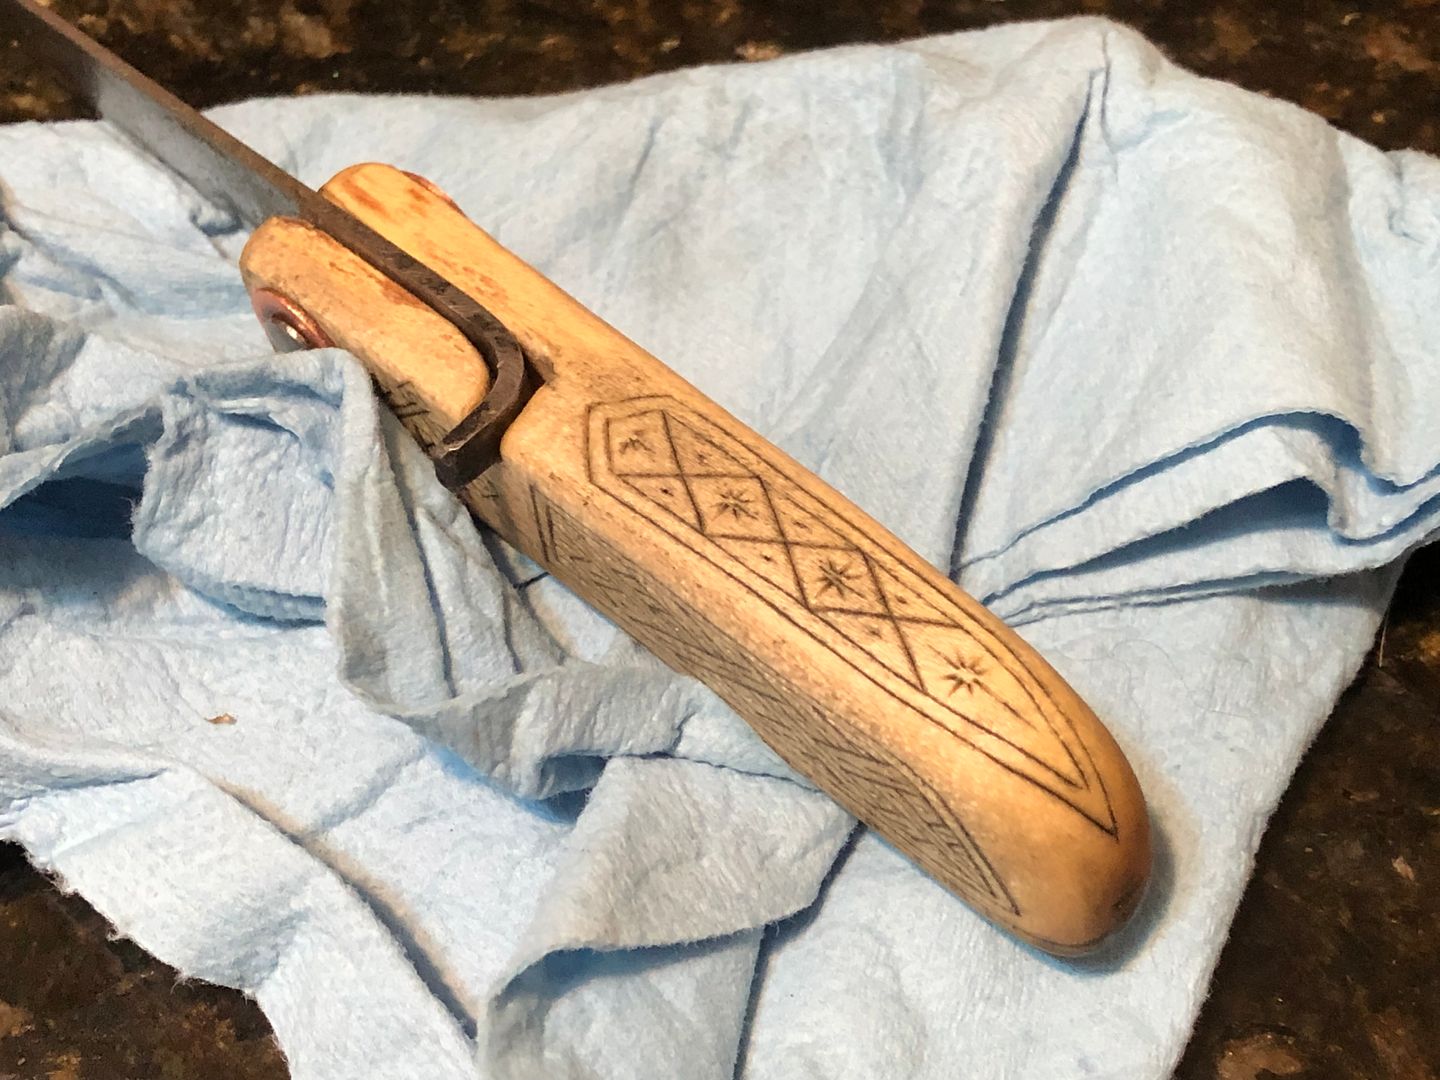
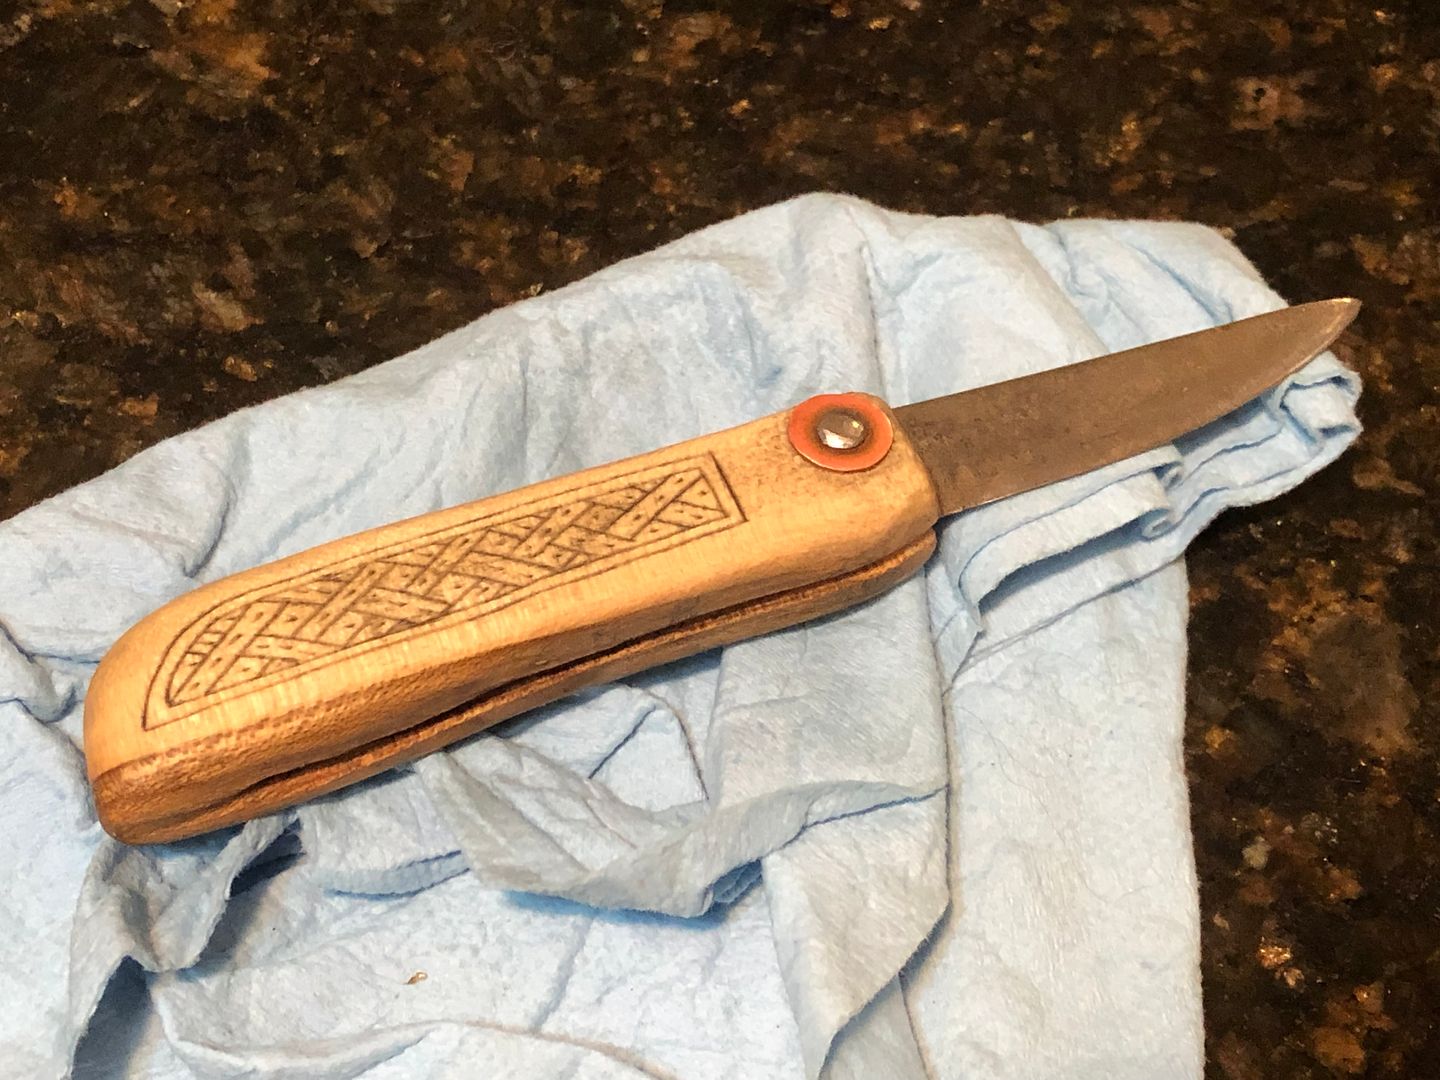
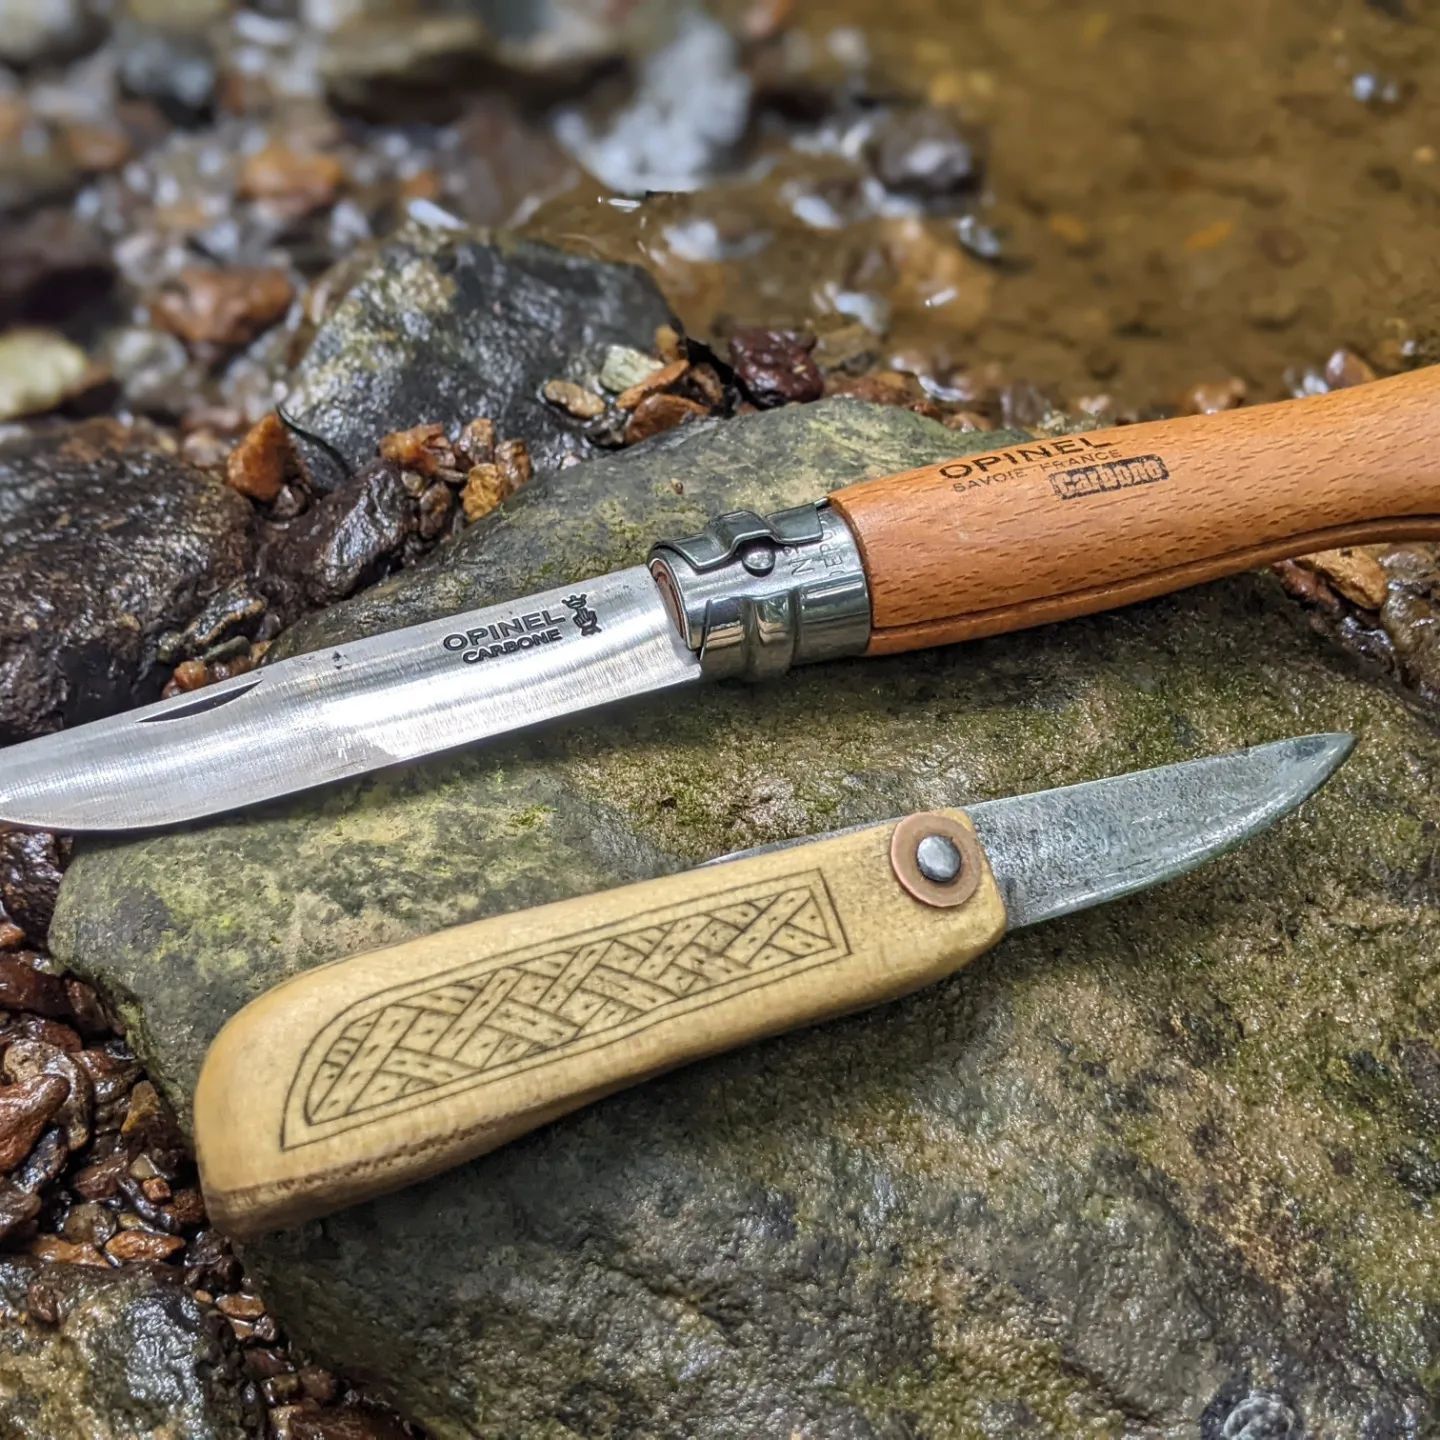
Here's it next to a carving knife I made. Clearly a step up in quality.
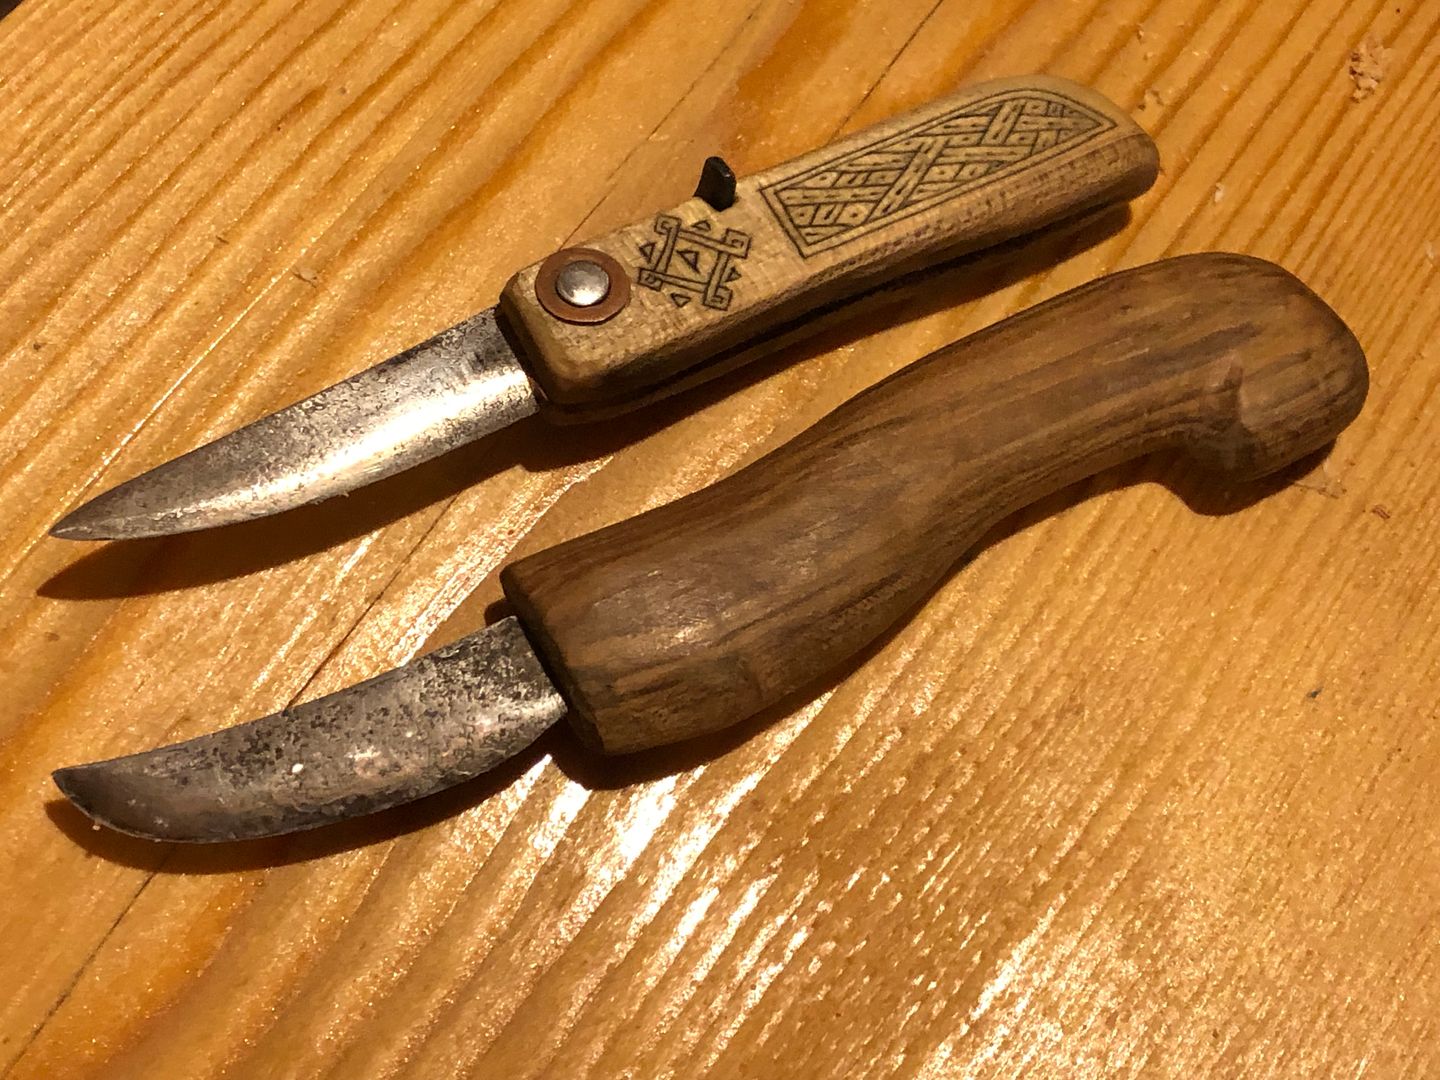
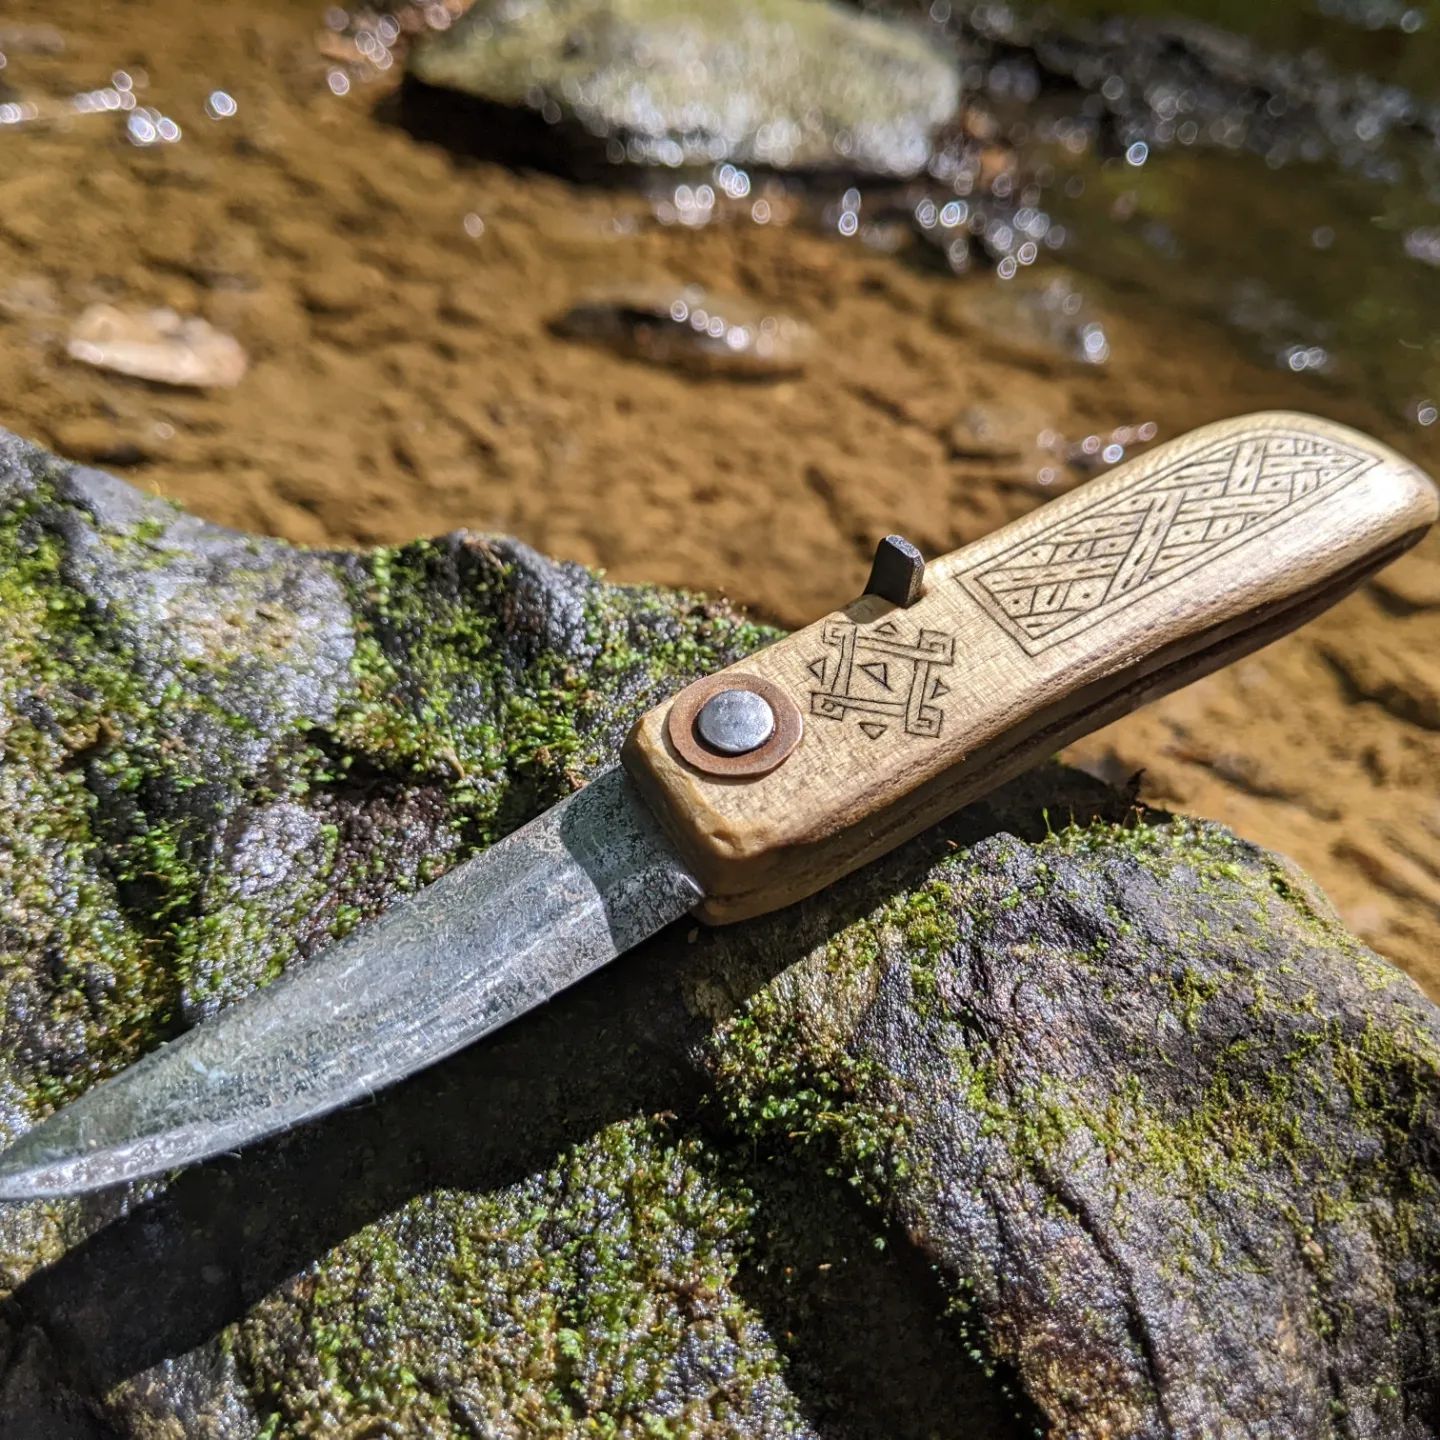
And there we have it, a peasant's knife. Most definitely one of, if not the, most intricate thing I've made to date. And much to my surprise, it came out quite well. And certainly functional.
After doing a final sharpening, up to 12,000 grit (on the same stones I use for my straight razors), I shipped it off to its new home in Maryland. It's the first thing I've made that's left Canada, which I think is pretty neat.
pretty neat
The following final images are from DJ, showing it arrived in one piece.
