The Forge
All postsDecember 22, 2020
- blacksmithing
I've wanted to forge as far back as I can remember. About a year ago I decided to take the plunge and pick up the hammer. I had no clue what I was doing and knew no smiths. So, when someone suggested to cut a propane tank in two lined with refectory cement and use it as a forge, I did. Little did I know there's a far easier method for starting out, but hindsight is never helpful the first time.
I had no clue what I was doing
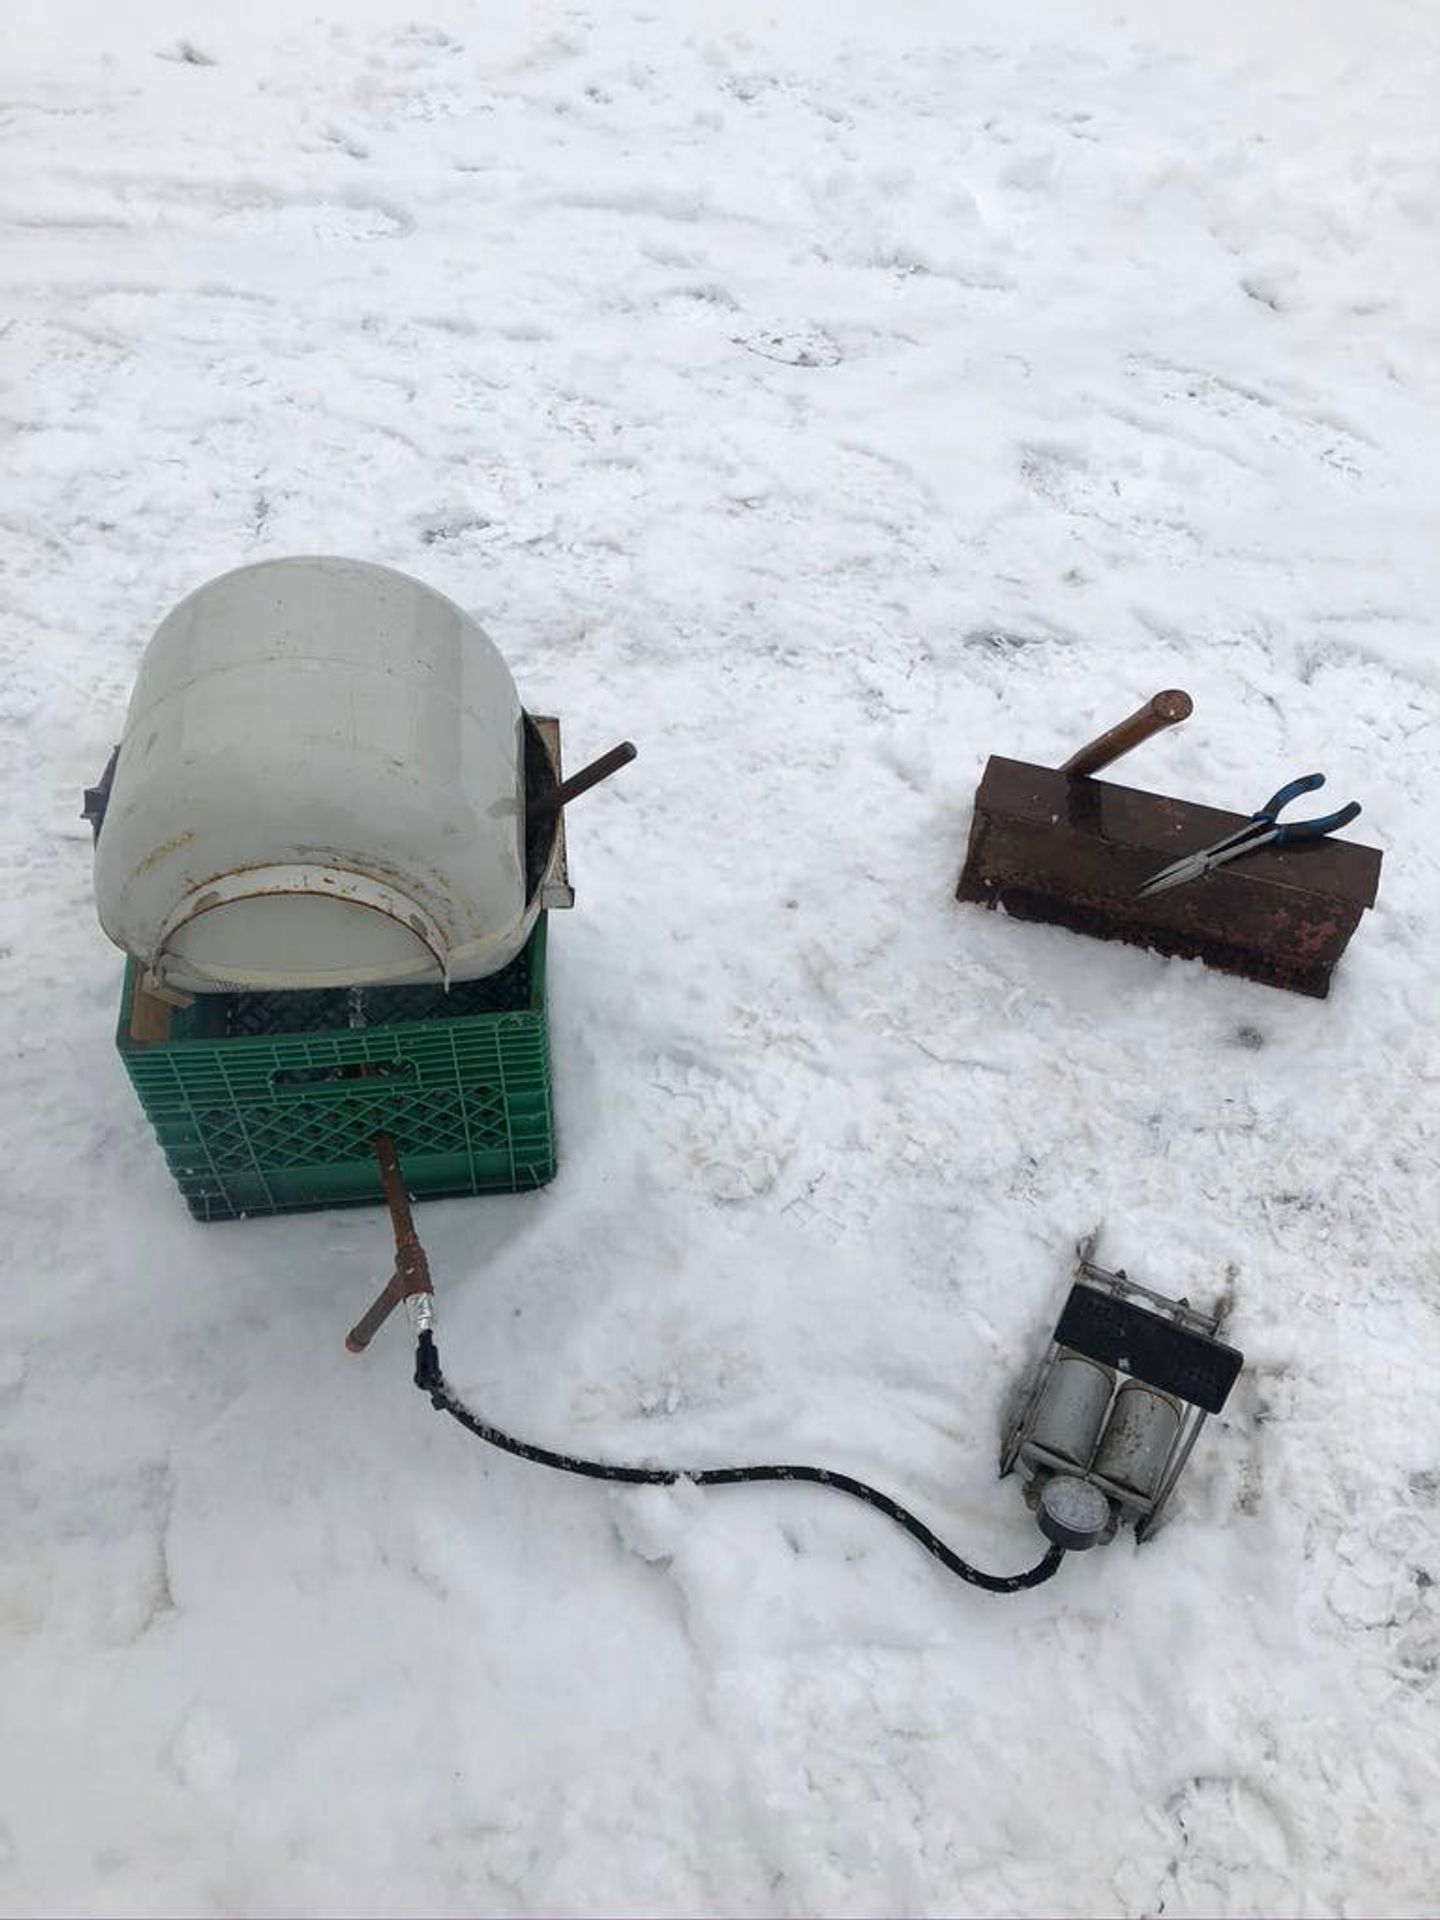
The split tank sat on top of a milk crate, with copper pipping running beneath for airflow. I had planned to use the bicycle foot pump seen in the picture below, but I quickly realized it didn't nearly supply enough air, or more accurately I couldn't keep up with the pumping. So shortly thereafter I switched to a very large air compressor that nearly turned my petty forge into a foundry. And I should mention that I was using charcoal briquettes which was a limitation on the level of heat I could reach and routinely filled the forge belly with ash.
Not long after I moved the forge into a more usable smithy. My small anvil sat directly on the ground, held down by only some snow, bouncing with every strike. At least, though, I realized I needed to move away from using briquettes. After switching to real charcoal (lump charcoal) things at least got a bit hotter.
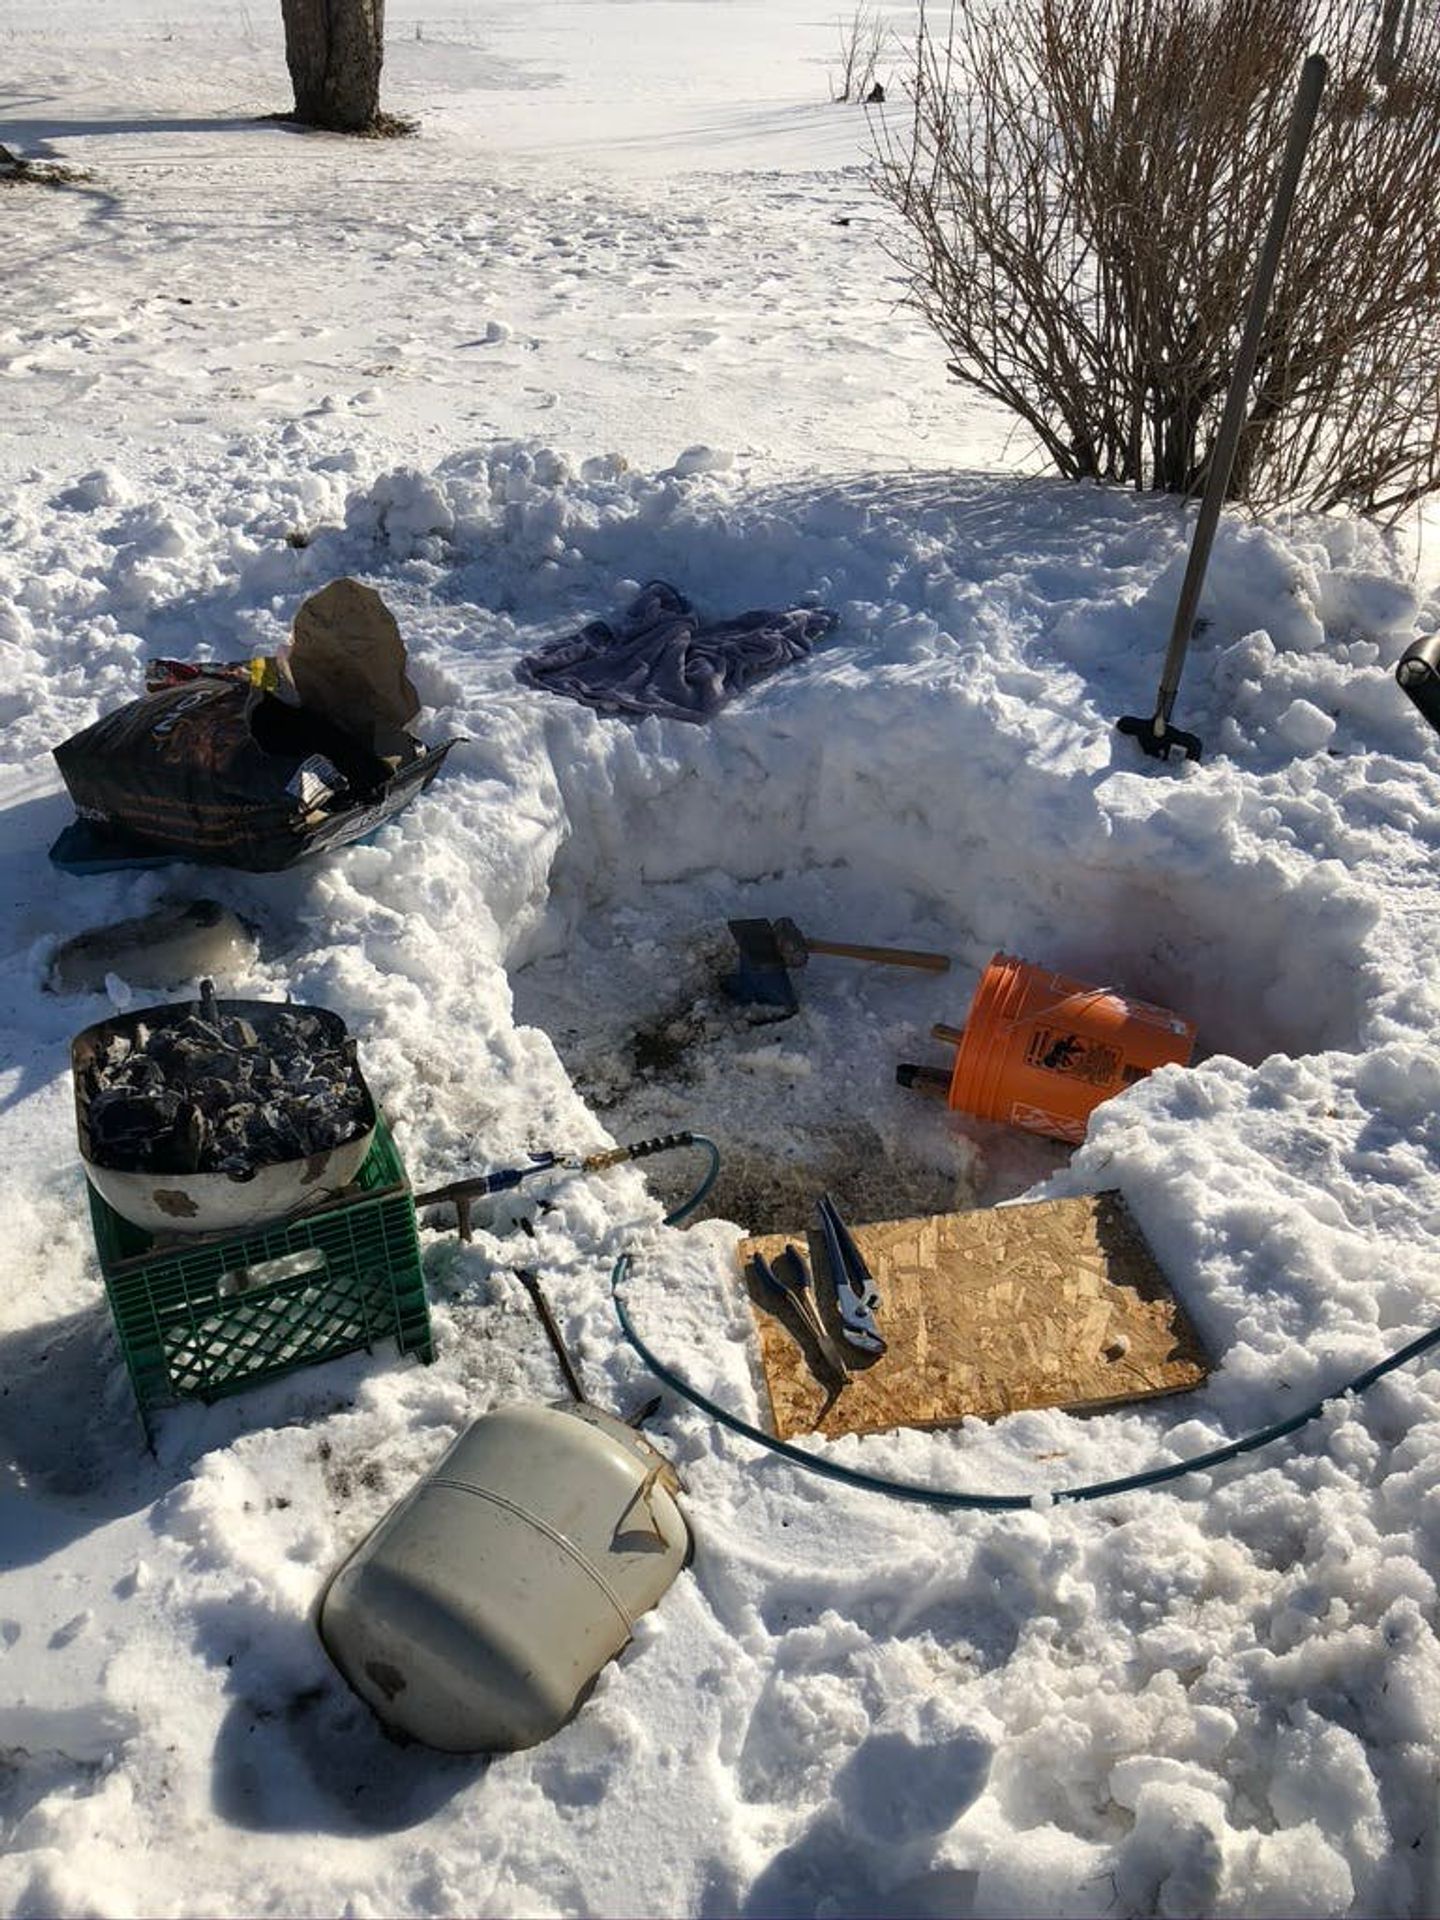
This all work quite poorly, but just enough to get me hooked. I managed to forge a butterknife out of an old bolt with this setup. Course the knife was rather accidental. I didn't plan to make anything really, I just kept striking hot steel and it just kinda popped out.
I just kept striking hot steel and it just kinda popped out
As much as I liked the ease of using an electrical air compressor, it was really loud and I find I tend towards doing things by hand. Consequently I read and researched many different forms of bellows. A large western double lung would have been great, yet I didn't posses the skills to make one, nor the materials. Thus I settled on a more practical design, the fuigo box. Japanese swordsmith bellows, efficient, cheap, and cool sounding. Though I still didn't think I could make one yet with the little talent I possessed.
Instead I came up with my own design, a bucket bellows. Following the same principles as the fuigo box but using resources more readily available for me. And I finally moved the anvil on to a stump, no longer overly breaking my back.
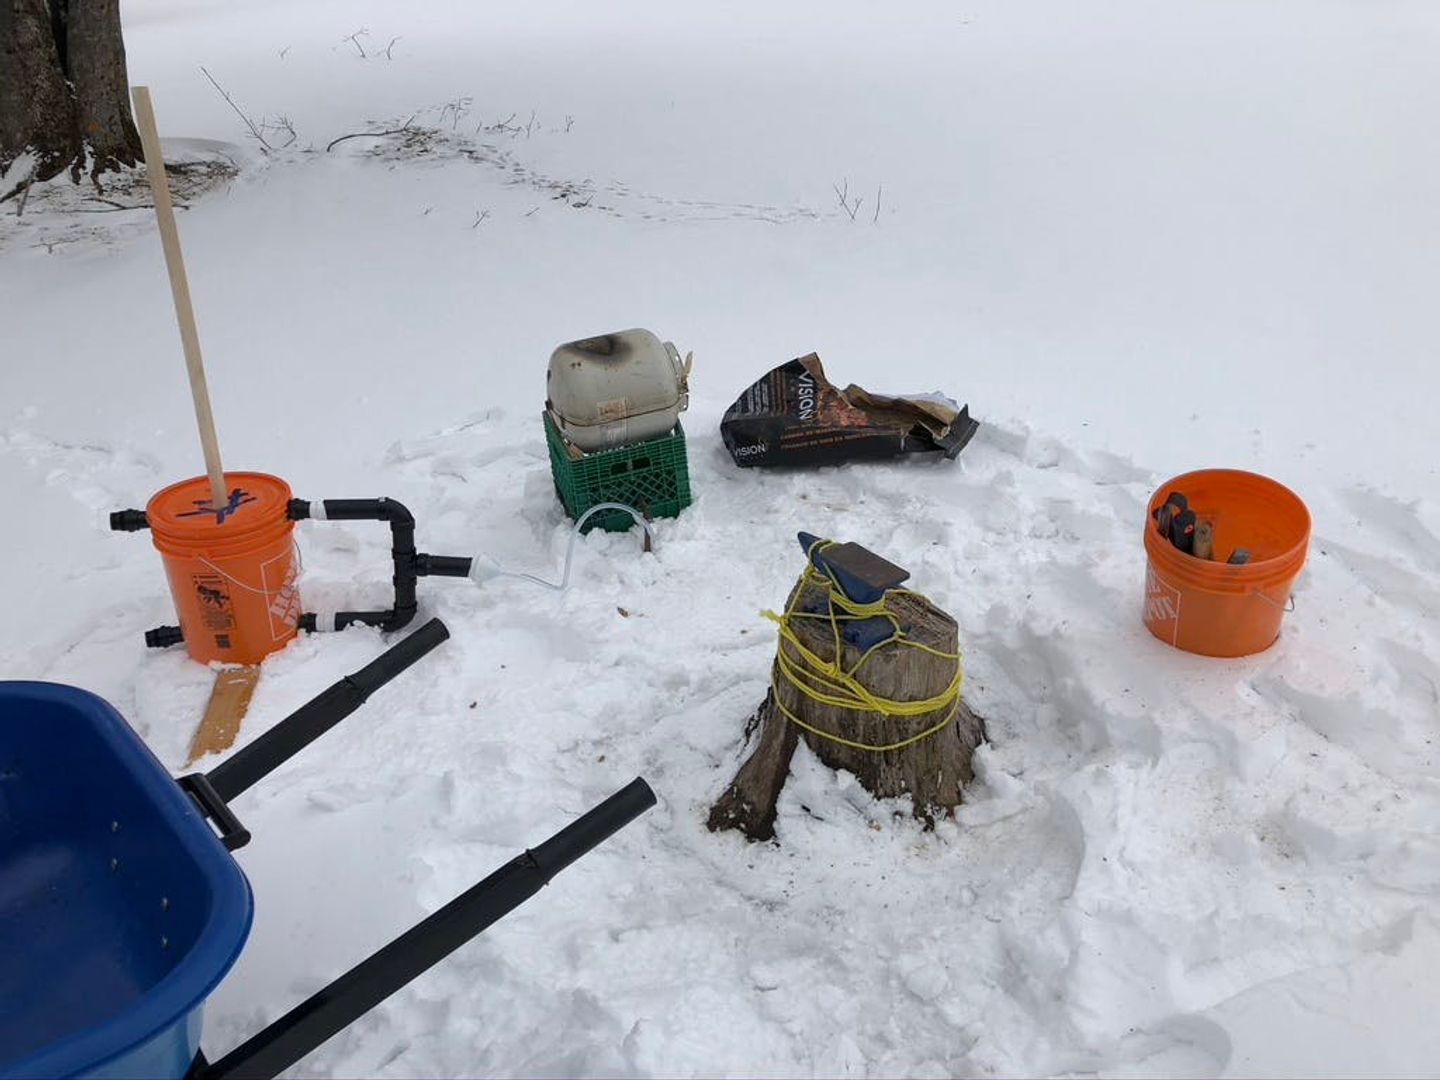
Now, I still think the bucket bellows were a really good idea, but with subpar construction and overuse they broke quite quickly. By moving the anvil to the stump, I was no longer within reach of the air compressor, so I had to find a new solution. Simple, invert the shop vac. This lead to a new issue that took me a long time to realized, I had too much airflow now. Too much airflow will burn through fuel fast and the air was cooling off the steel.
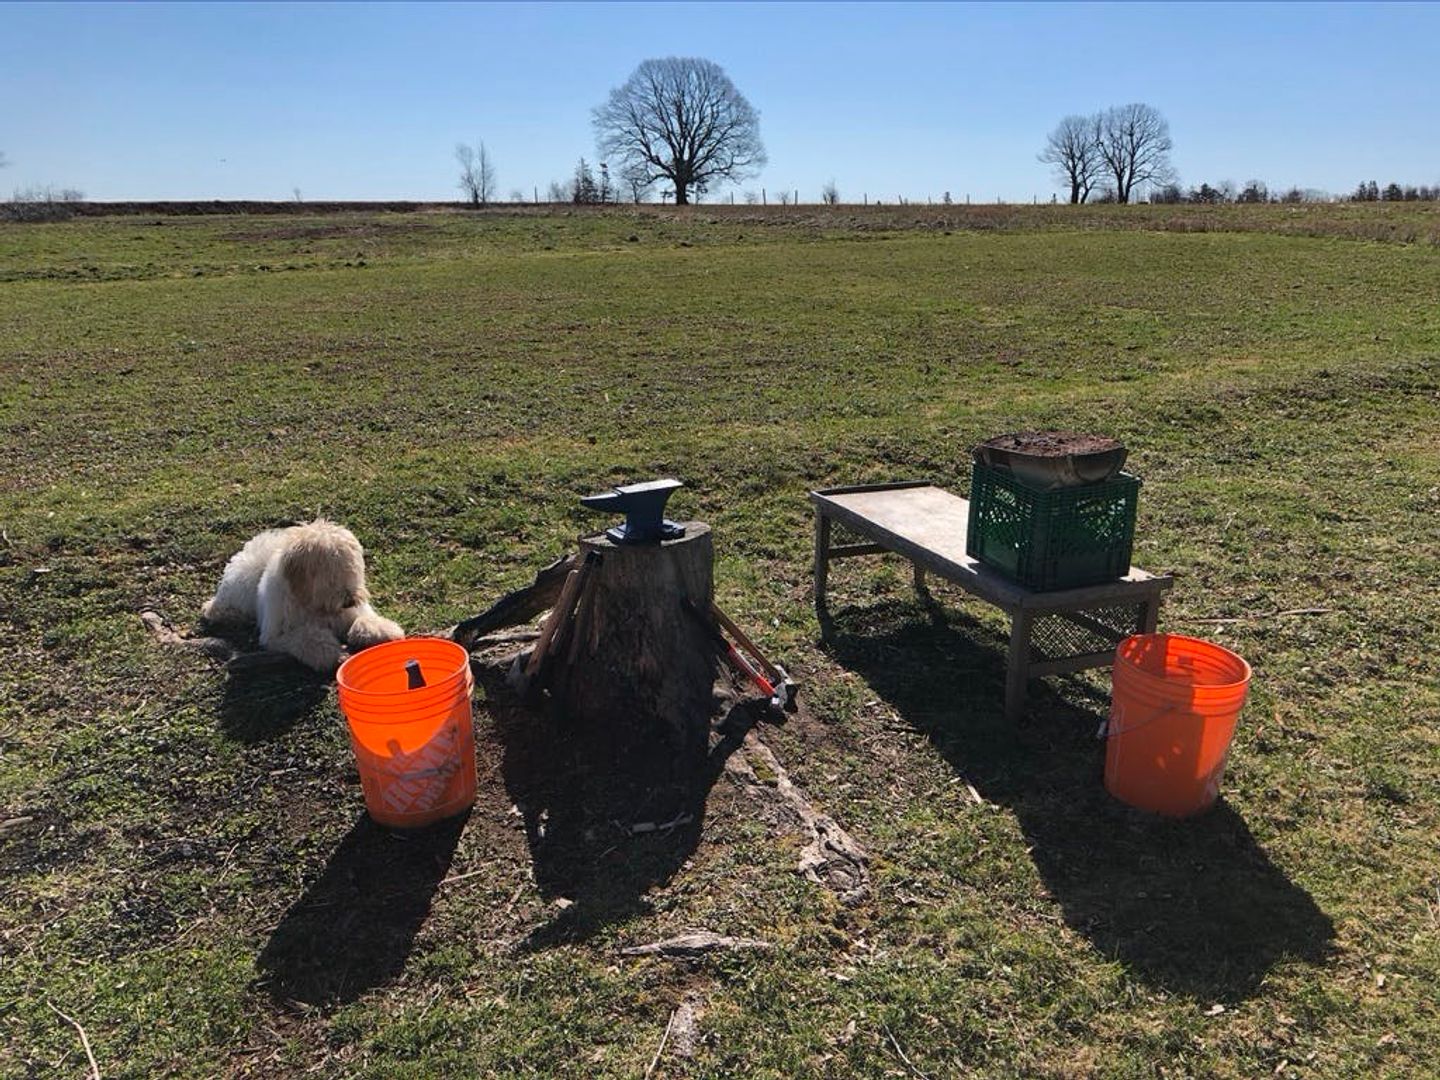
Things were working better. Feeling like I knew to some degree what I was doing, I decided to forge a pair of tongs. It did not go well. Things were good at first but I found that I had forged the ends too thin. Discouraged but enduring, I left the left one half too long in the forge. It burned quite a bit off, driving home the proverbial final nail. Although in making the tongs, I started building up the forge with rocks, a key moment in the evolution of my smithy.
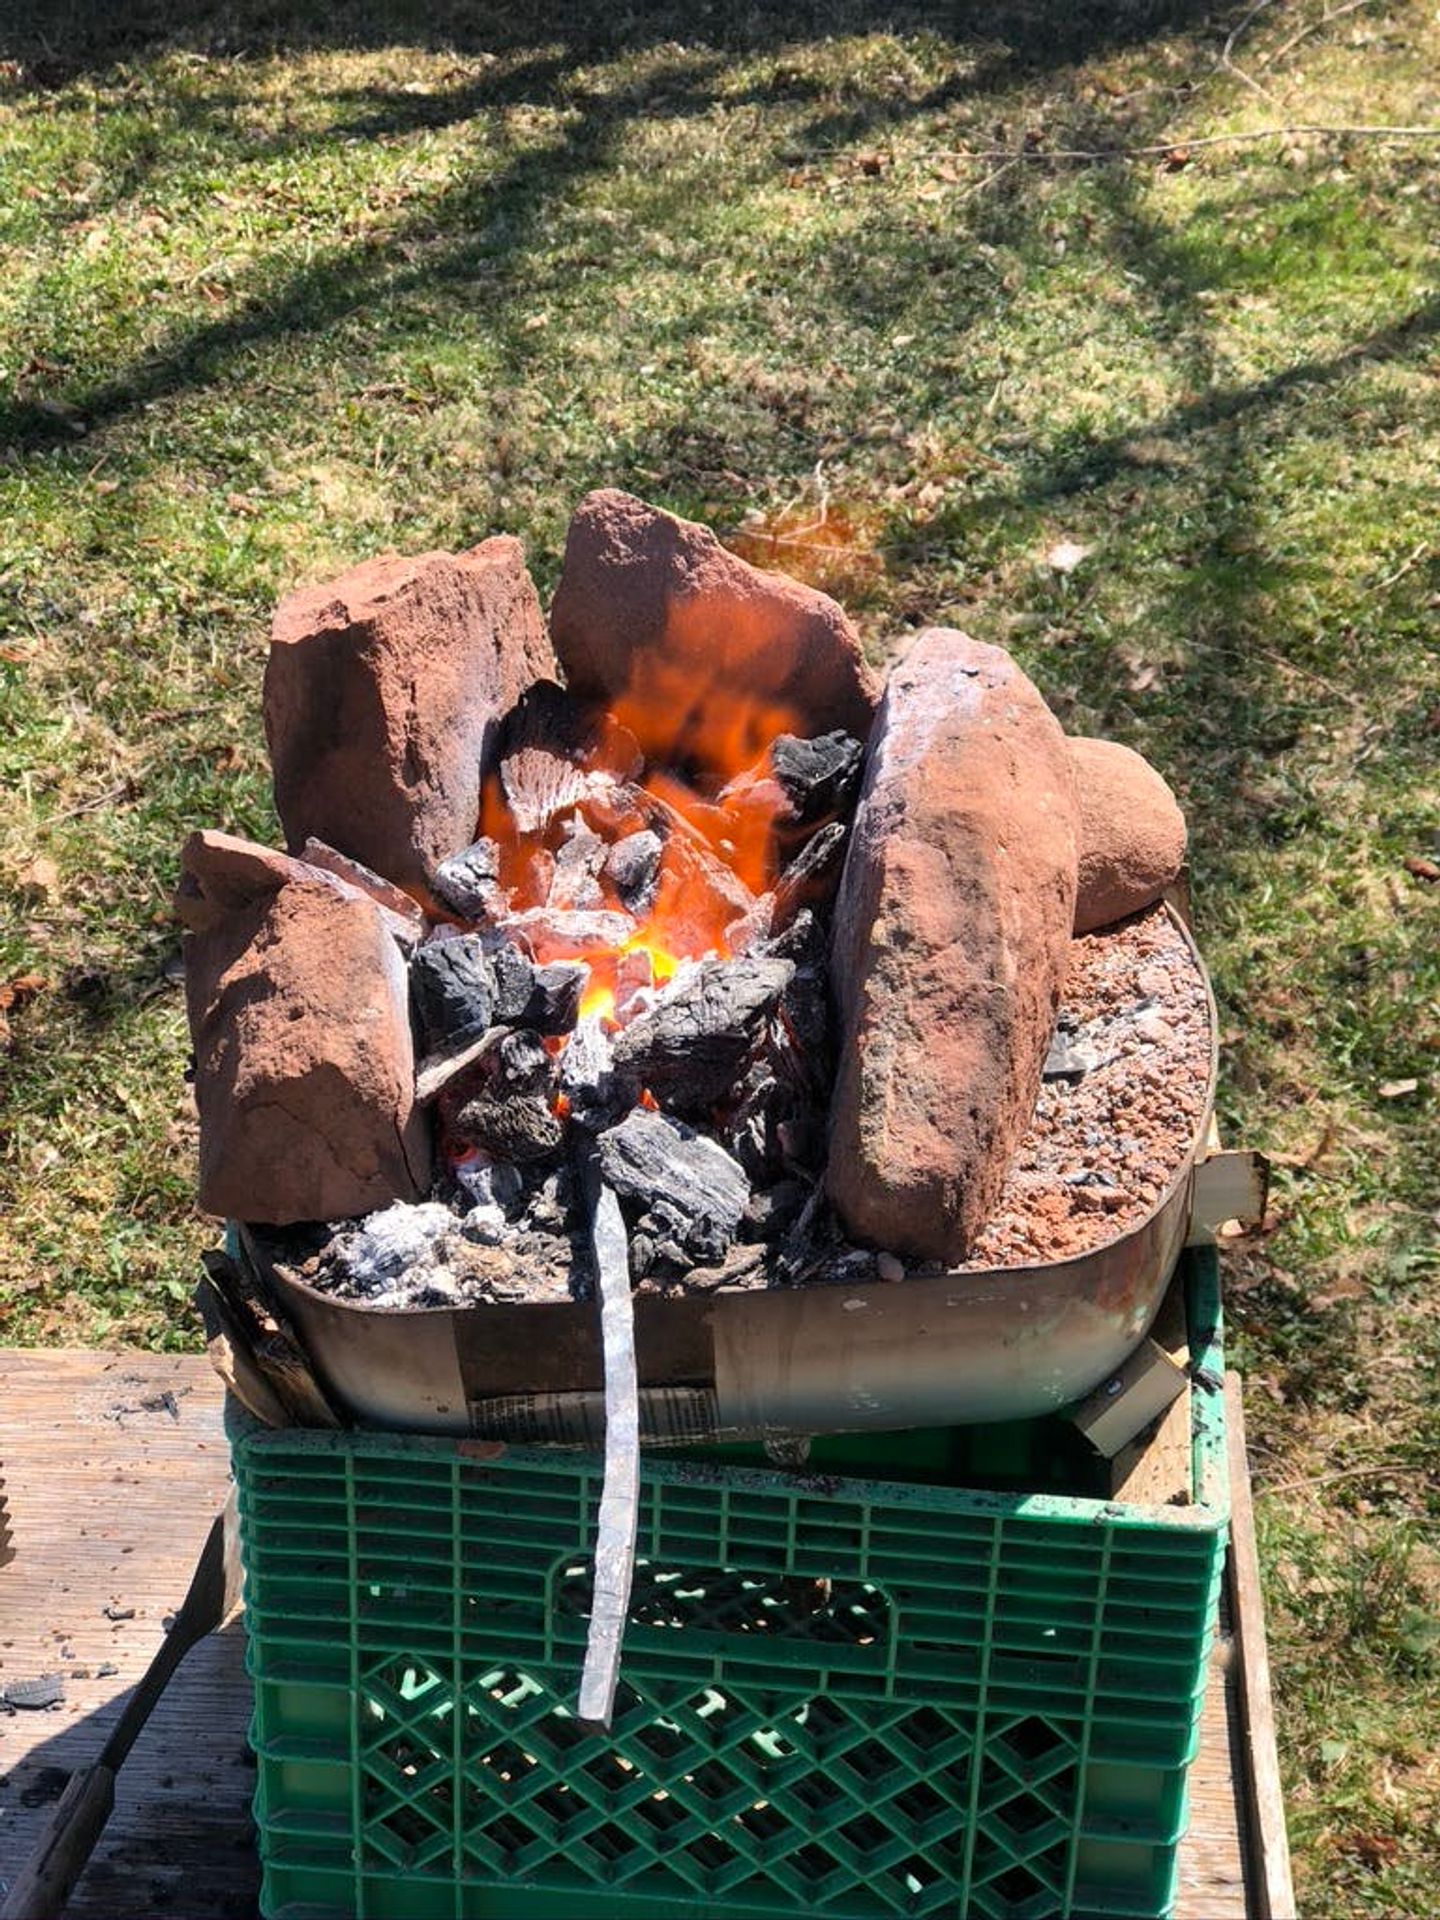
After the tongs ordeal, I for some reason decided to do something even crazier. I decided that I would forge a seax. This project ended up taking many months. I bought a leaf spring from the local auto dump for $10 and hot cut it to length. Also, I made a stand for the anvil.
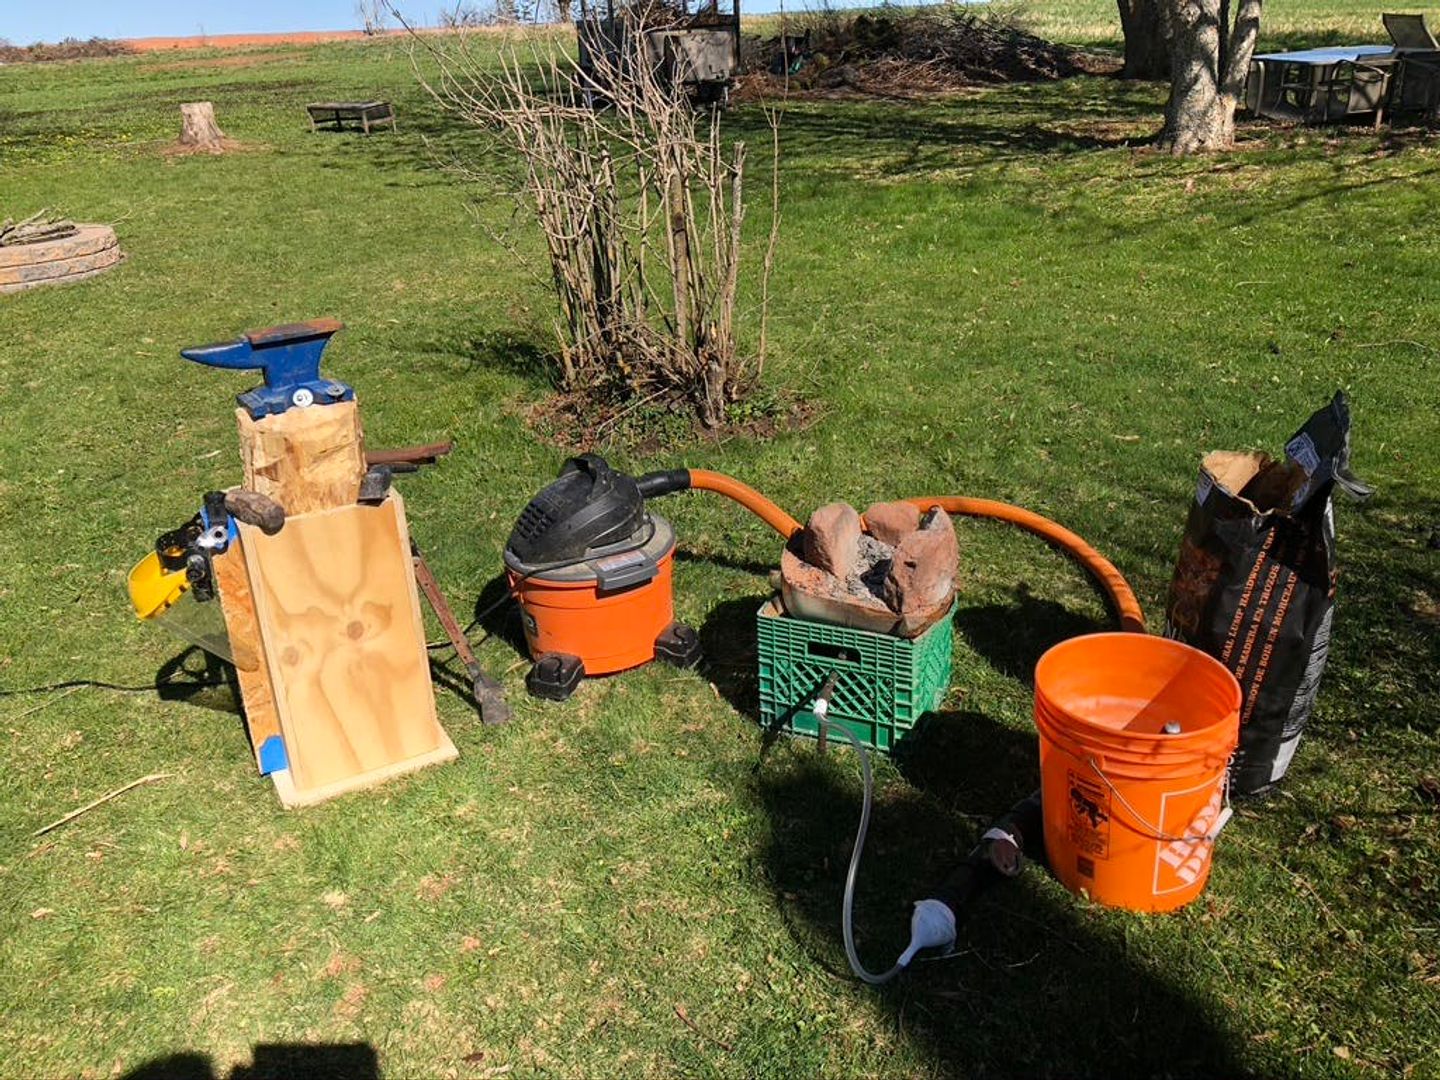
The stand worked horribly and I quickly realized I needed to go back to the stump. But I was quickly outgrowing the forge. I kept building and adding more rocks to it. Then it hit me, finally, that I don't need refectory cement or steel to make a forge, all I need is mud!
all I need is mud!
So I made a new forge out of mud and rocks and it was so very much better.
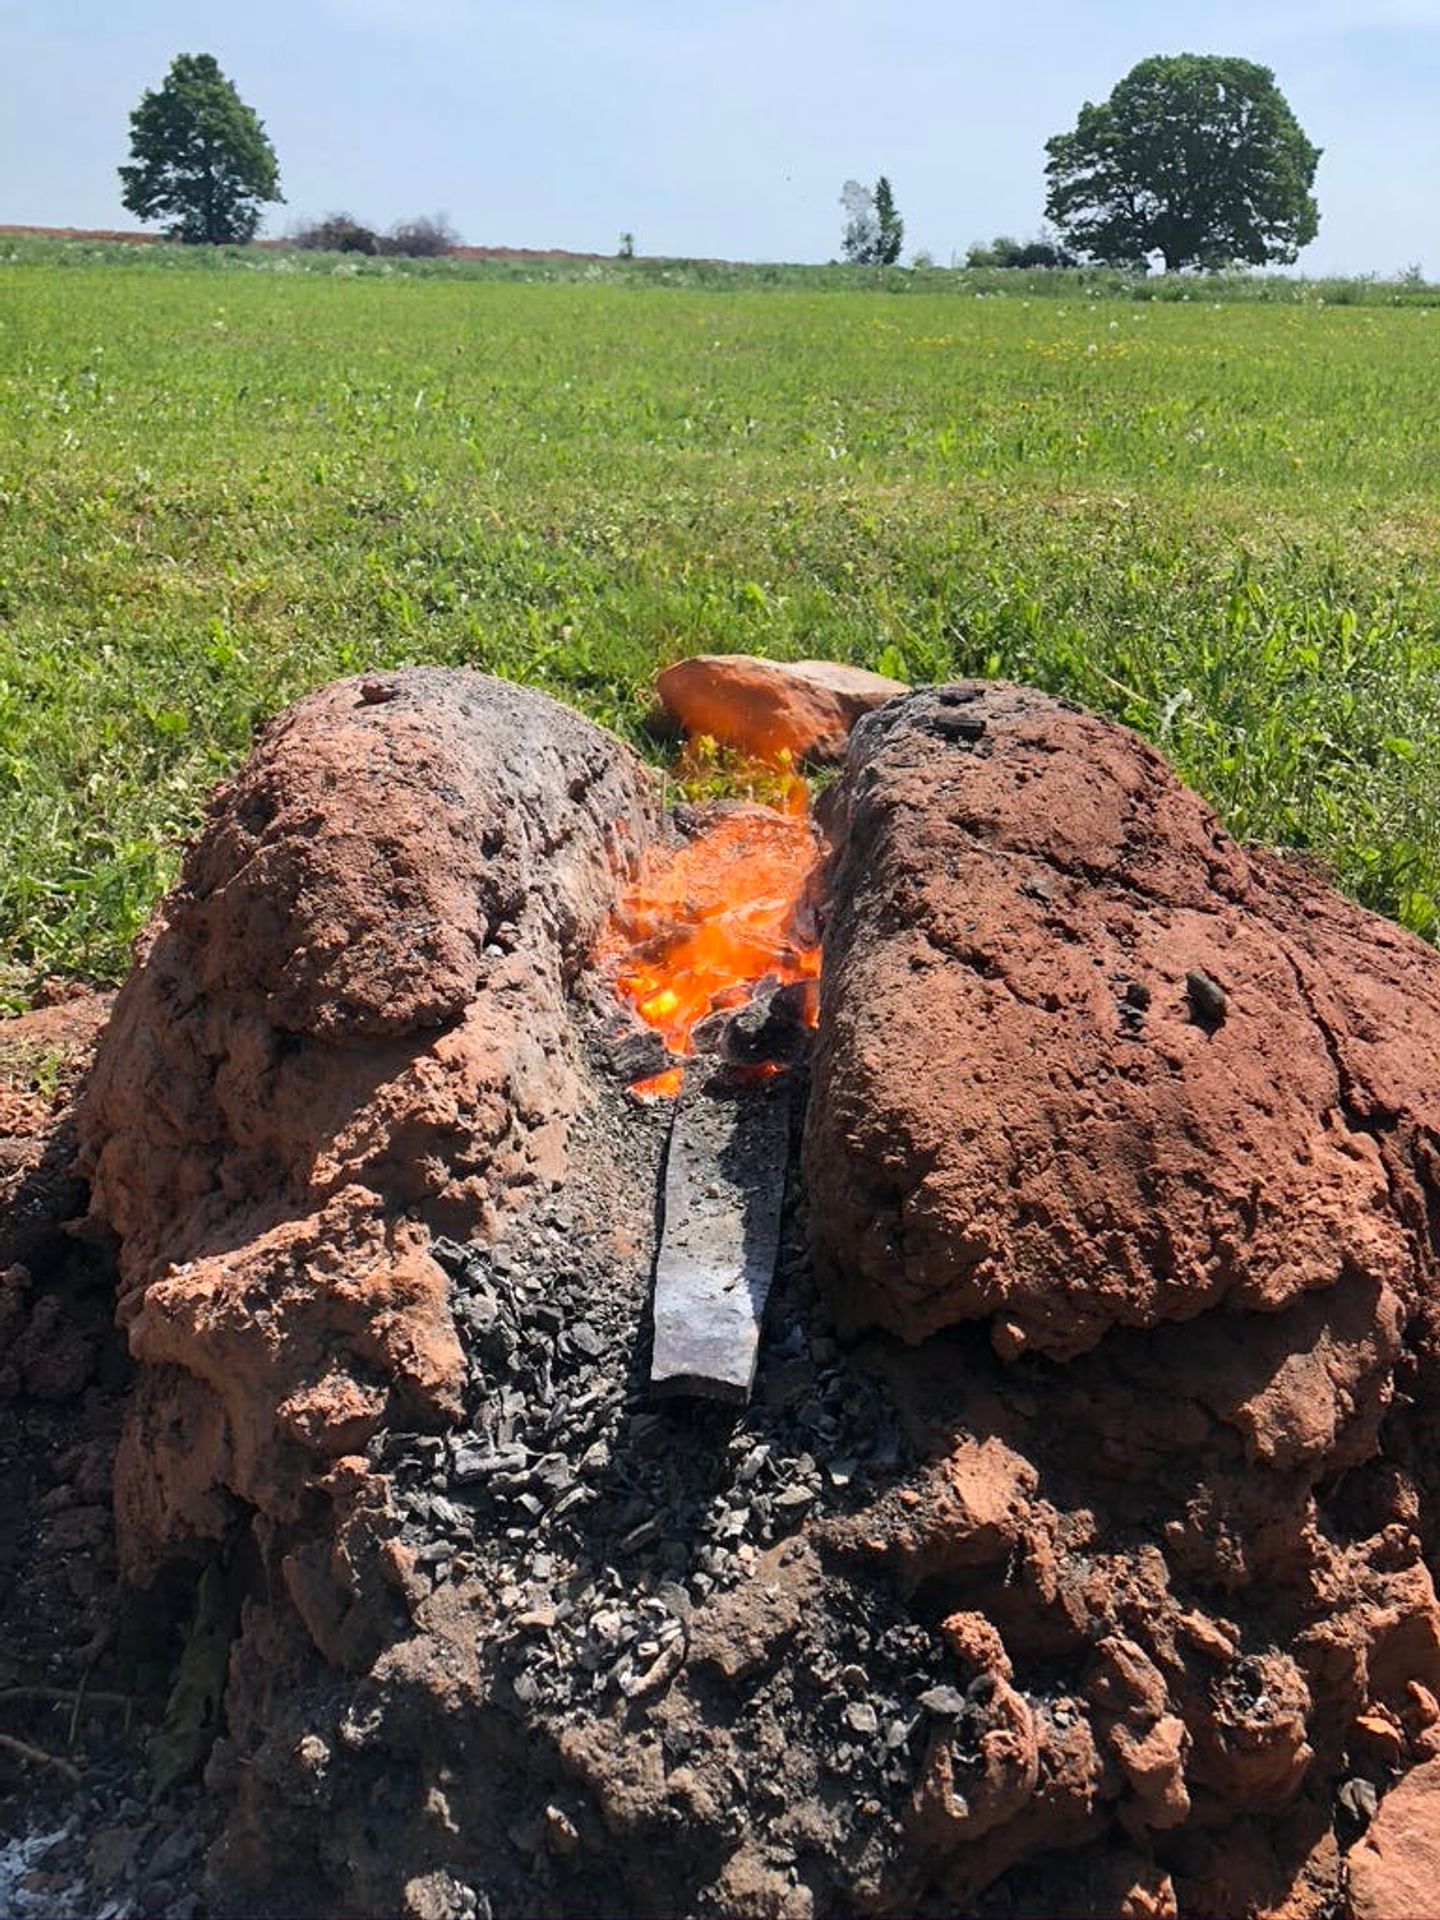
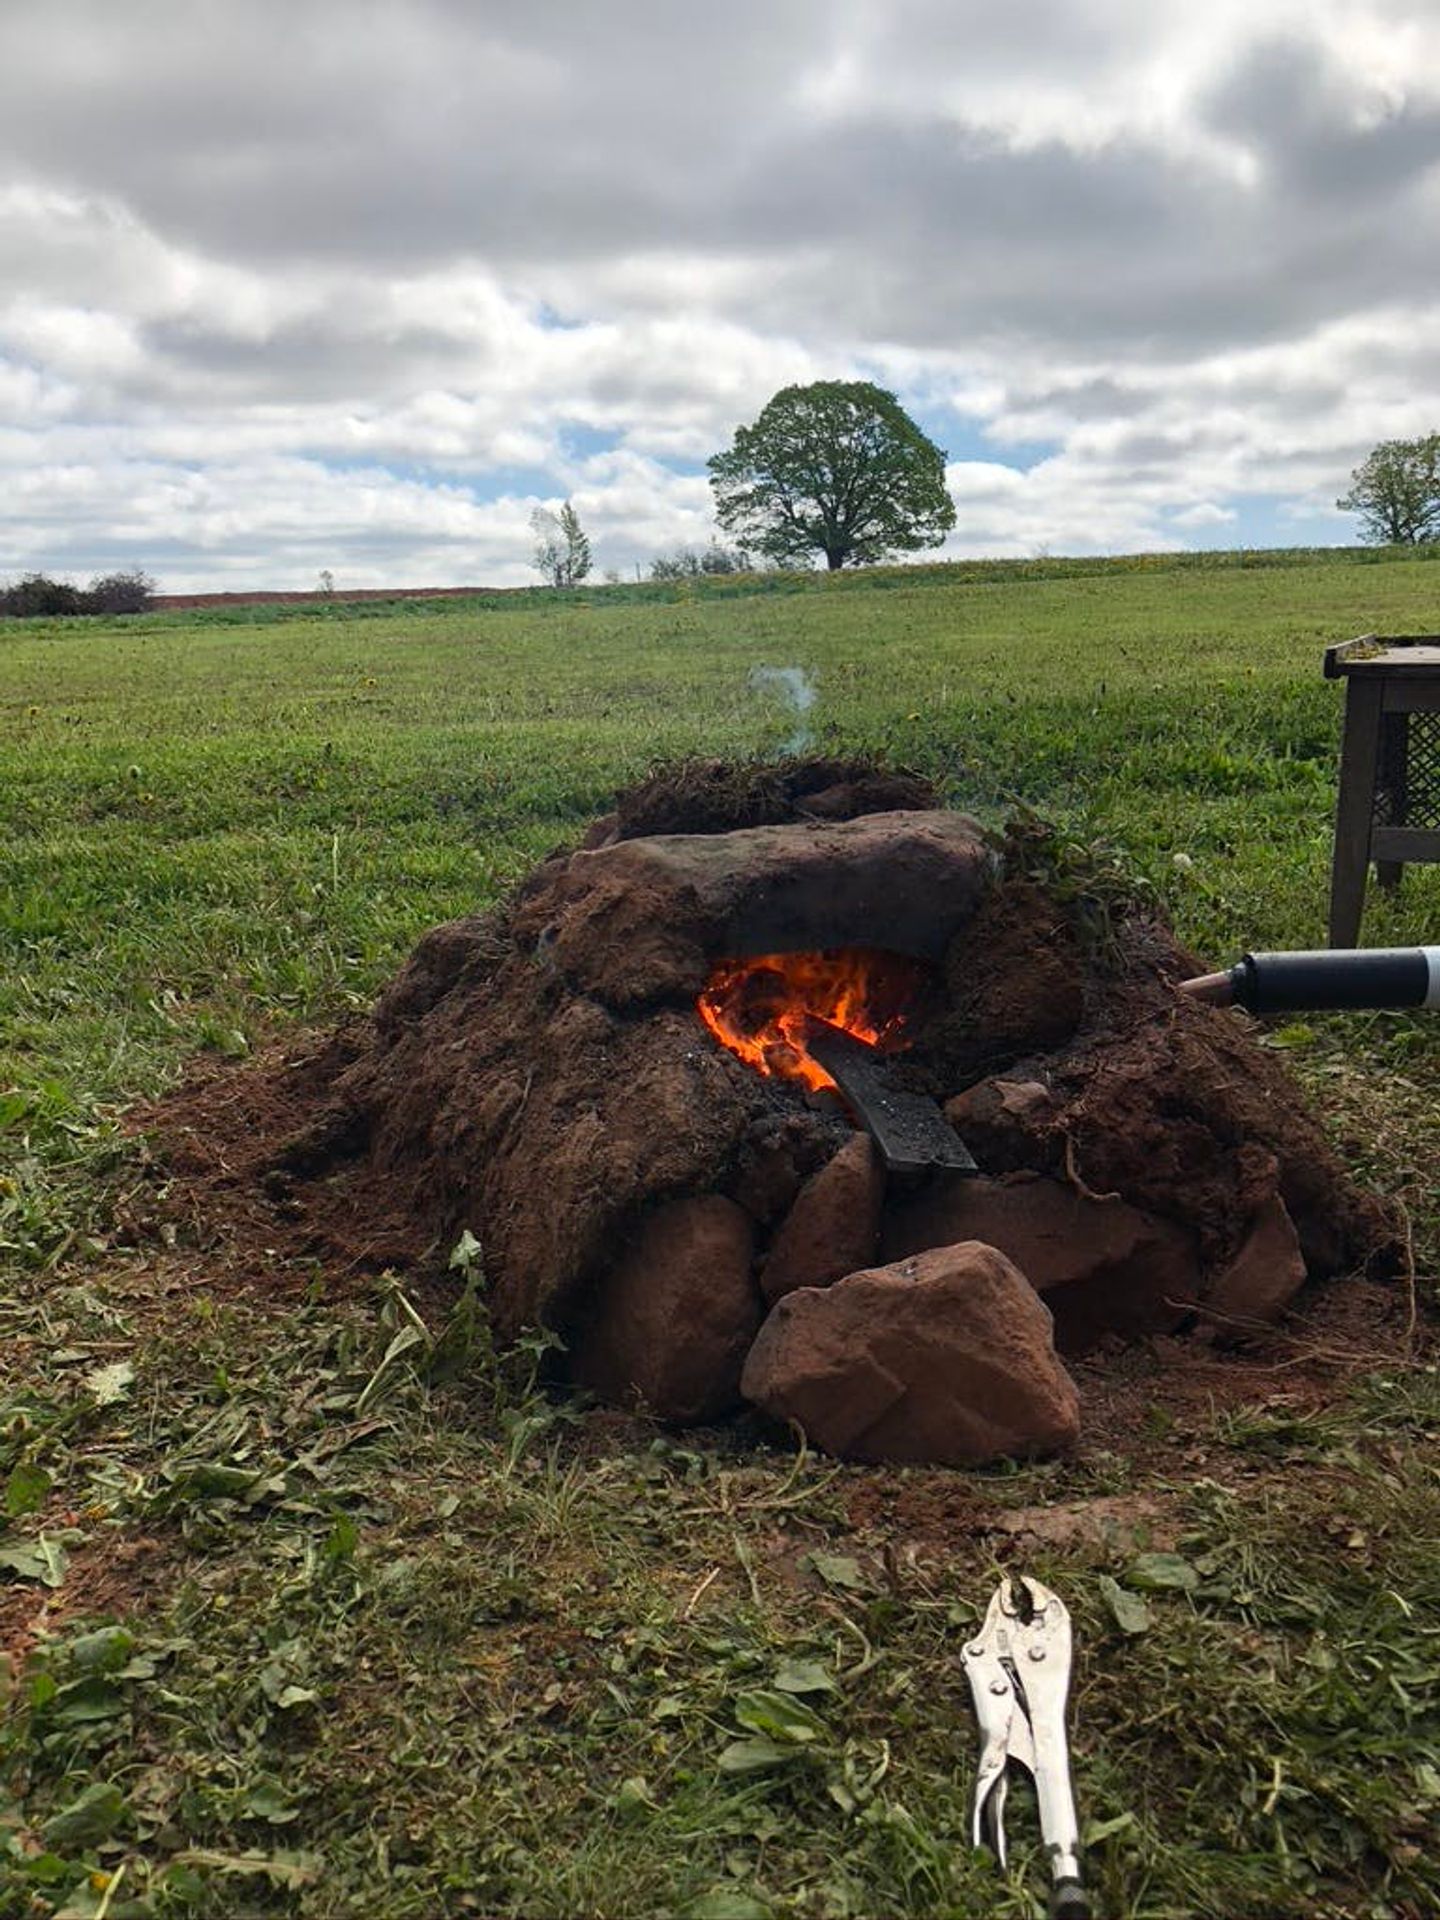
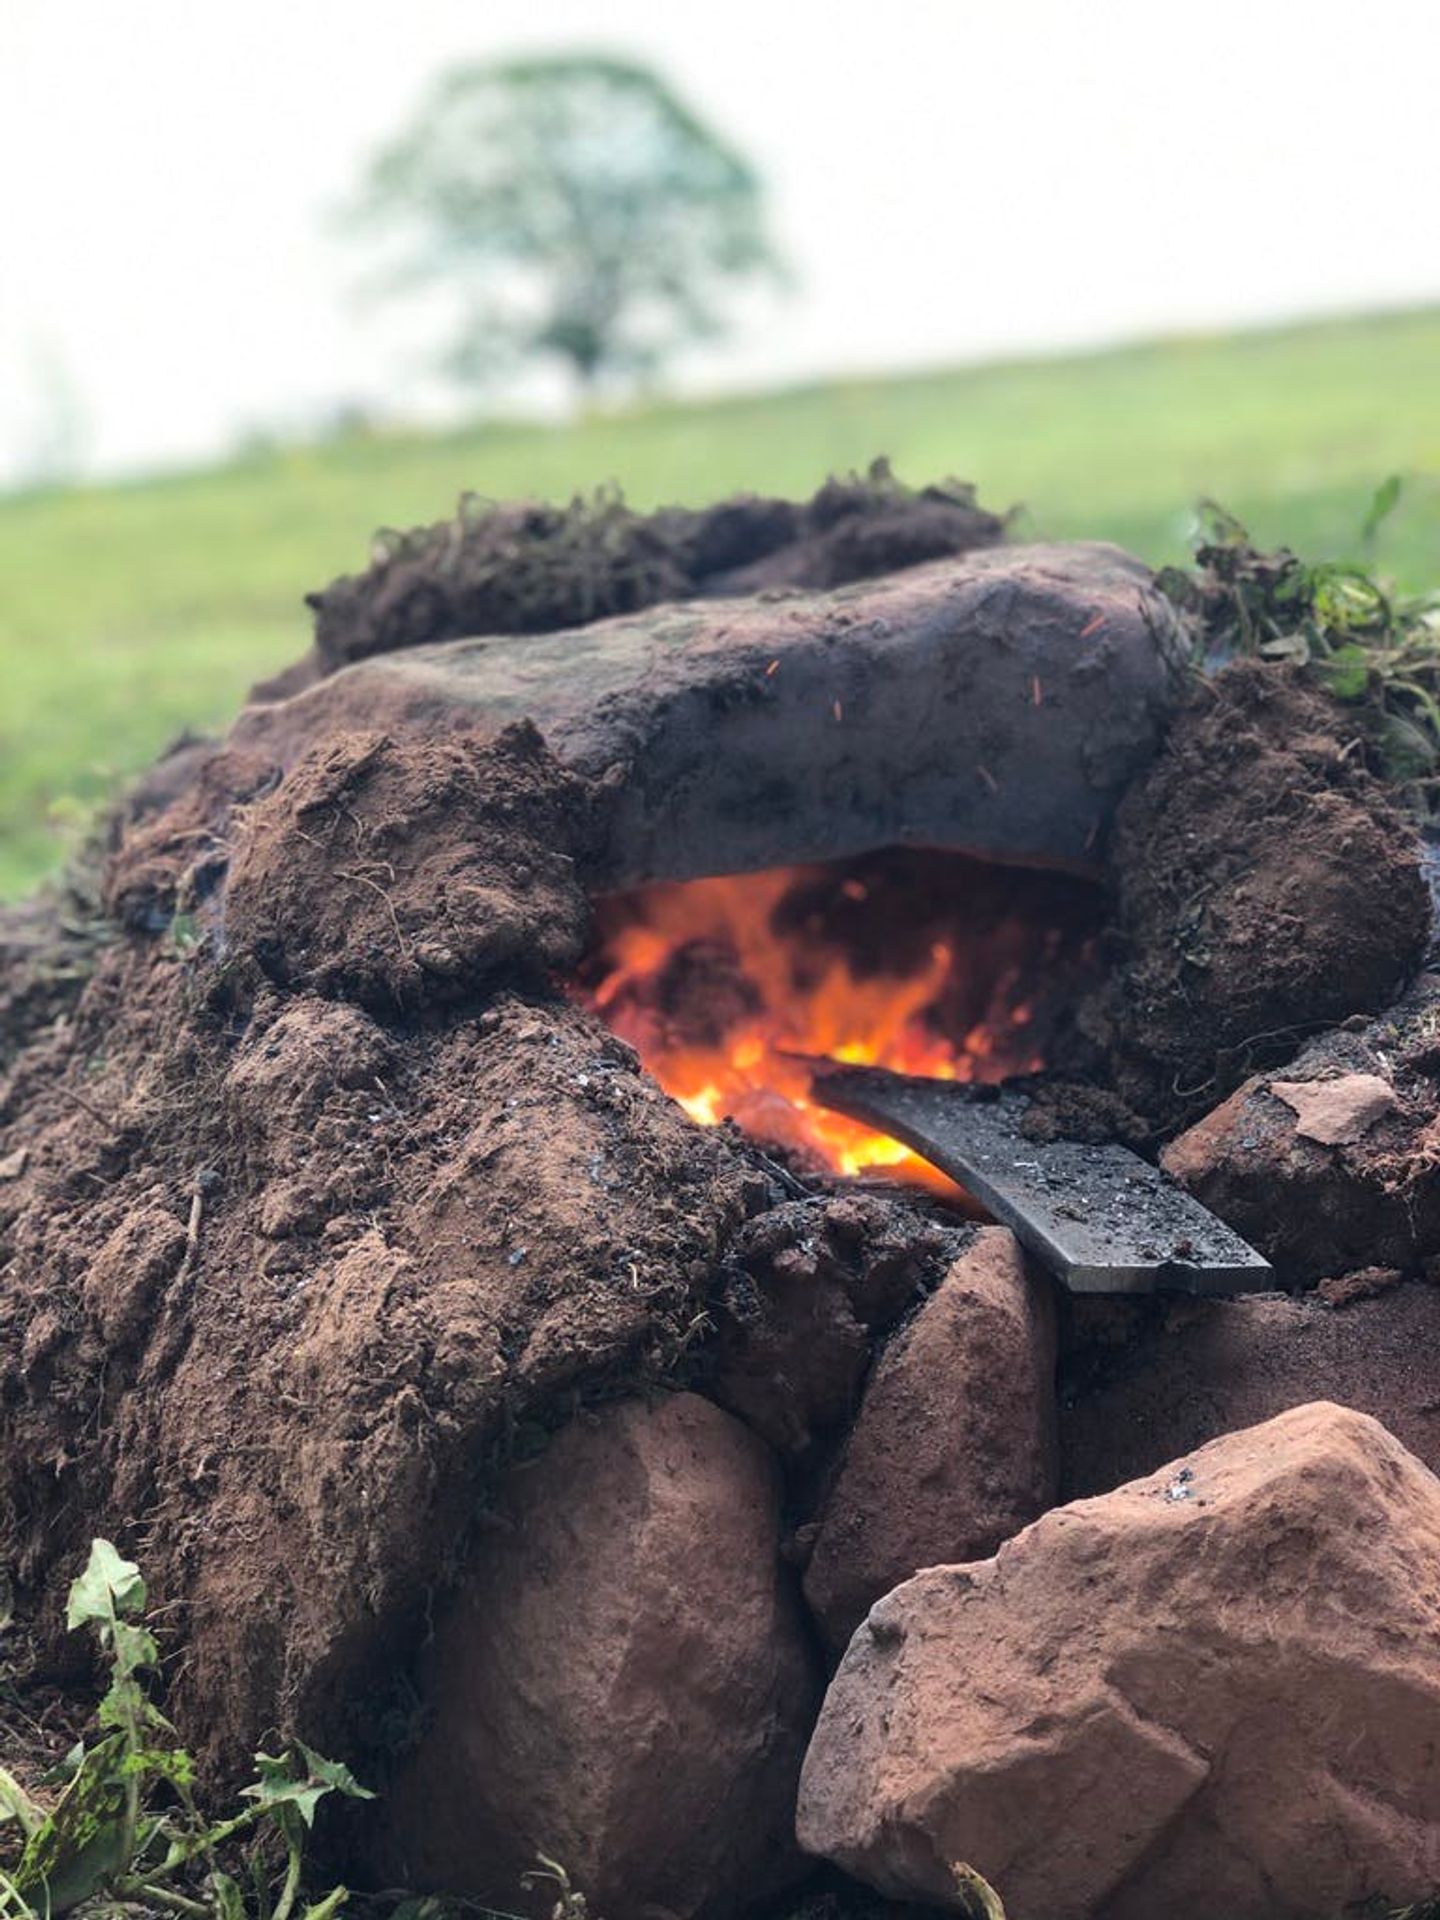
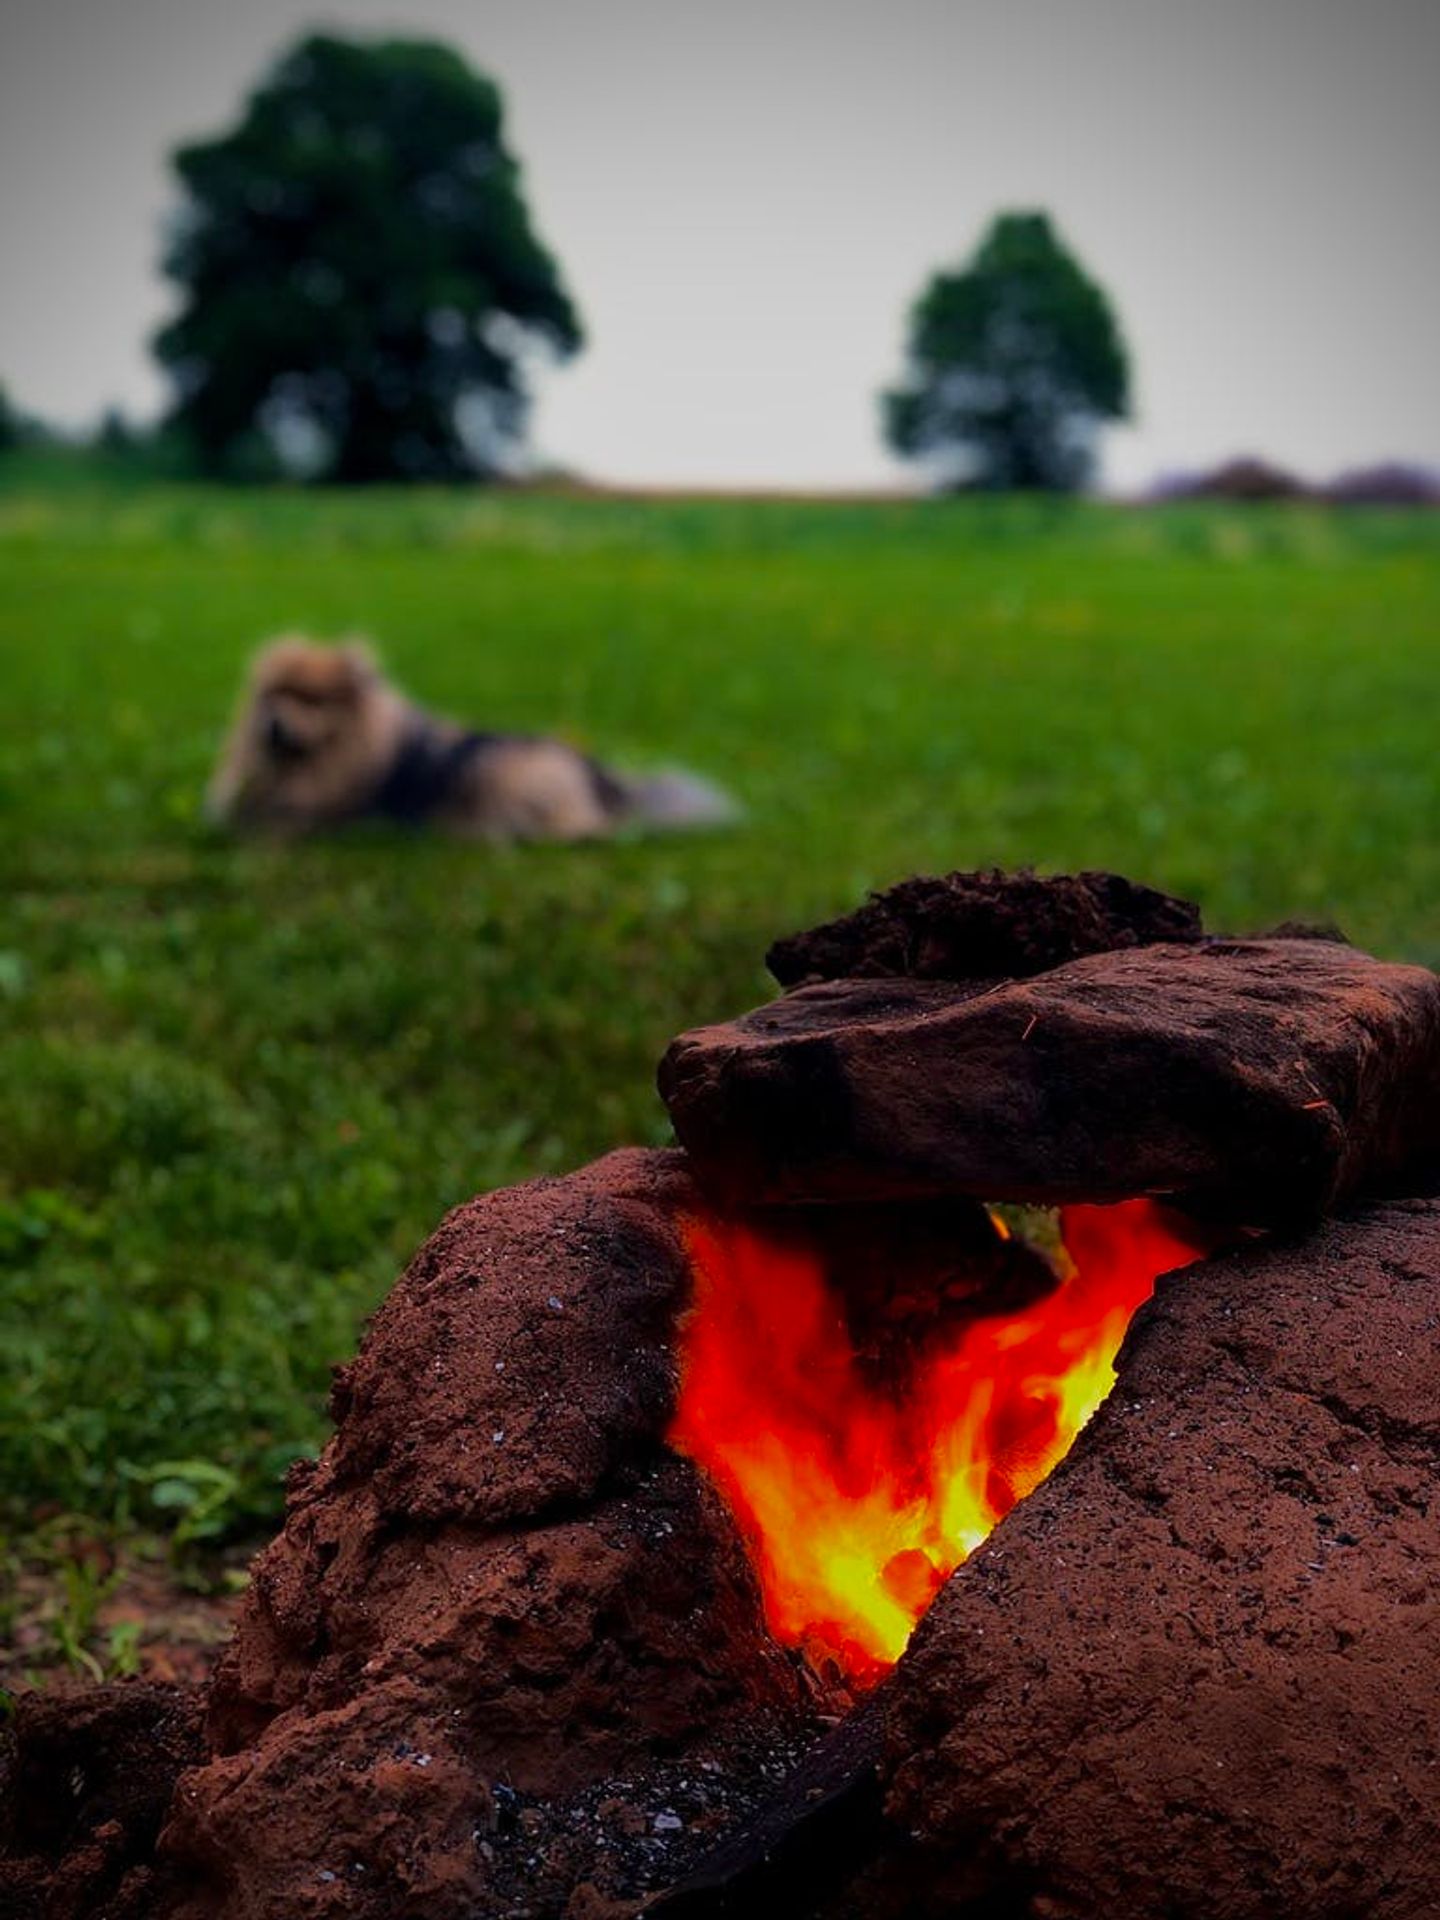
By building it out of dirt, it became easy to change and iterate. At first I tried adding a roof to keep the heat in. It seemed unnecessary and the high heat kept shattering the top stone. So I kept it open and slowly built up the sides with more mud so that charcoal could sit in a heap.
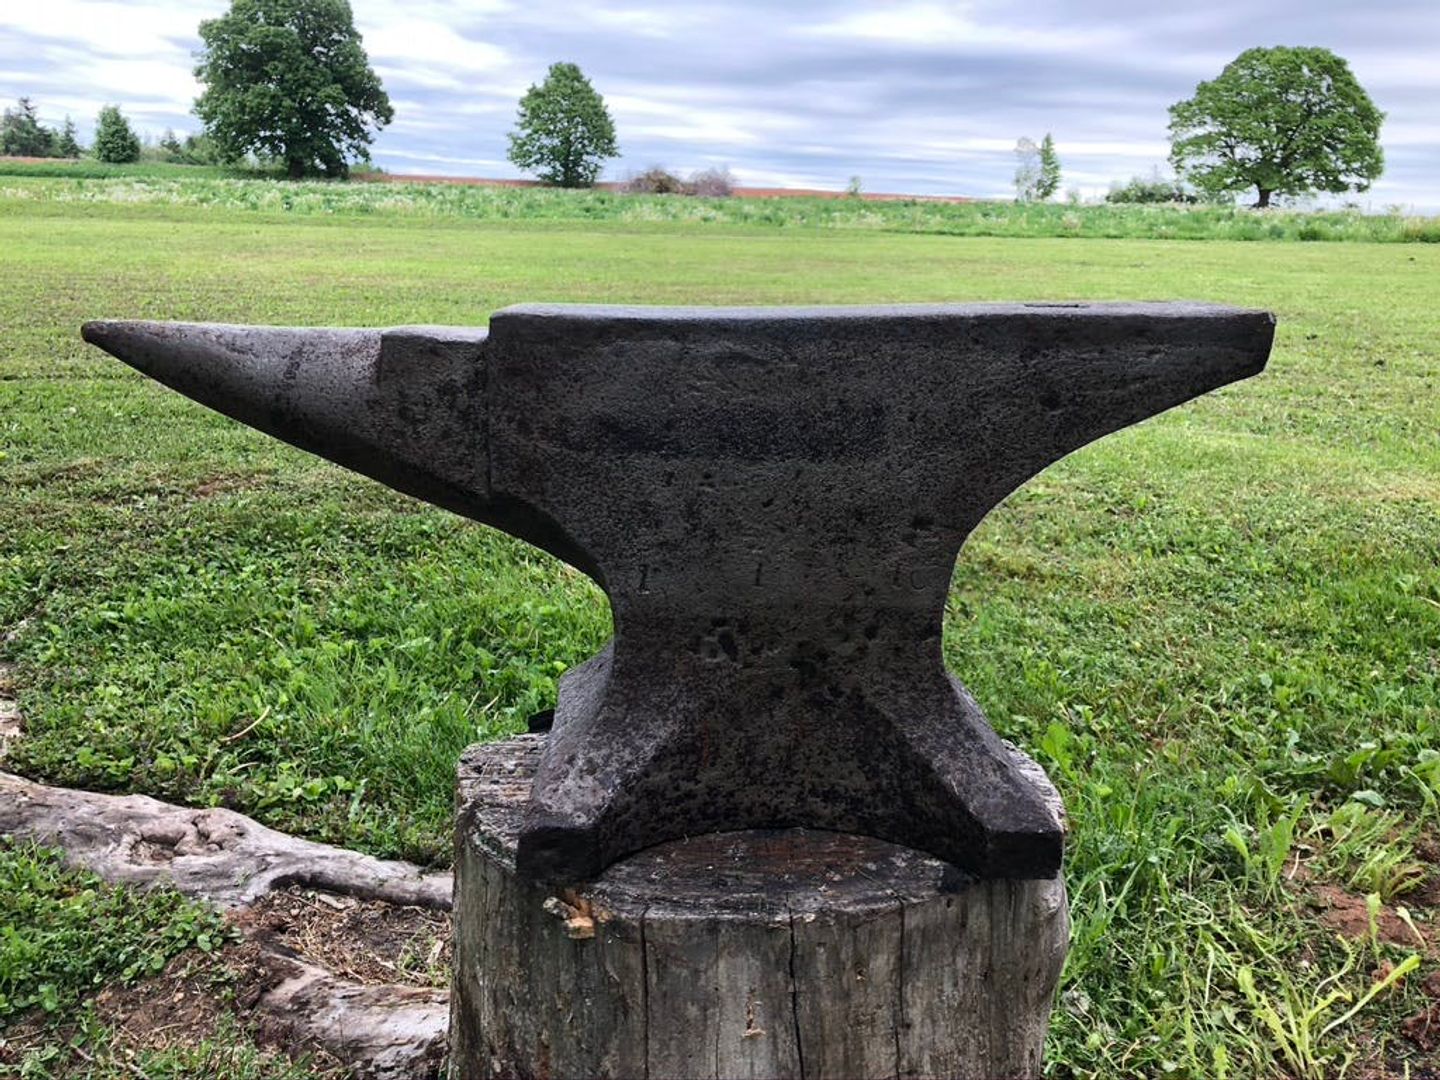
For a while at this point I had been looking for a better anvil. Finally I found one. A 150 lb Wilkinson Queen Dudley for $500. It was in near perfect condition so the price was fair. This was a dramatic improvement.
But something was still missing; I didn't want to be tethered to an electrical cord. So I made up my mind that it was time to build my fuigo box, the more proper way. And I did, it worked out great. In total it was about two days of work and I did all of it by hand. The largest change I made to the traditional design is I had the piston handle extend out the back same as the front instead of only the front. This way, the bellows were bi-directional, same as the forge. Of course this is far less practical indoors but I had all the space in the world outside.
I had all the space in the world outside.
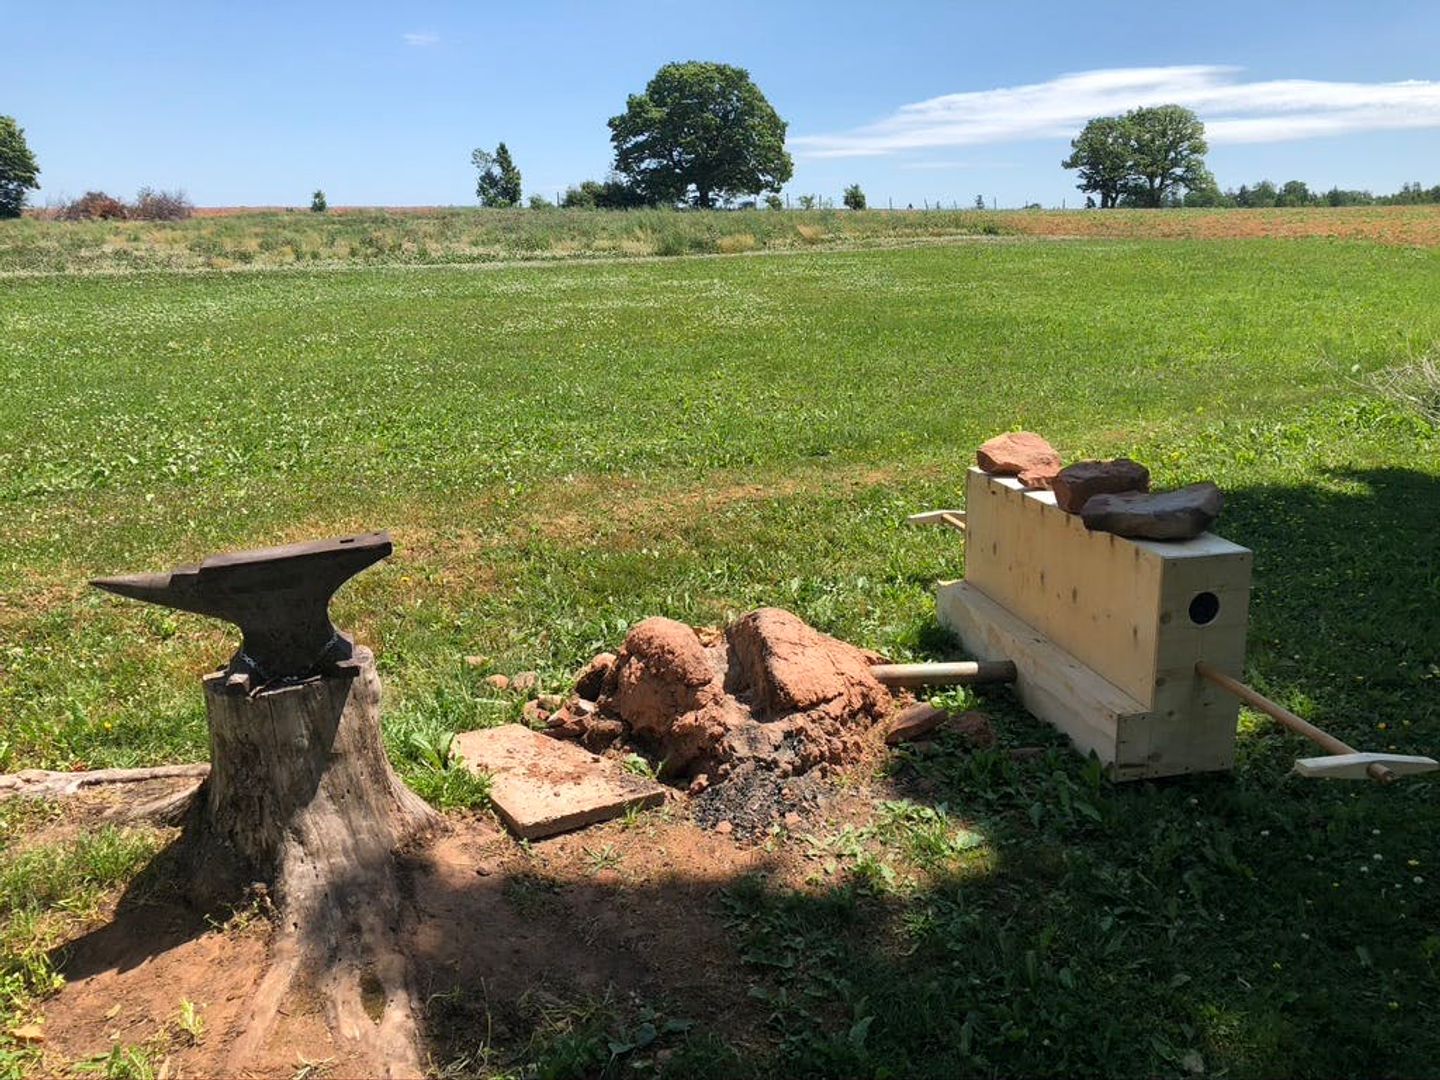
Another thing I notice is that I kept having trouble keeping the steel above the rim of the tuyere (the pipe from which the air flows). Thus I raised the front and back of the forge so that a pit sat in the centre, with a depth equal to the diameter of the tuyere. It became more of an updraft forge than a side blast. This didn't really fix the problem. Instead it created a new one; ash and debris would fill the pit causing the air to blast upwards along the side of the forge. Then I put into place my final idea. I capped the tuyere and drilled holes along the top of the end so that air would ooze up and out. This finally did the trick.
Only one thing was left, raising the forge up off the ground. My table building skills shouldn't even be dignified by calling them lacking, but alas I managed to slap something together. It proved that it could work, I no longer had to jump up every time I was ready to hammer at the anvil.
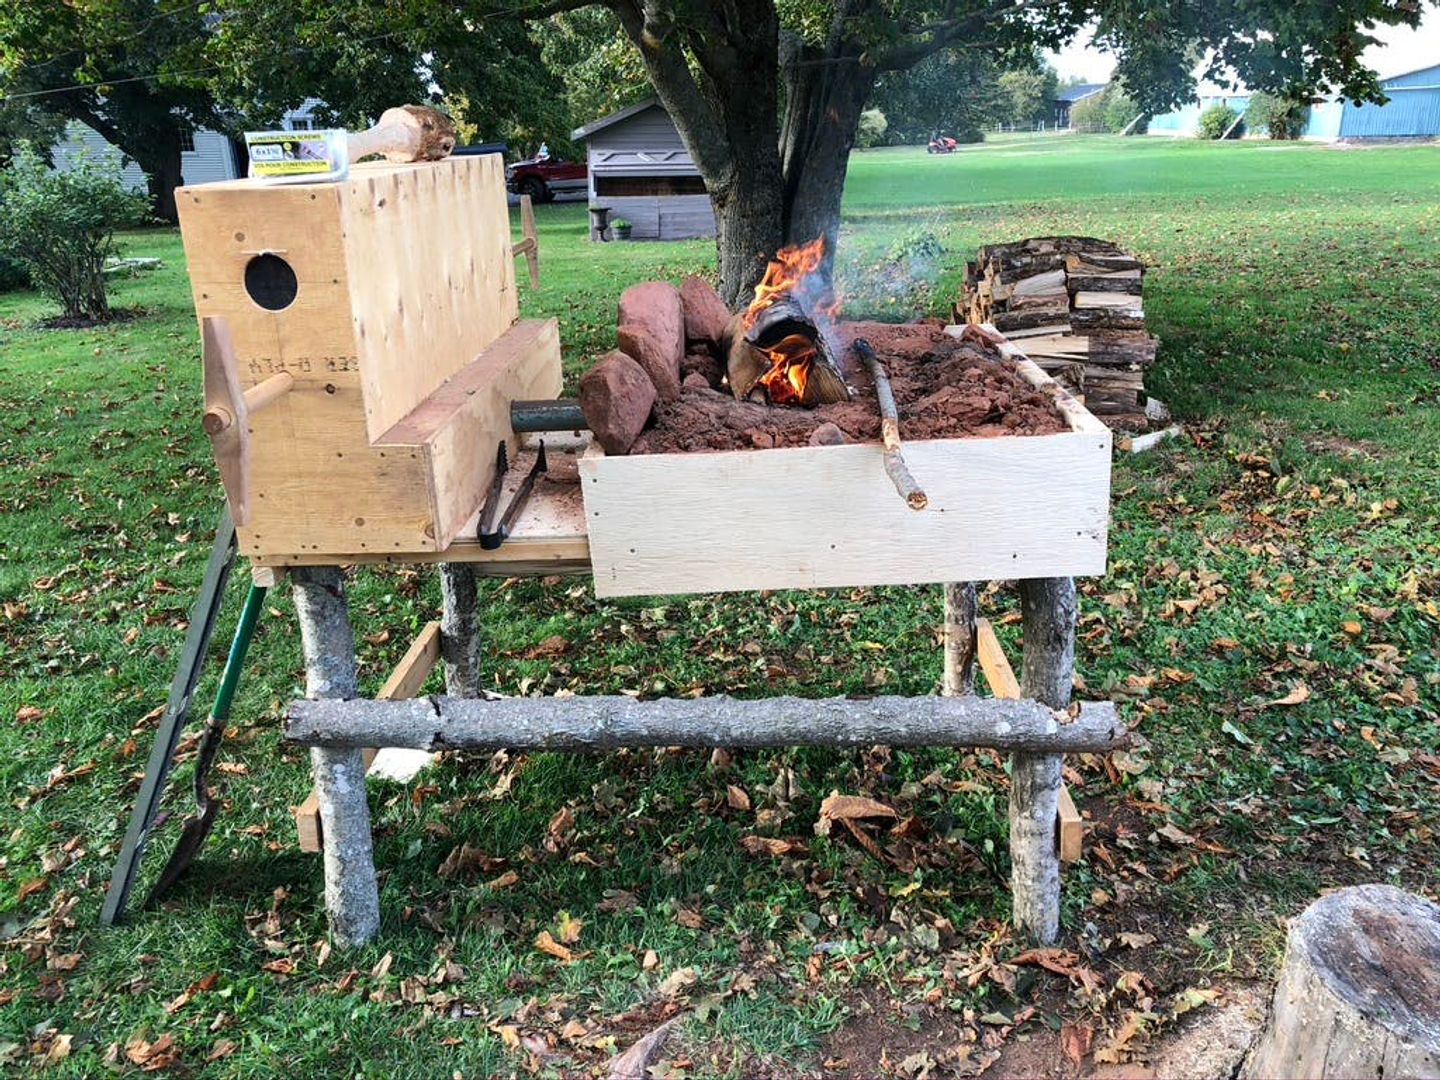
it was, well, wobbly.
There was a problem though, it was, well, wobbly. Which really isn't the way I'd want to describe something holding heat upwards of 2000 degrees Fahrenheit from falling on me. So after a while of me trying to find a solution - I was planning to do some elaborate joiner that would have taken me ages - my grandfather told me he had a pair of old steel workhorses. After installing those under the forge, it's a solid as I can hope for.
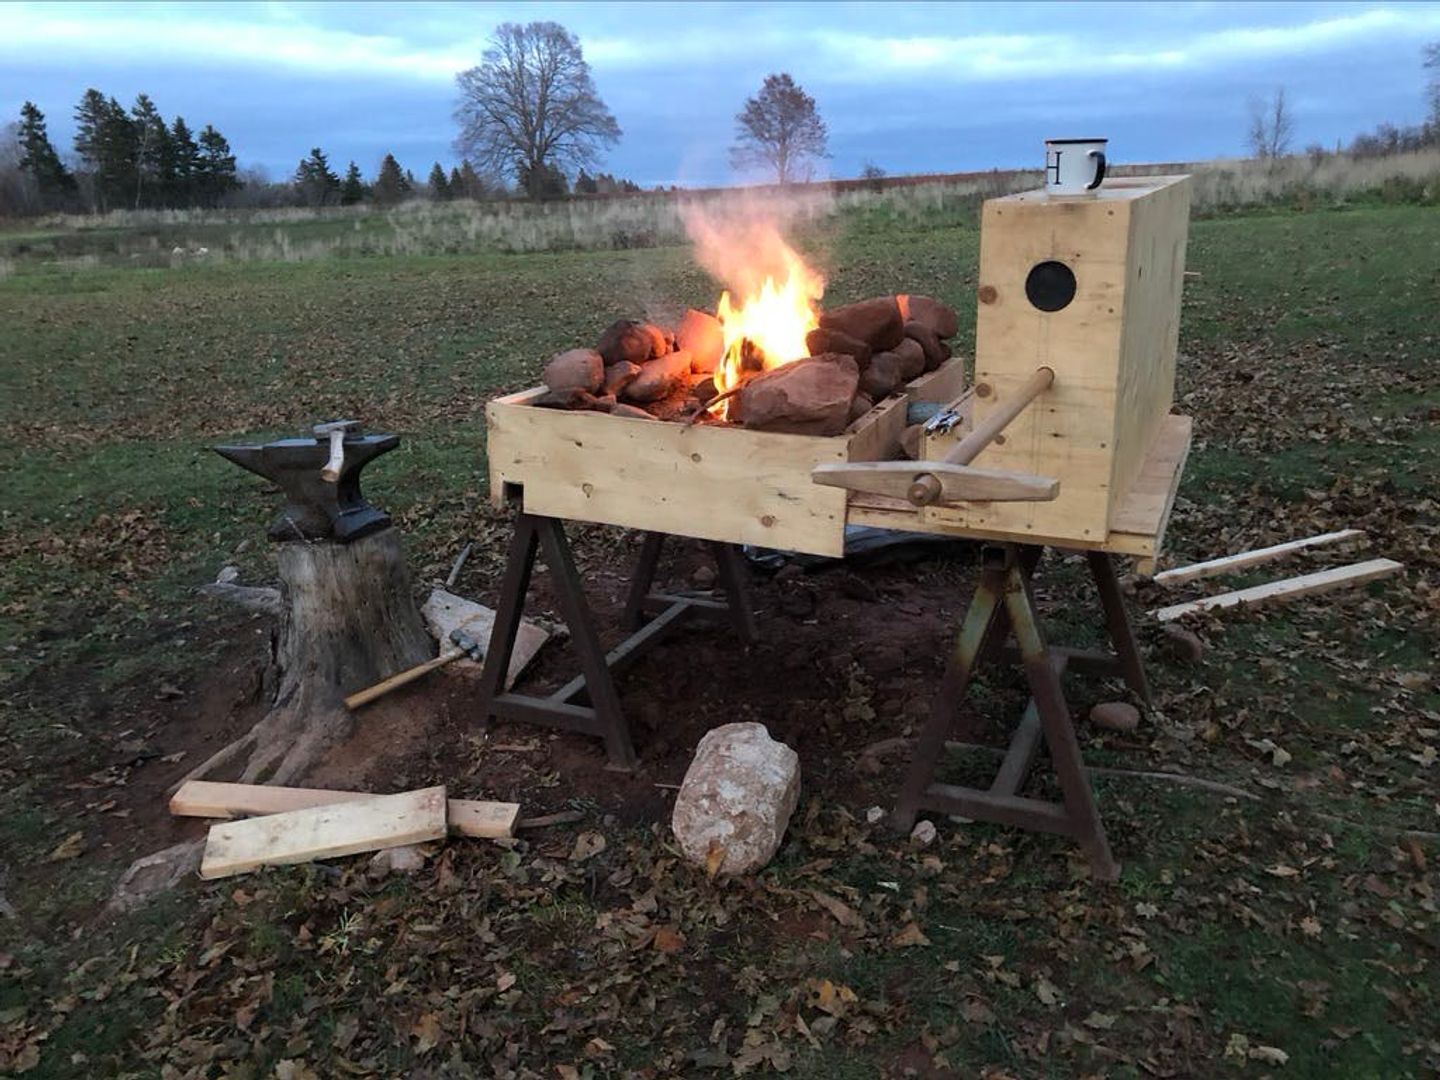
And this is the state of my forge, nearly a year after I started blacksmithing. I think it's come a long way, though the road ahead still appears unending.
The Belt Knife All posts Have something to say or just want to get notified about new posts? Reach out!