The Belt Knife
All postsFebruary 24, 2021
- blacksmithing
- woodworking
Having been blacksmithing for about a year now, I've made a few things. Among them, three knives. Each one has been a drastic improvement upon the last. So, having some time off at the end of the year I decided to forge a fourth, and so forth came this.
I decided to forge a fourth, and so forth came this.
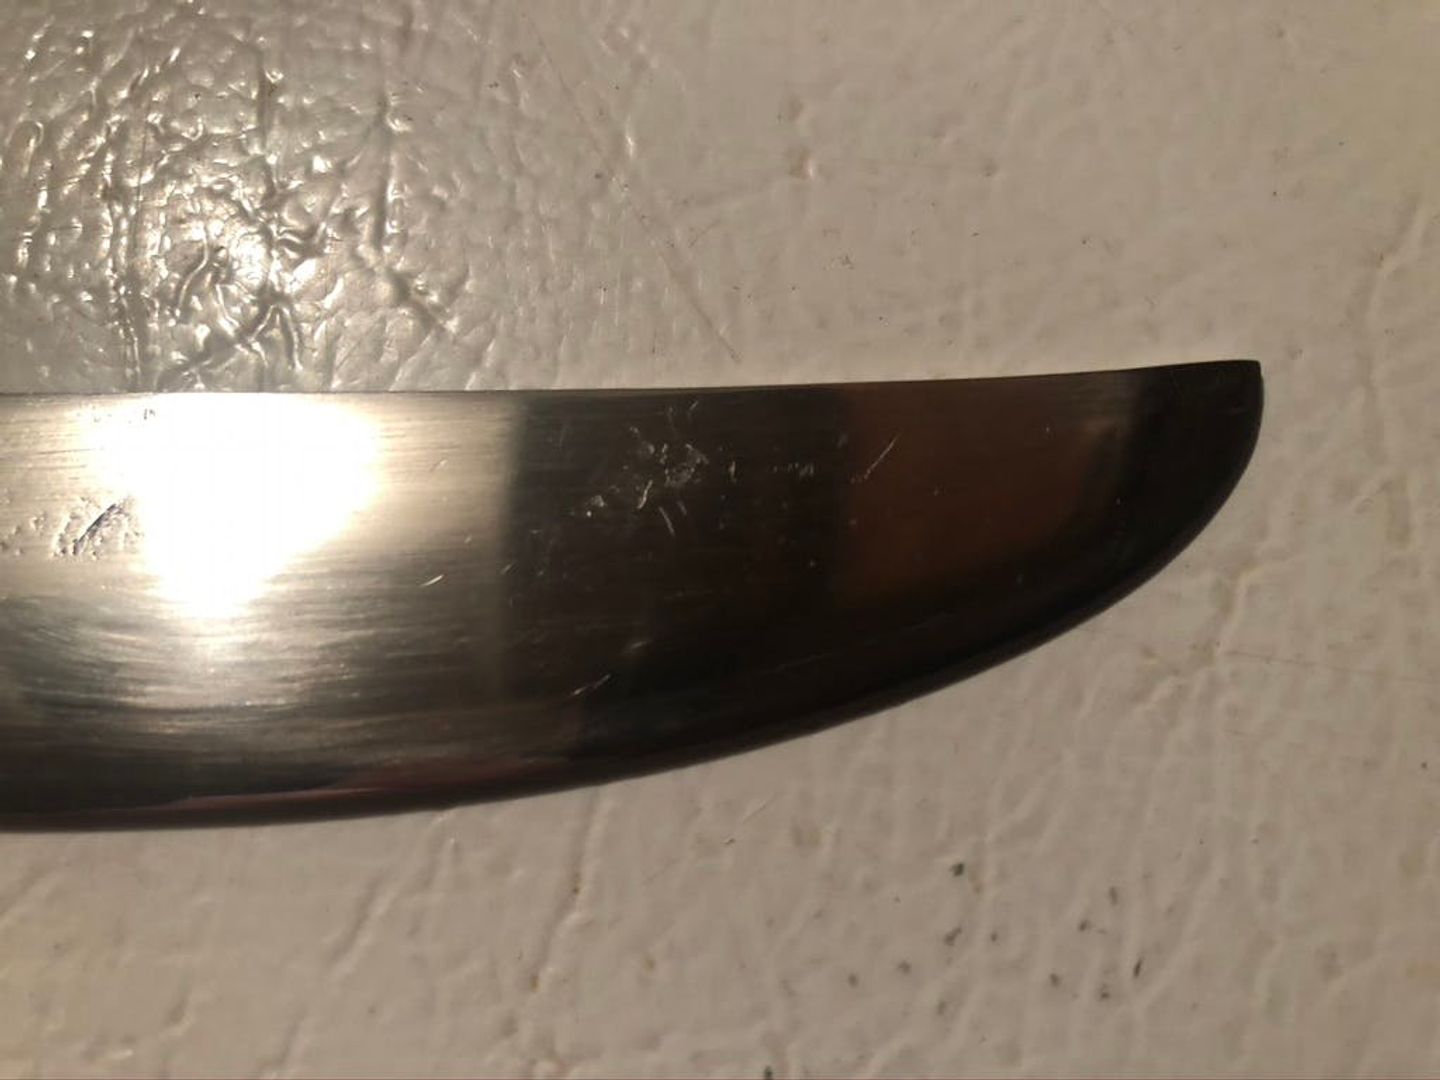
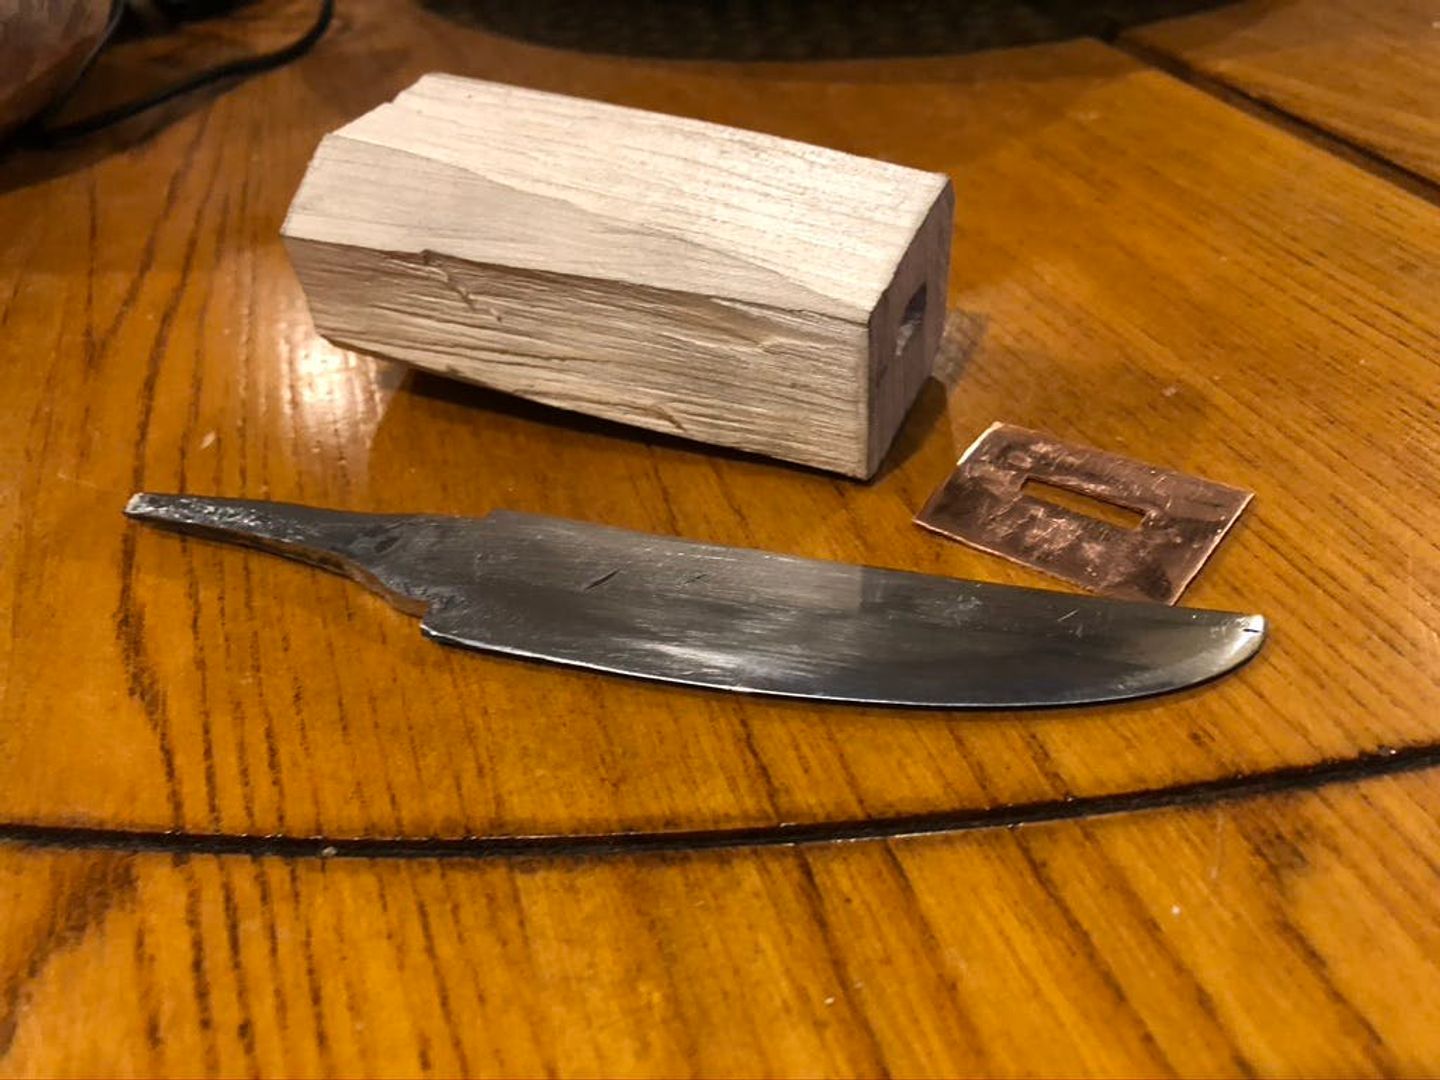
In the image above are the three main pieces that composed it. A piece of wood for the handle, copper for the bolster, and high carbon steel for the blade. The wood was hard maple, taken down by a storm in my own backyard, to which I split and dried. The copper came from some scrap plumbing pipe; cut and hammered flat. Finally the steel was from a Swedish made chisel that had snapped at the neck. It had been further used and abused so that what was left of the neck had mushroomed out.
The first step, that is after gathering the materials, was to forge the blade to shape. It didn't take much effort since the stock was already quite close to the size. But it did take quite a bit of time because of how much care had to be taken, for one foul blow would have crumpled the blade.
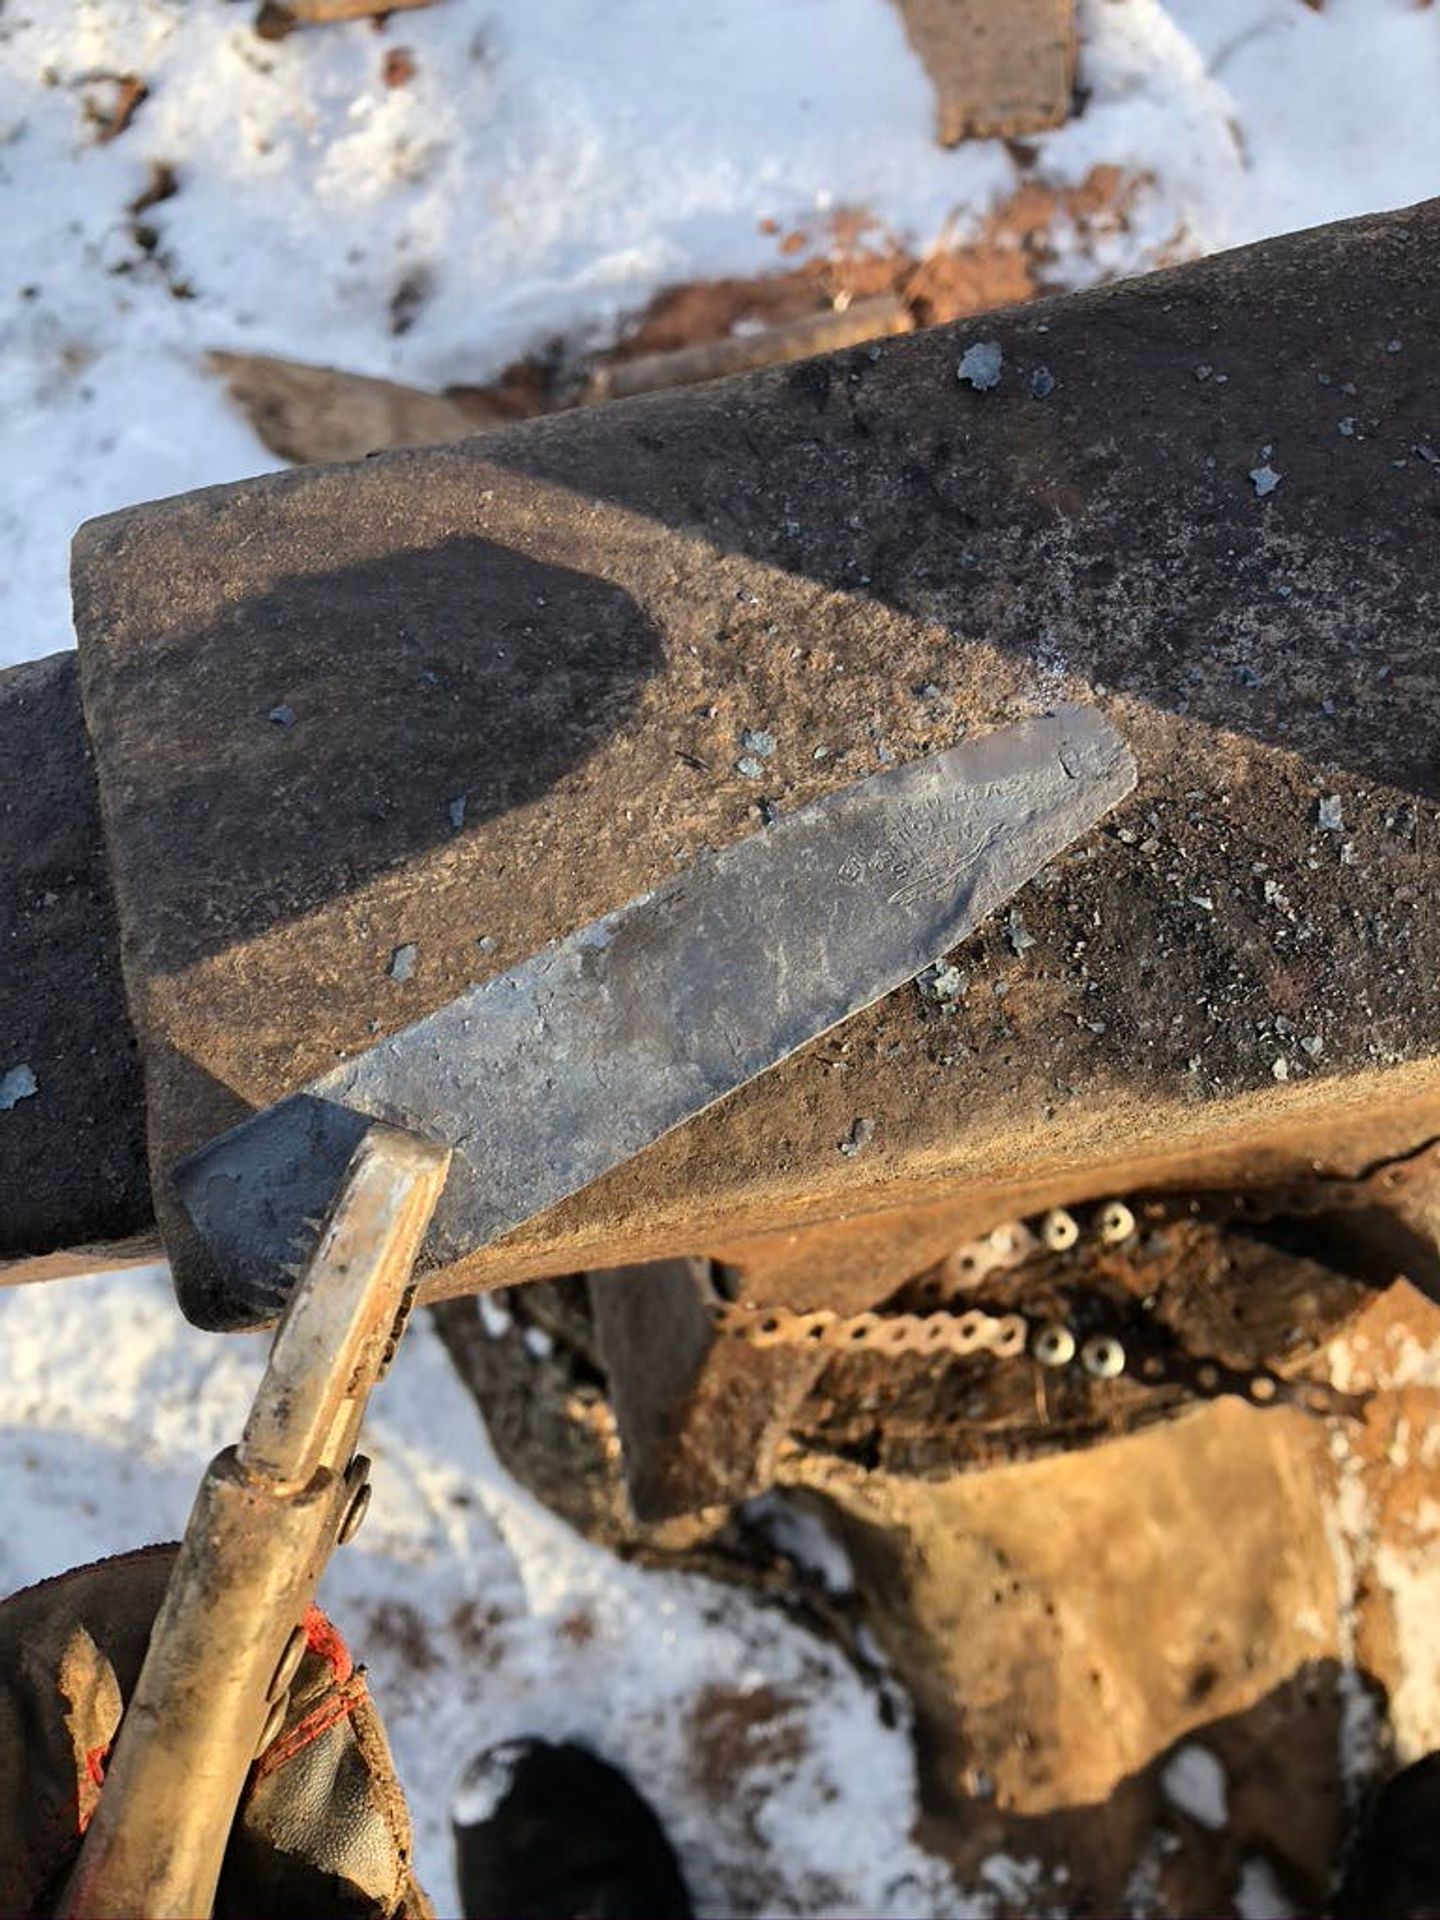
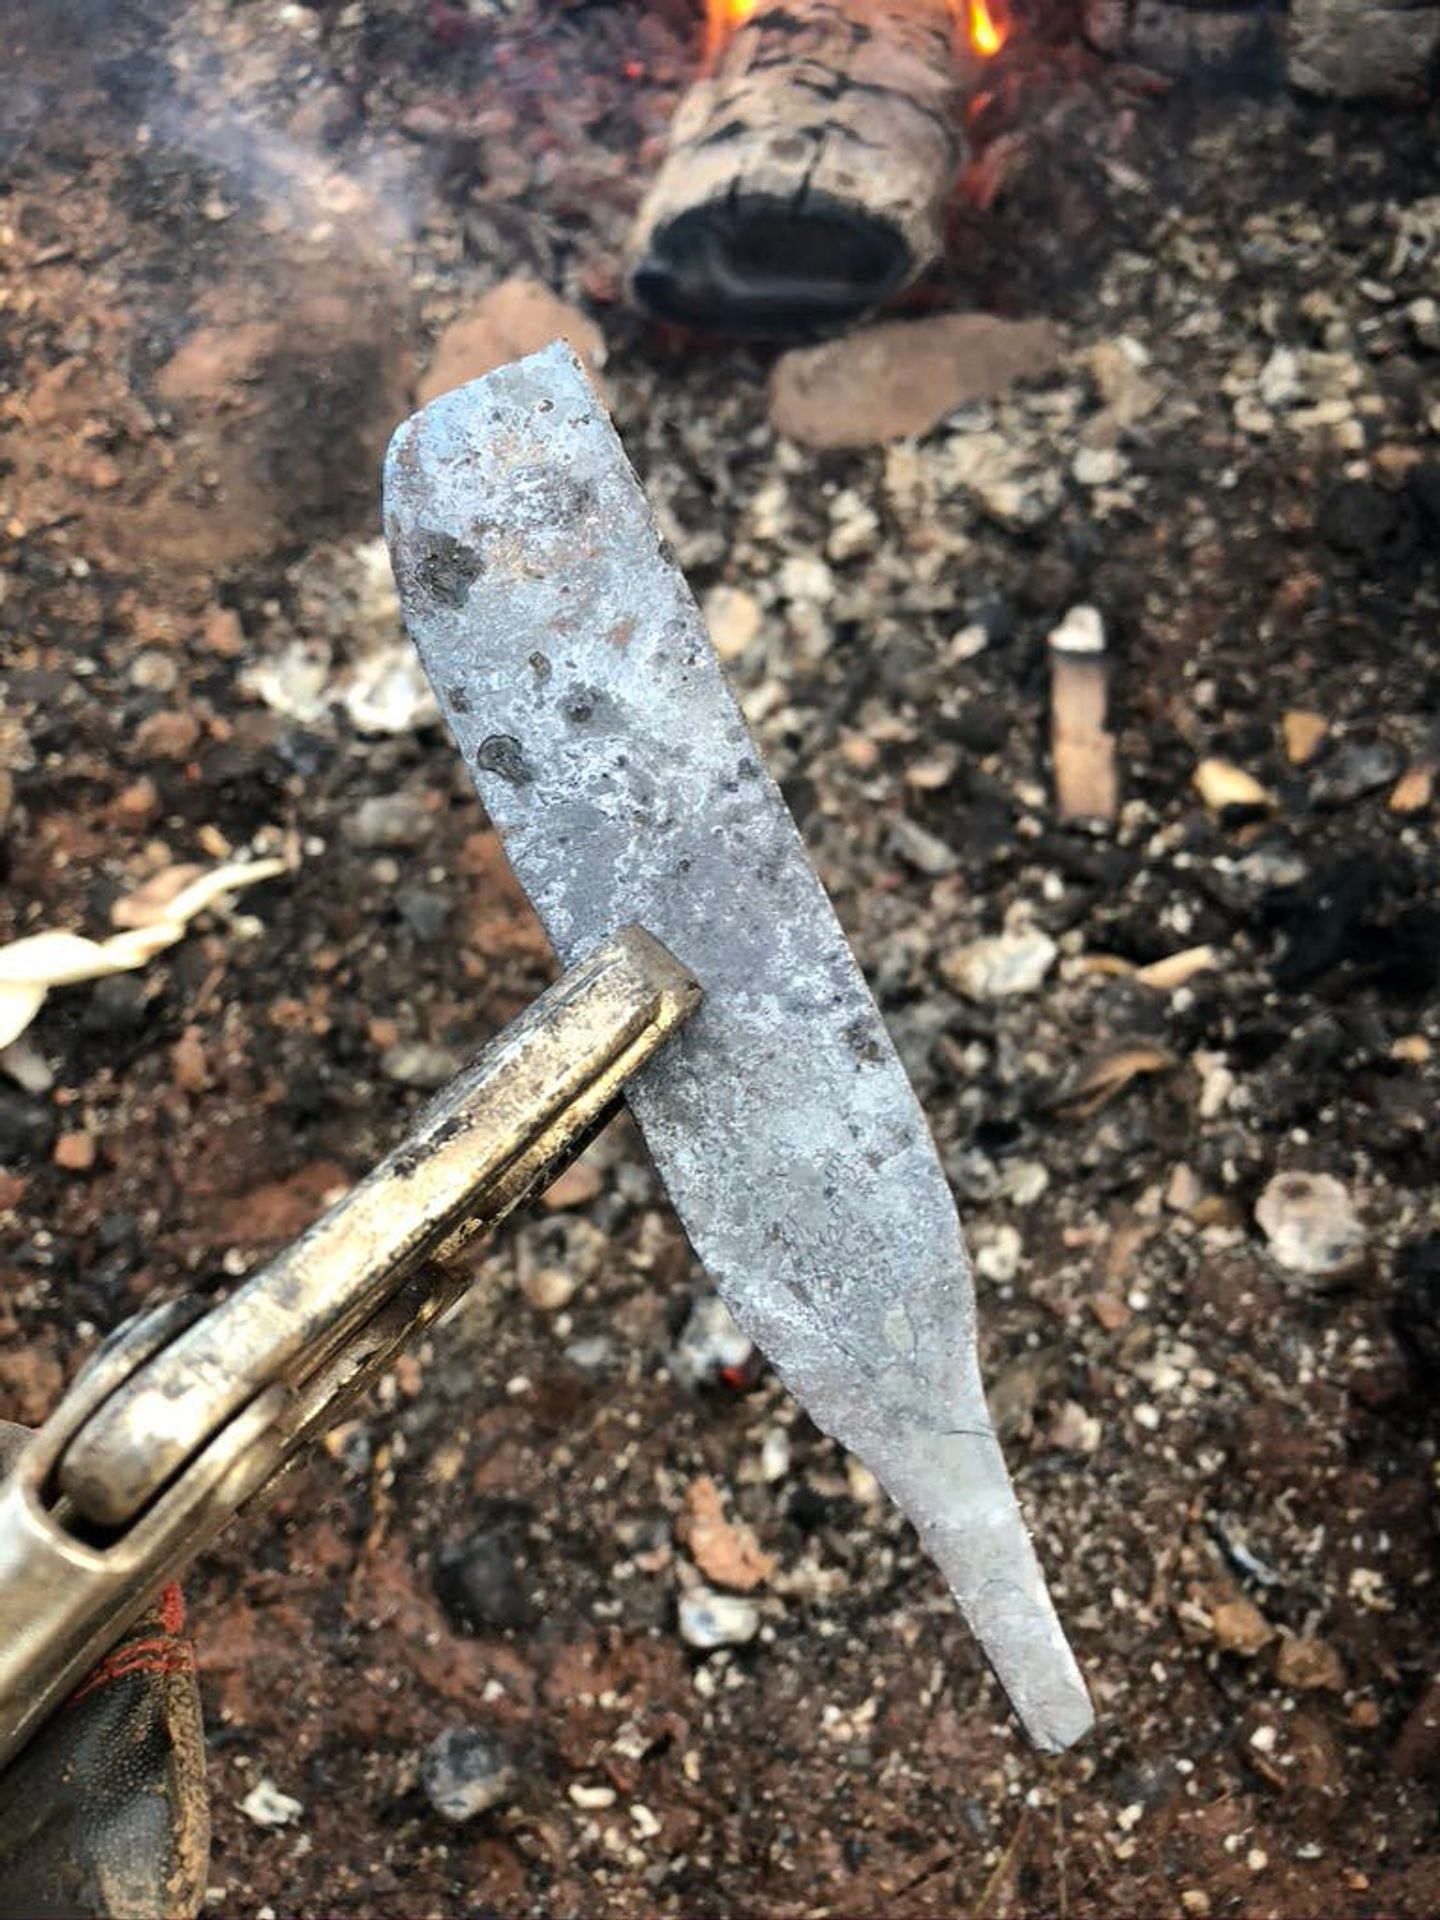
Below is how it looked after forging. It came very close to the desired outcome, though the tang was a bit misshapen. Nothing a file can't handle, of course.
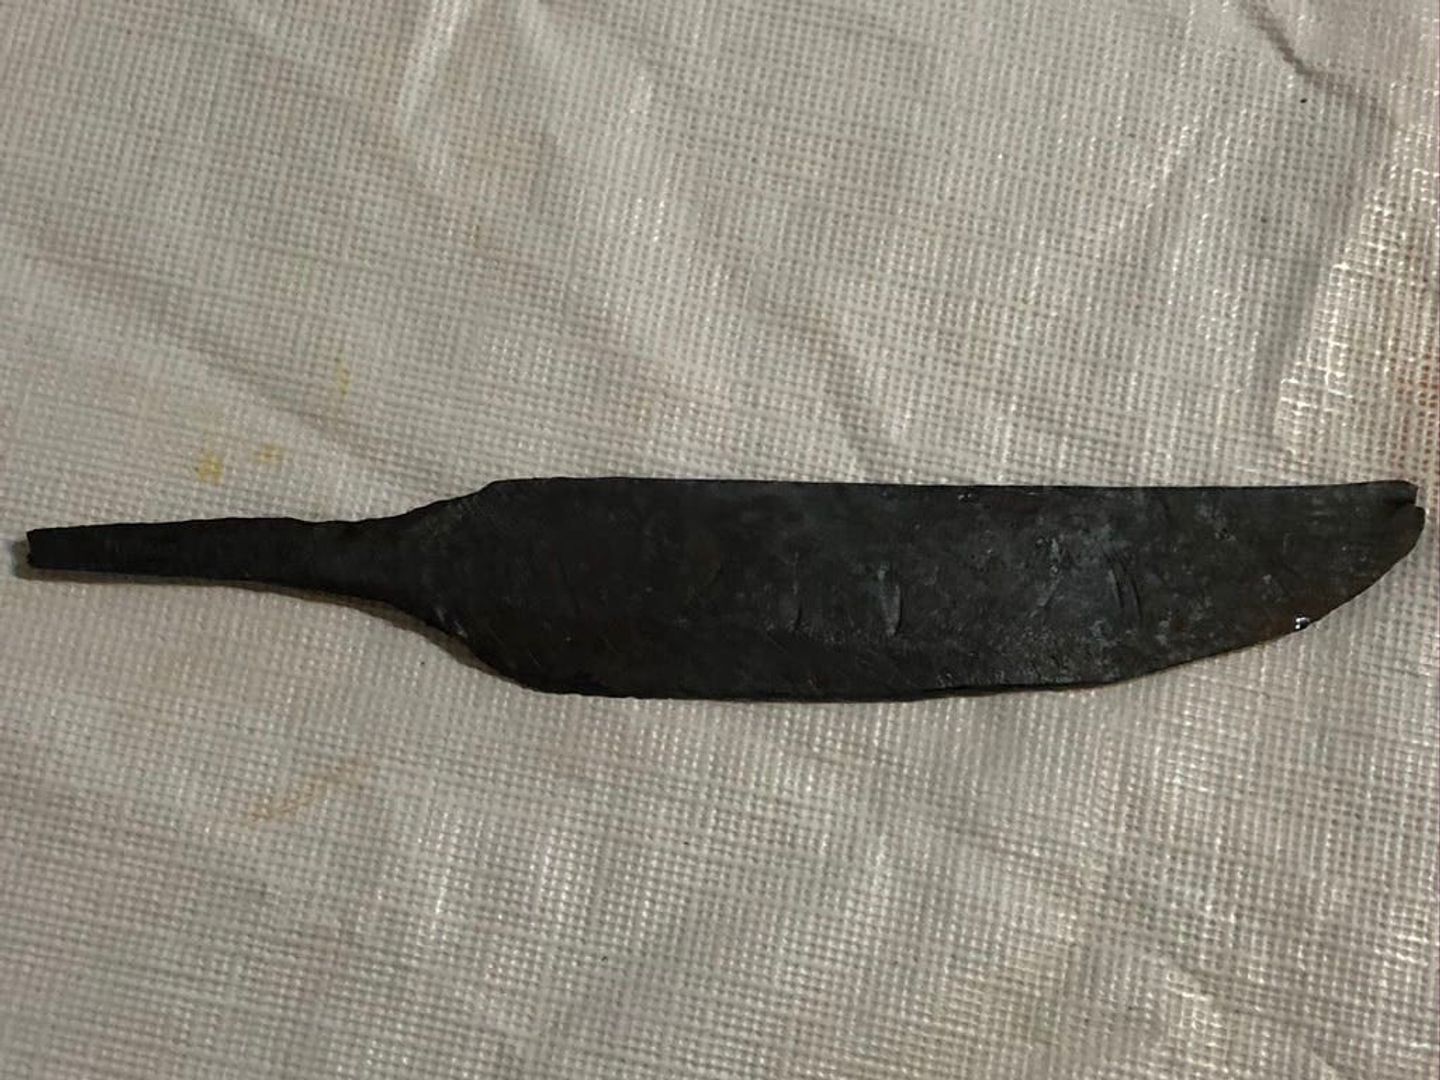
Some rough filing out of the way now. Also the blade's shoulders started having some definition.
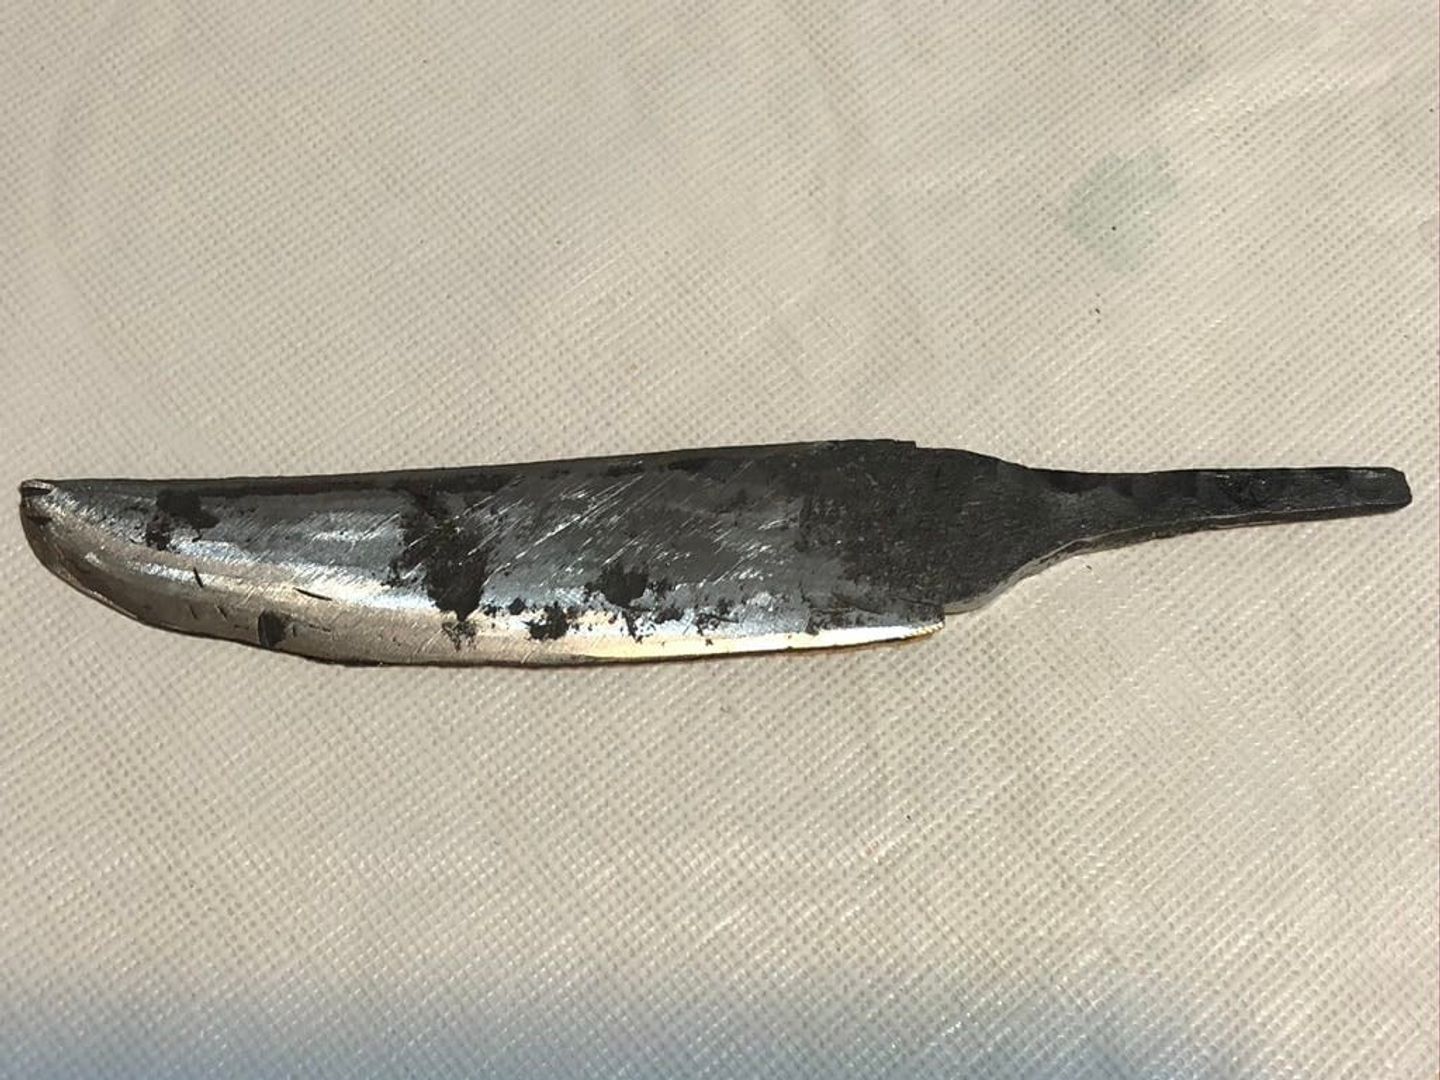
What followed was a lot more filing. Then sanding; many, many times.
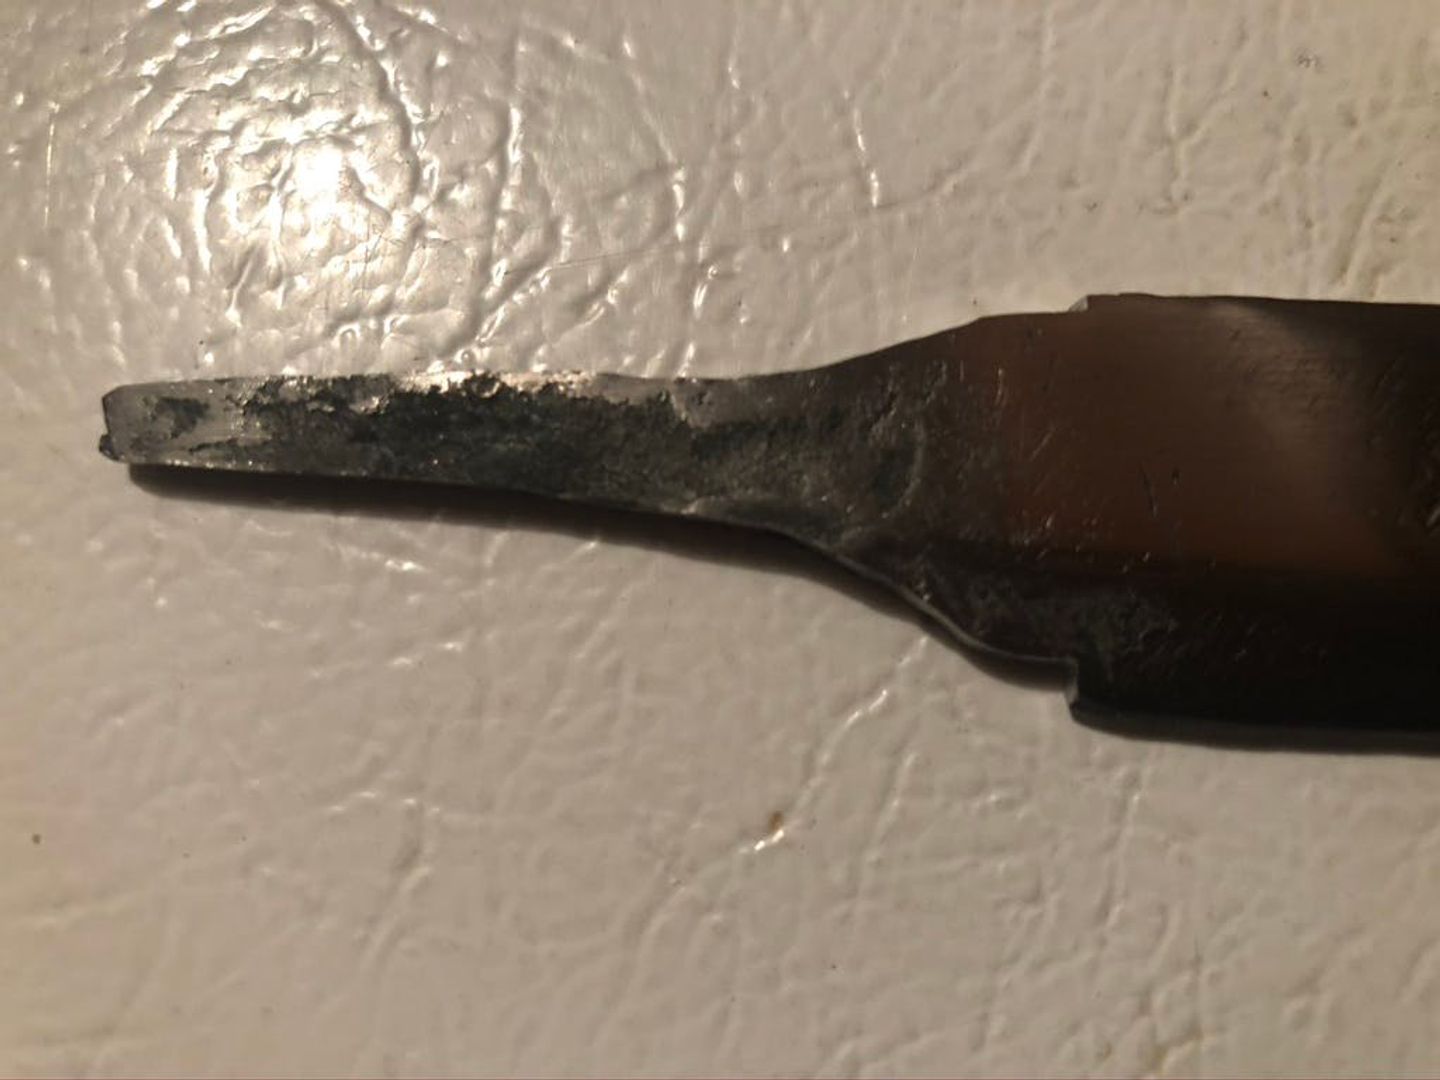
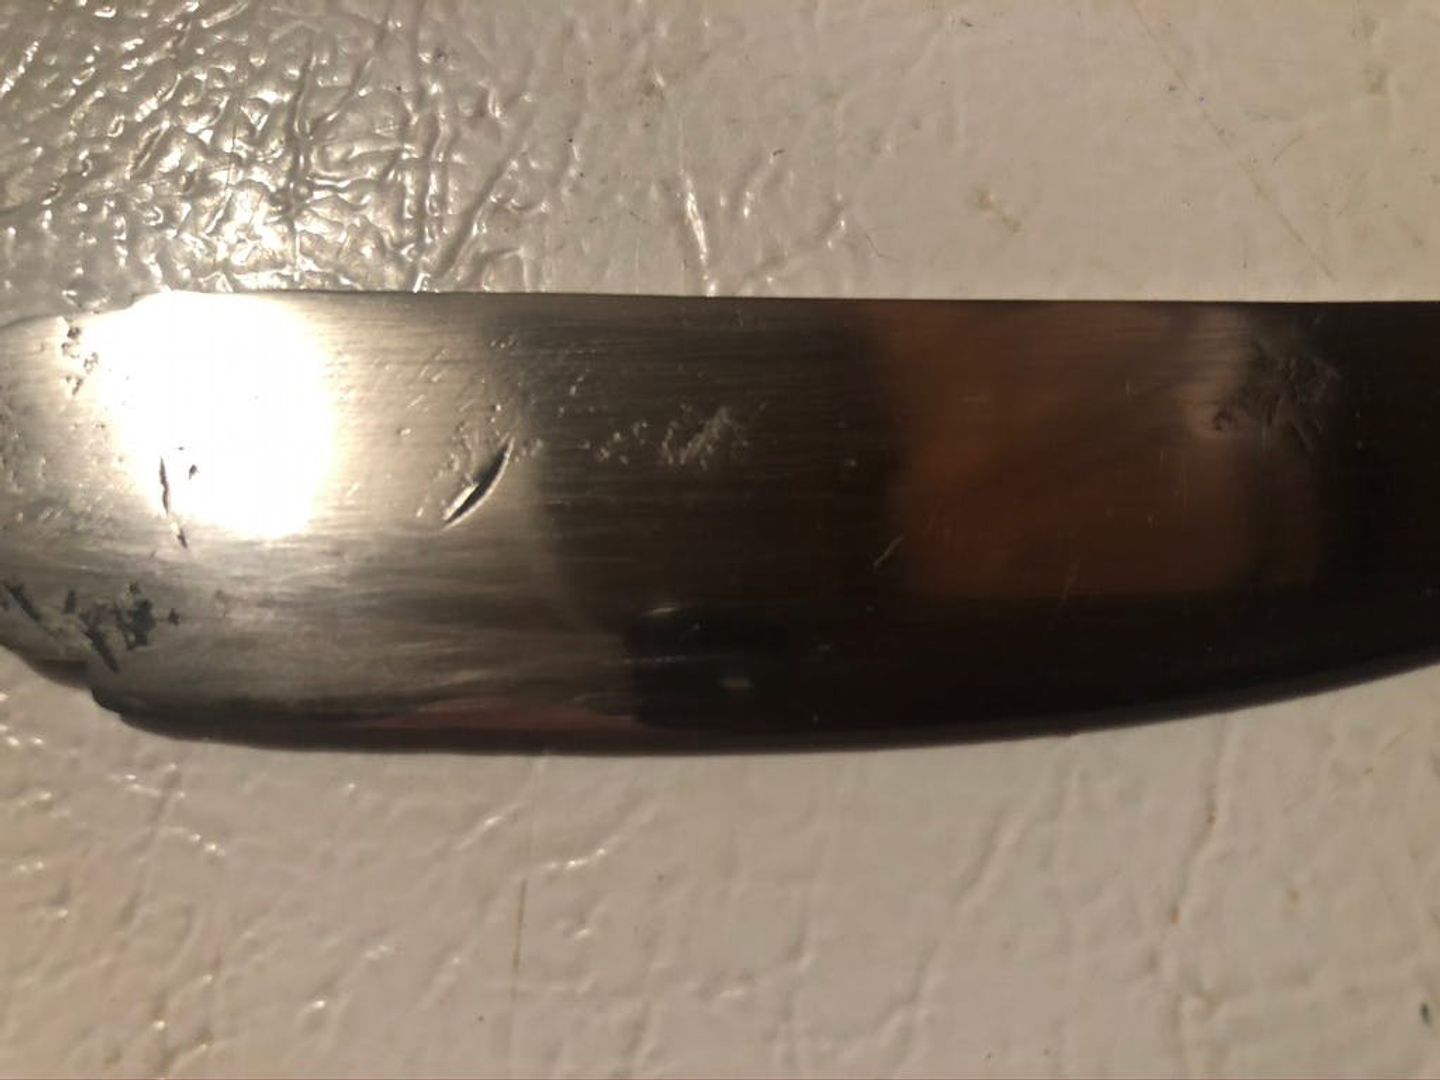
During this time, I also cut the handle to length and bored out a hole for the tang. Then I filed in the tang slot on for the bolster, it was my second attempt, the first one was a little too wide in the opening.
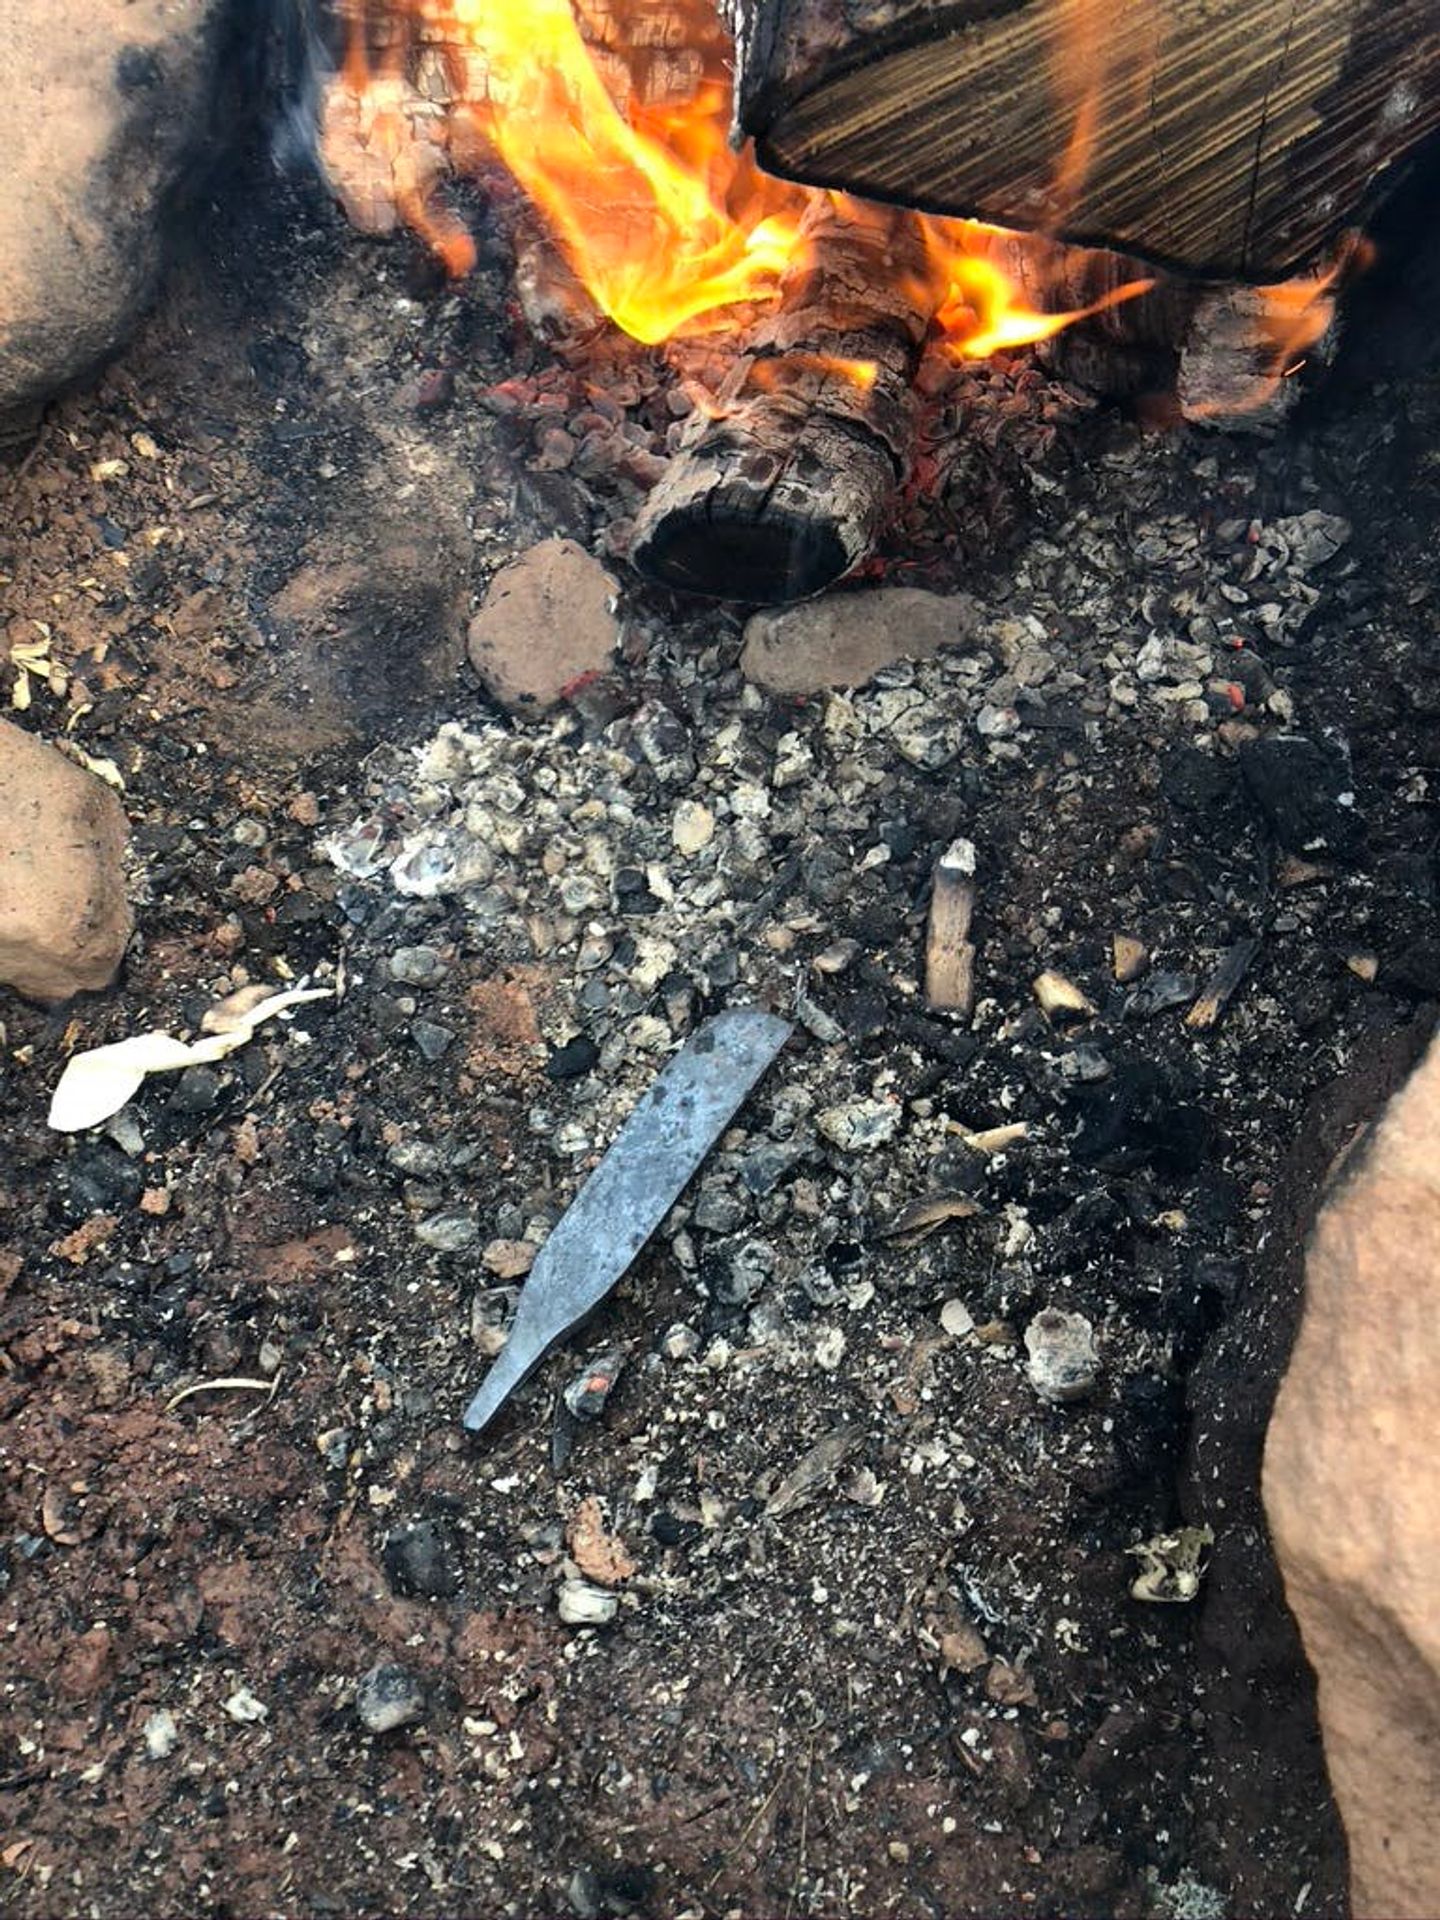
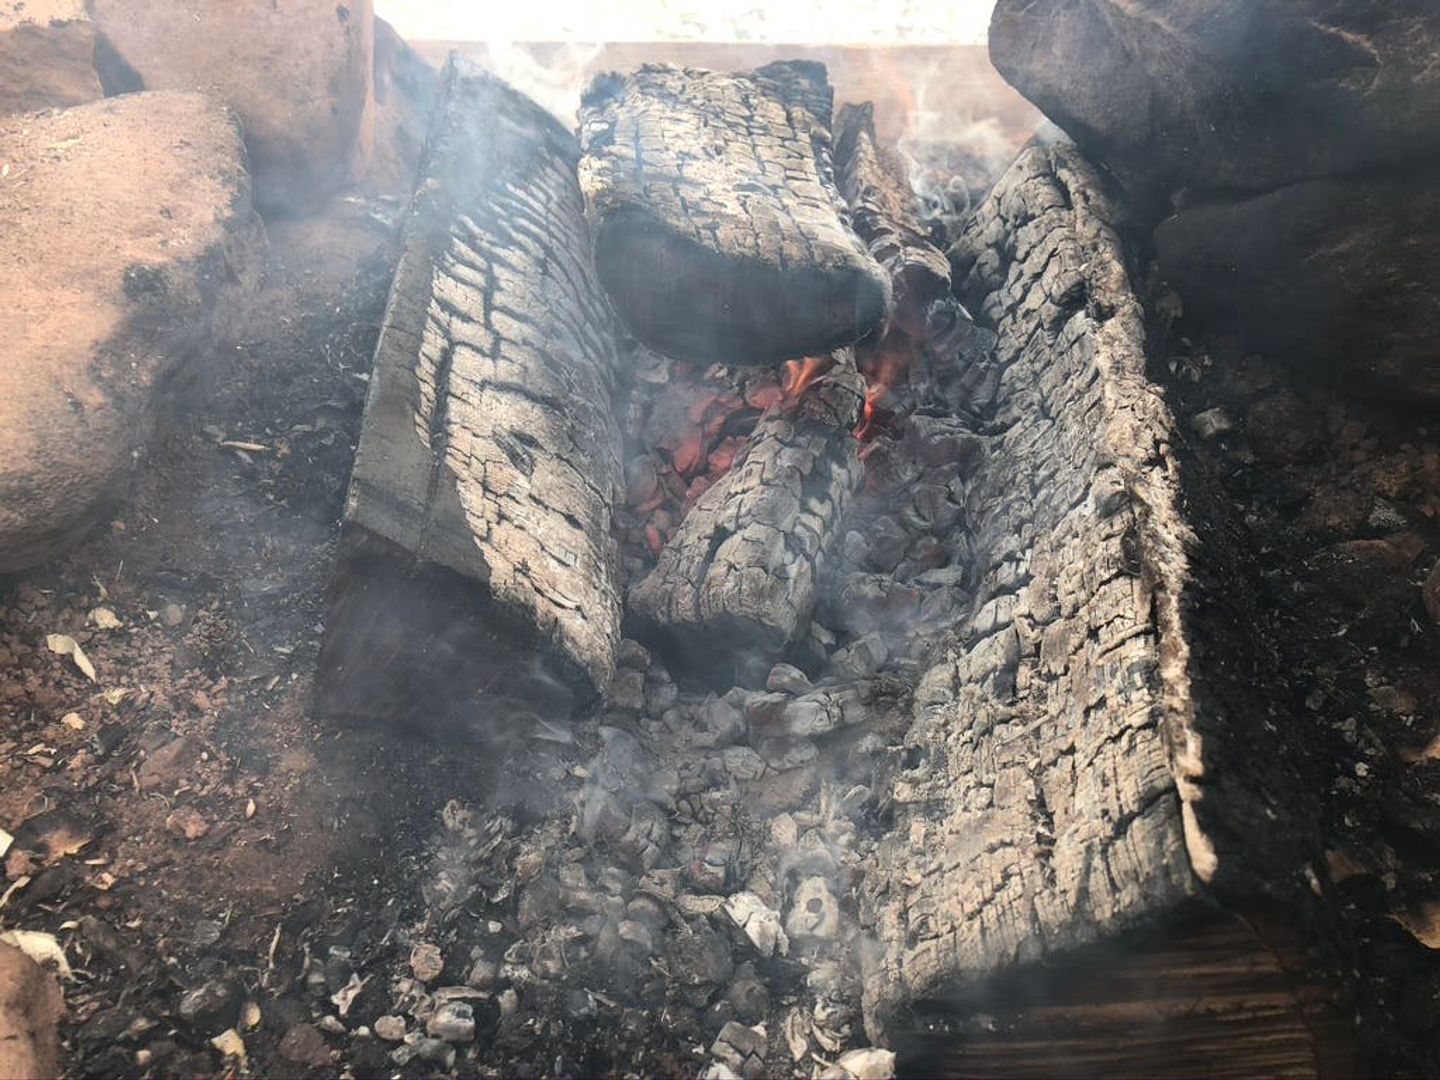
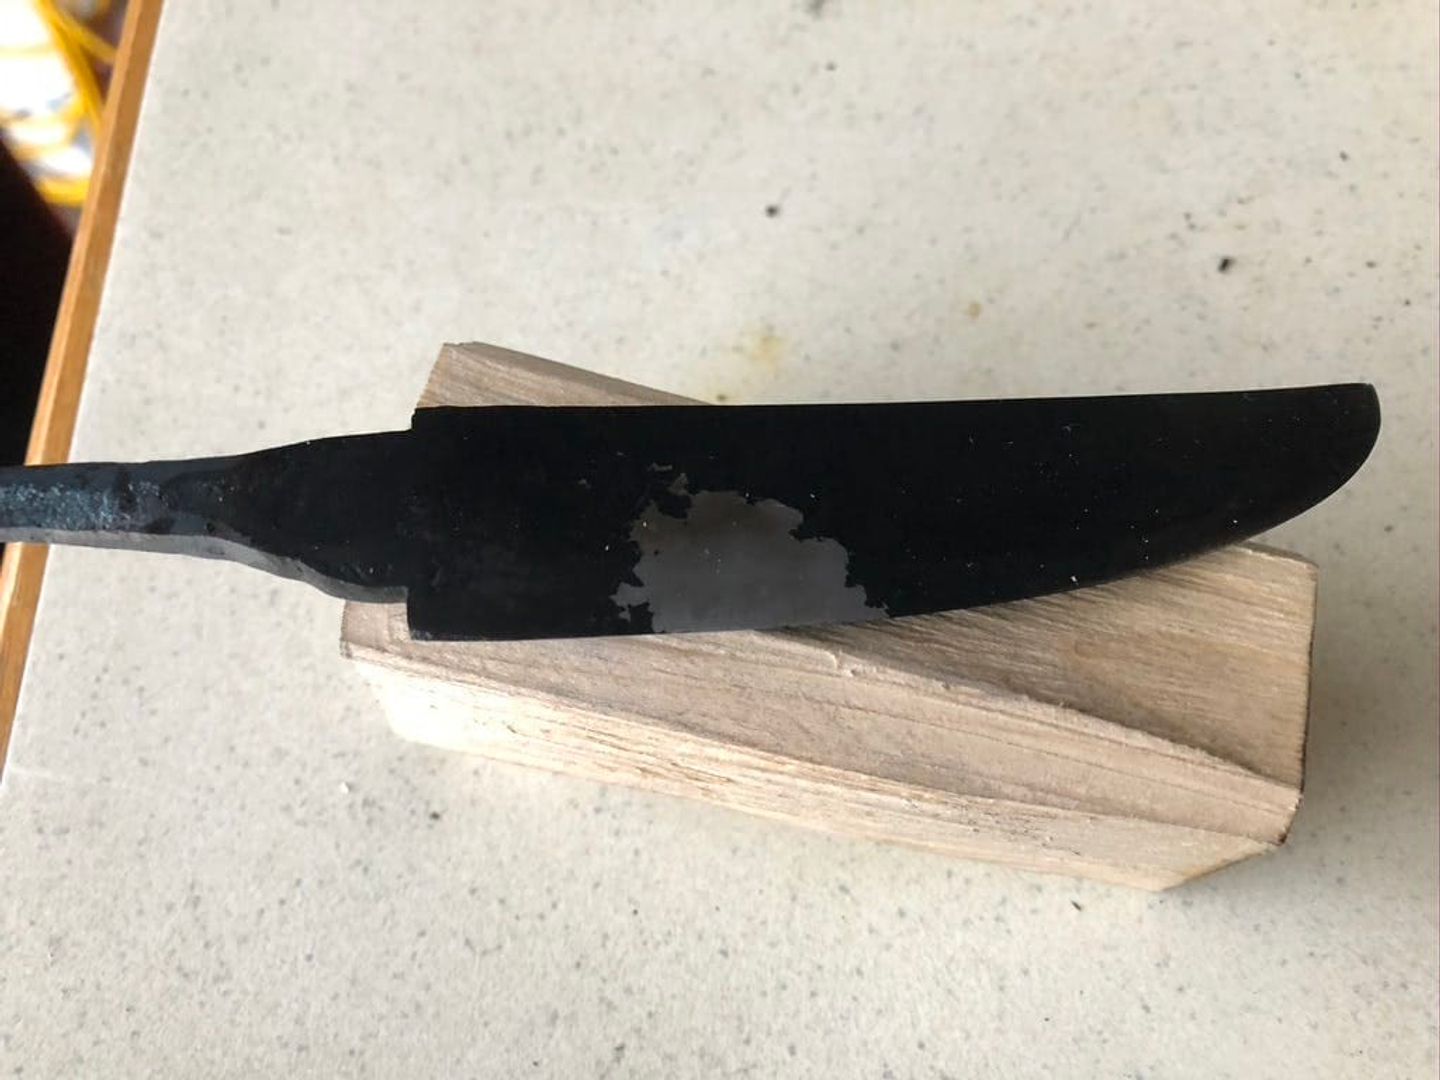
Then was burning in the tang and heat treating the blade. The handle burned in very nicely. I find merely pushing the blade into the handle cause the sides of the slot to burn wider than wanted, gently tapping the blade down with a mallet seems to help.
The heat treating itself went quite well. First it was normalized three times (heated till it glows then let it cool back down in the air). Followed by a fourth heat and plunged into warmed oil. It looked pretty good.
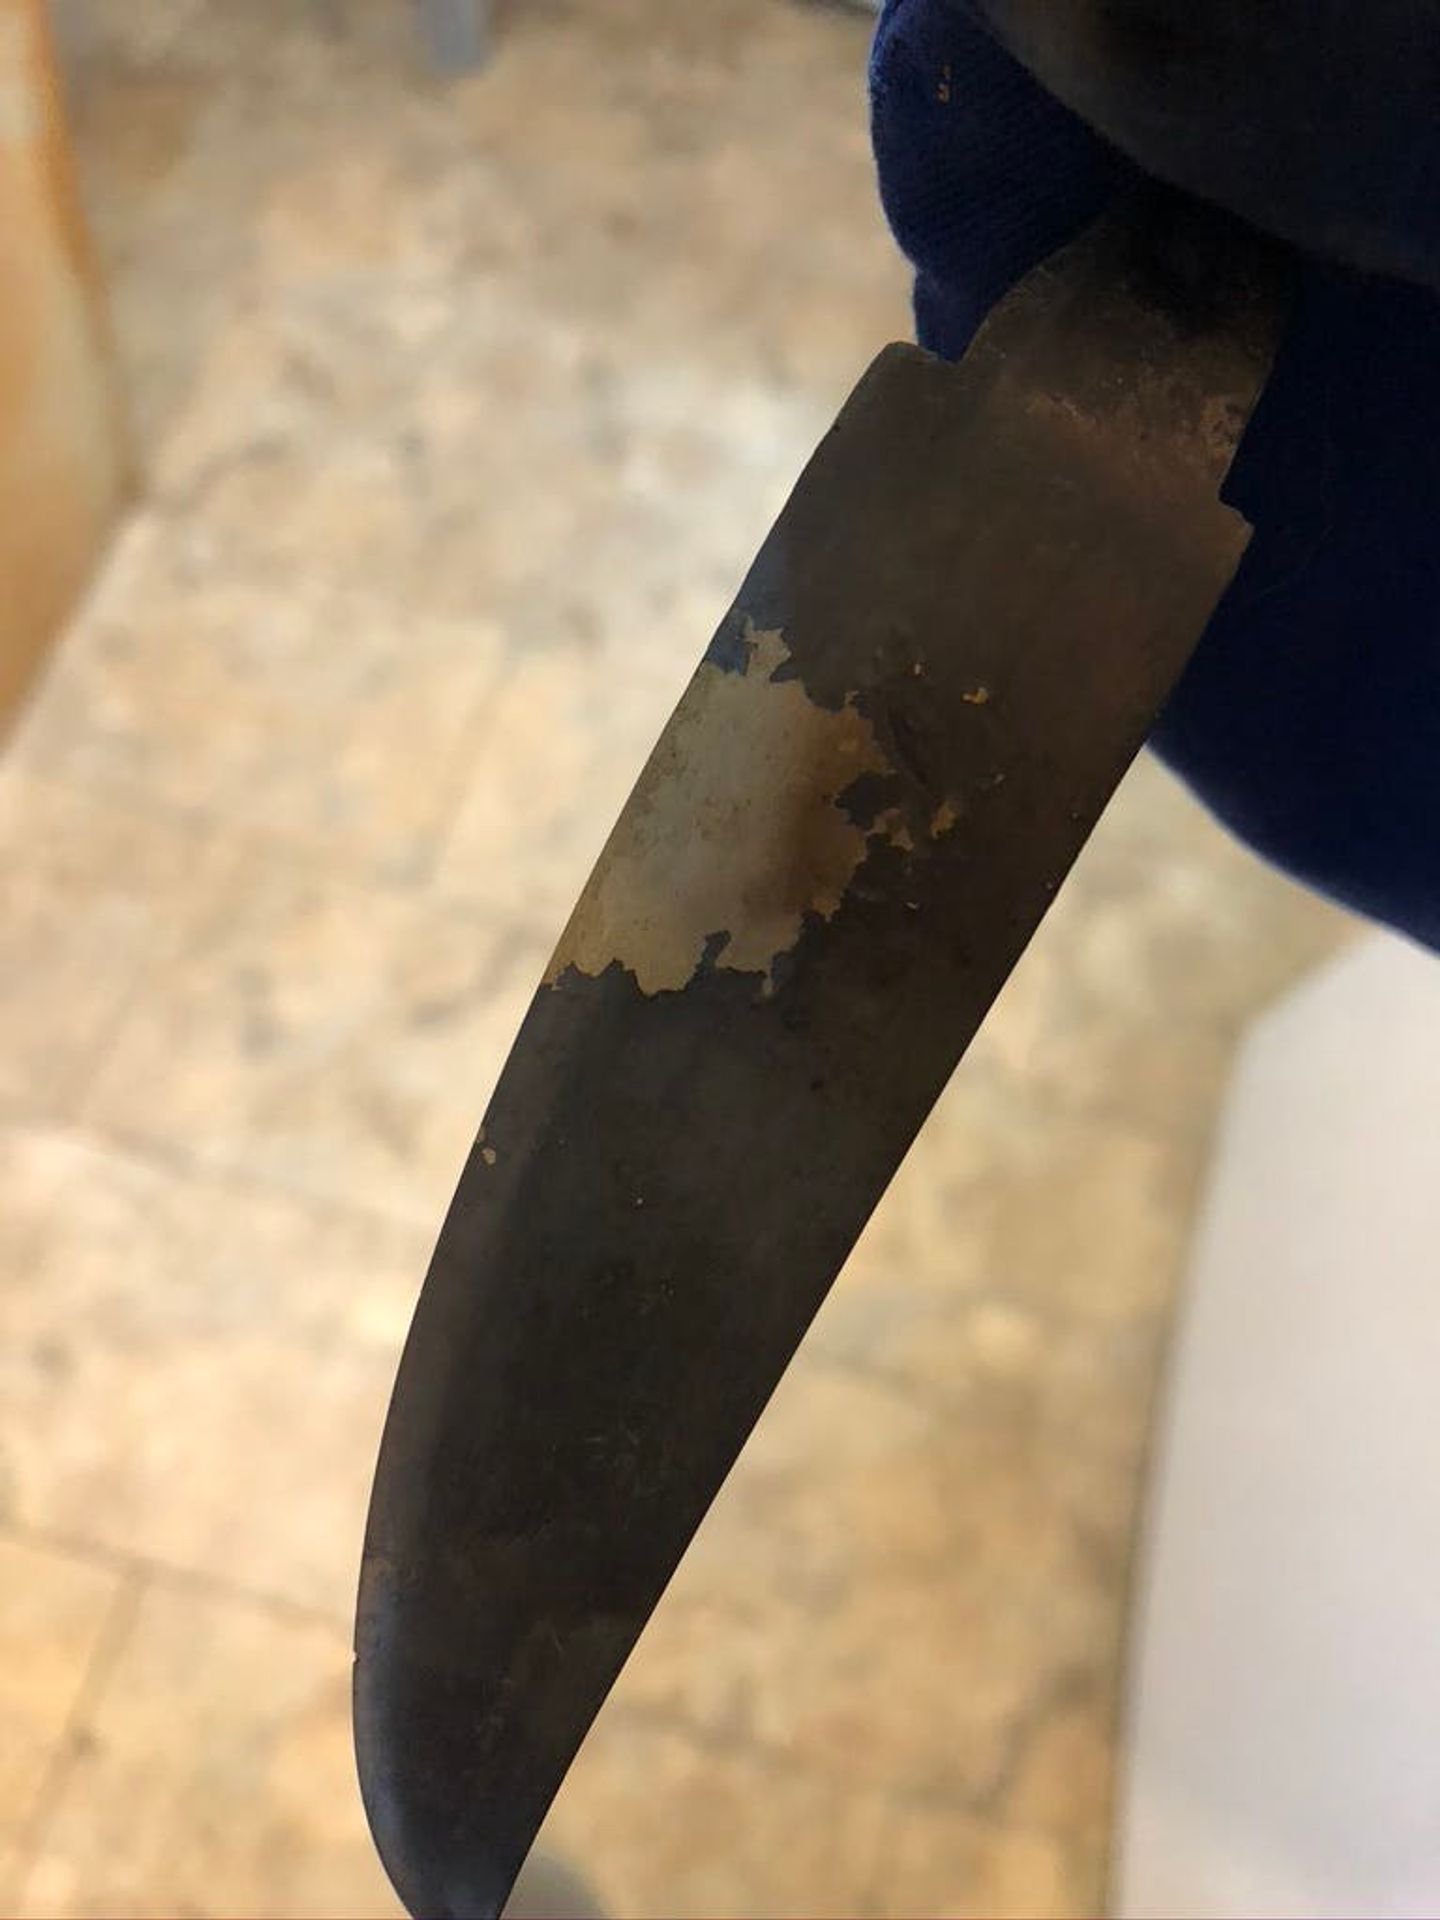
Then it needed to be tempered to release it's brittleness. A heat at 450 F for an hour and a half worked the trick. As the steel heats up it goes through an array of colours, straw is the one I was going for and it looks like it hit the mark.
More sanding and polishing to get it back to where it was.
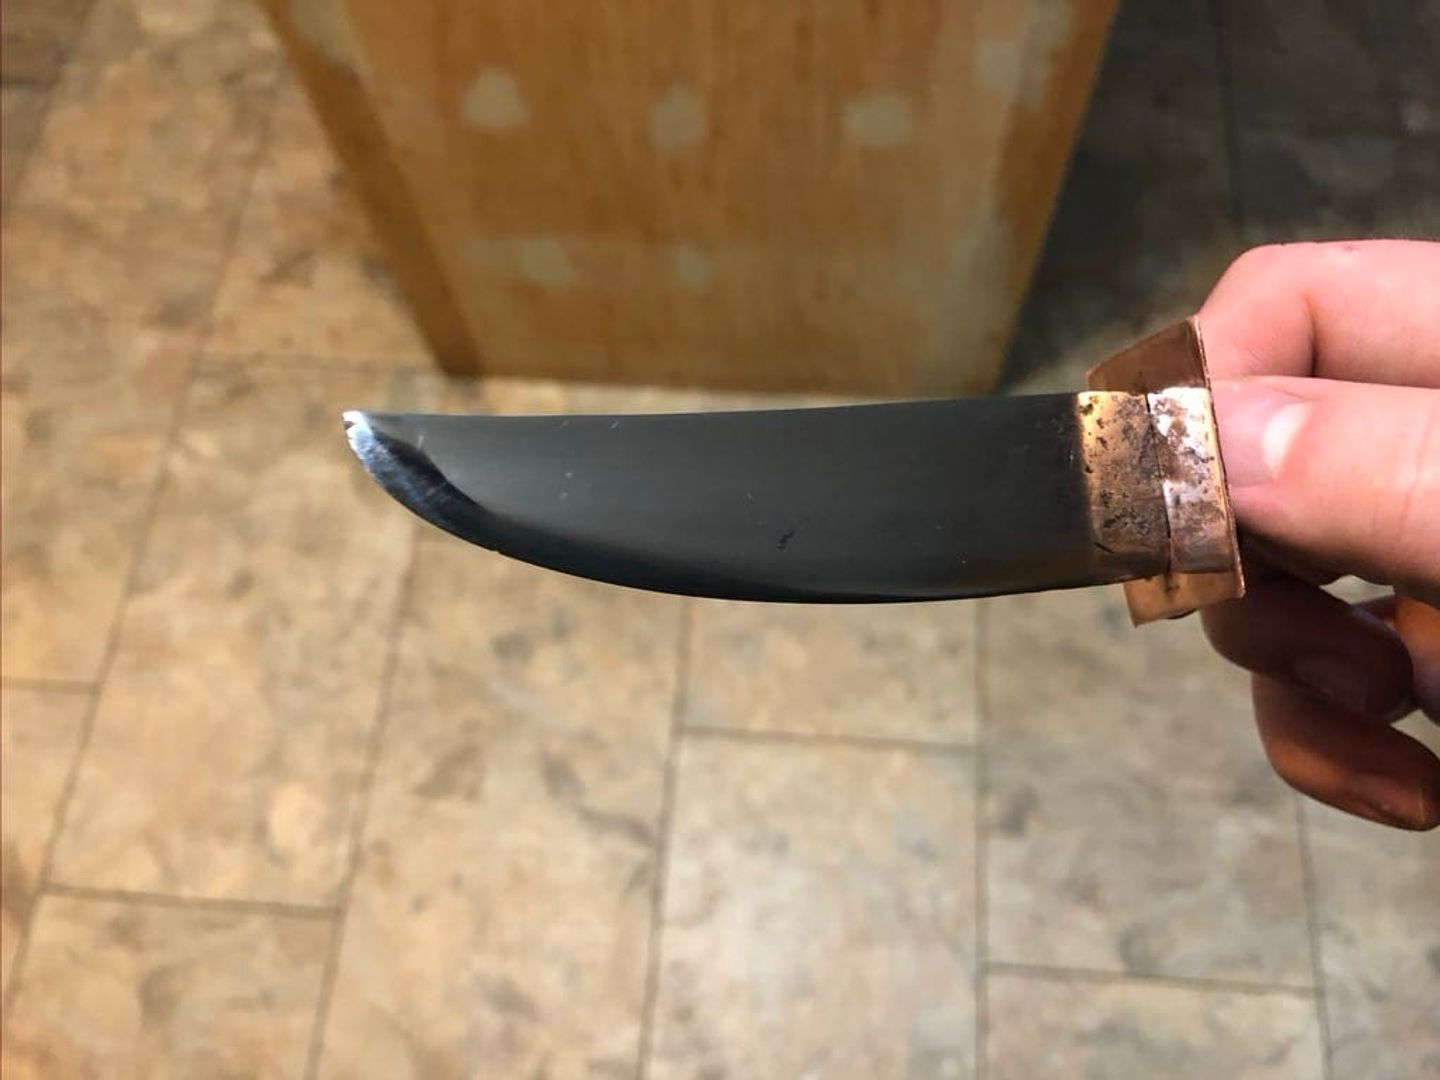
Finally it was time for assembly. The blade fit in quite well but just to be safe I filled it with glue to make sure it stays in place.
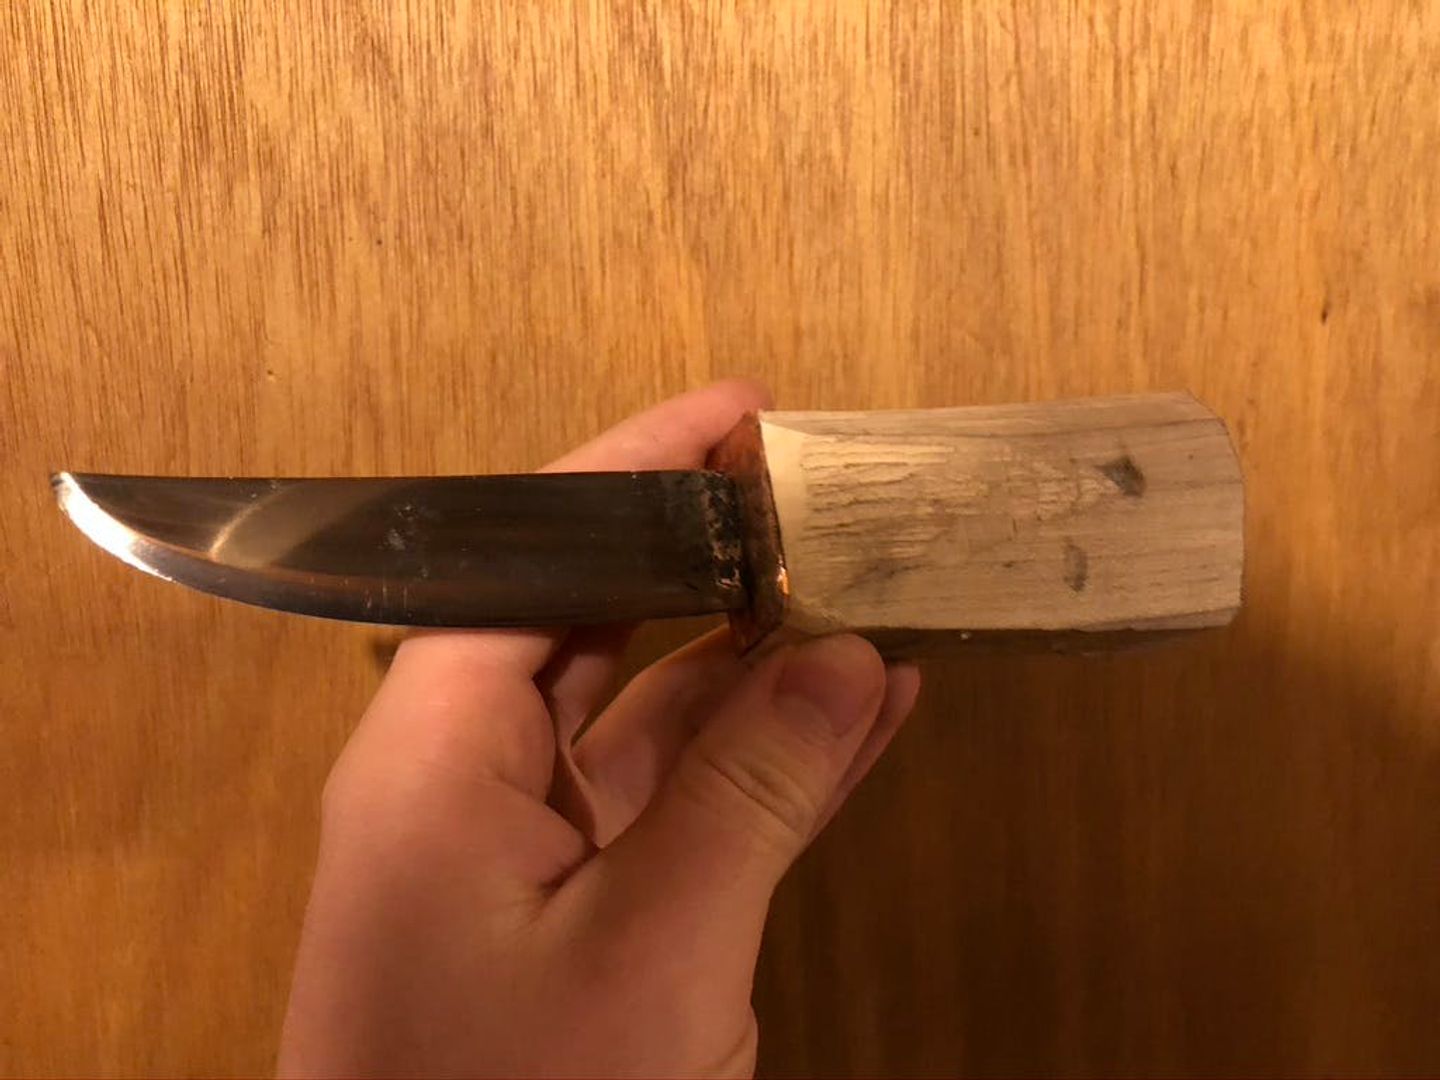
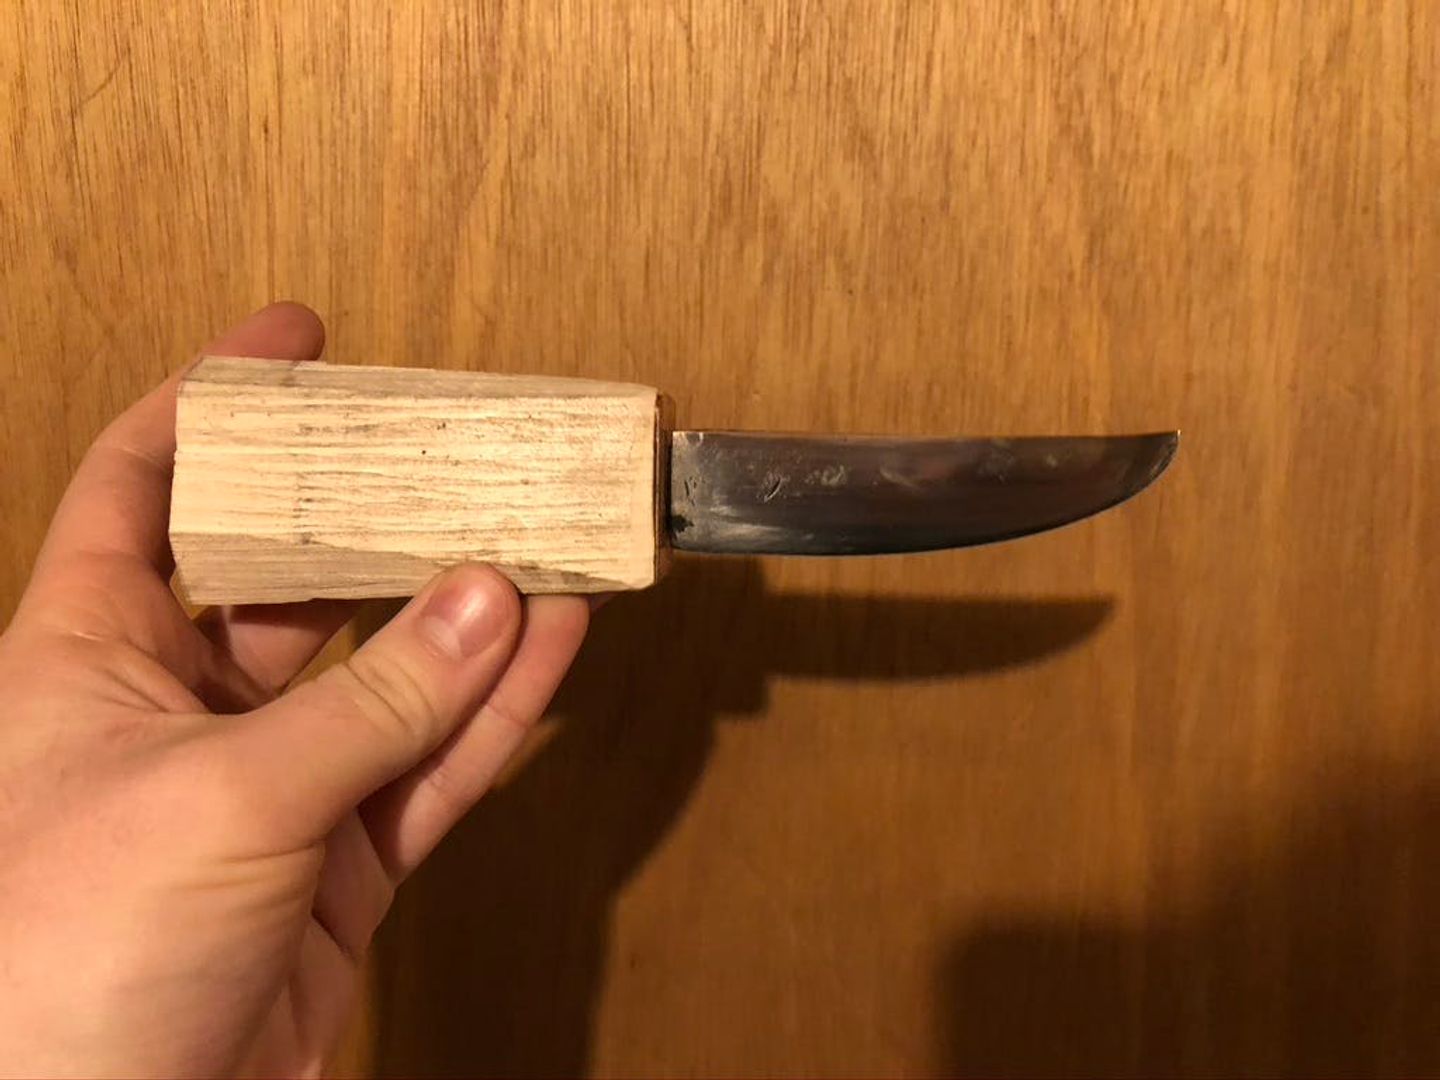
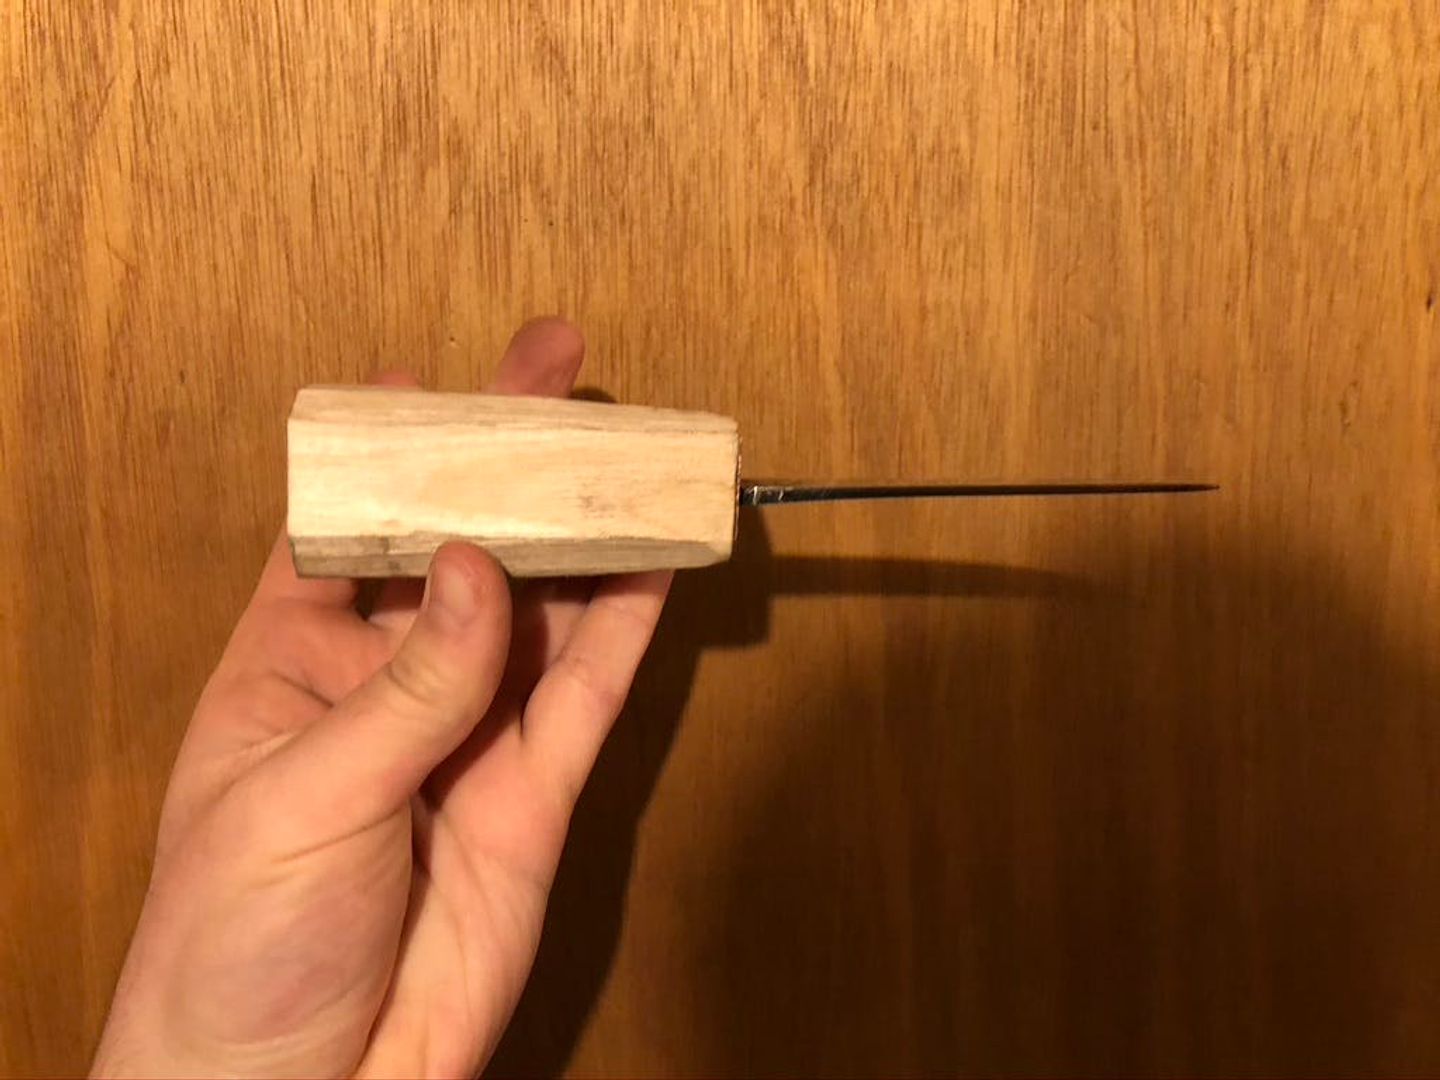
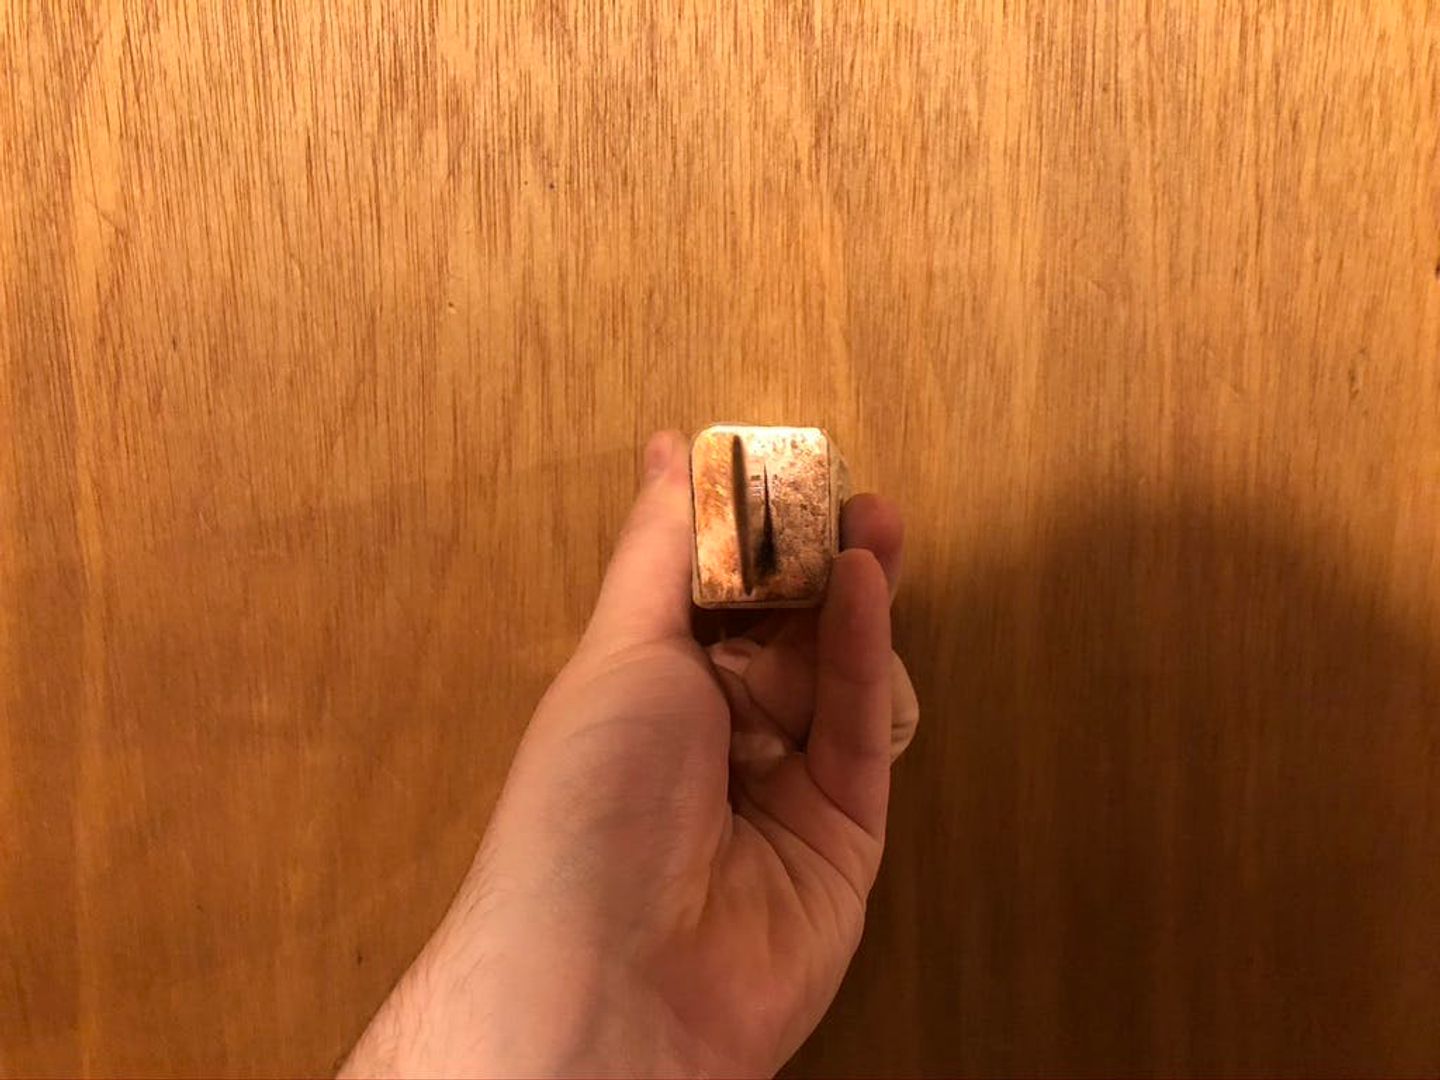
The bolster did end up coming loose; the shoulders of the blade didn't perfectly sit on it. But nothing some super glue couldn't fix.
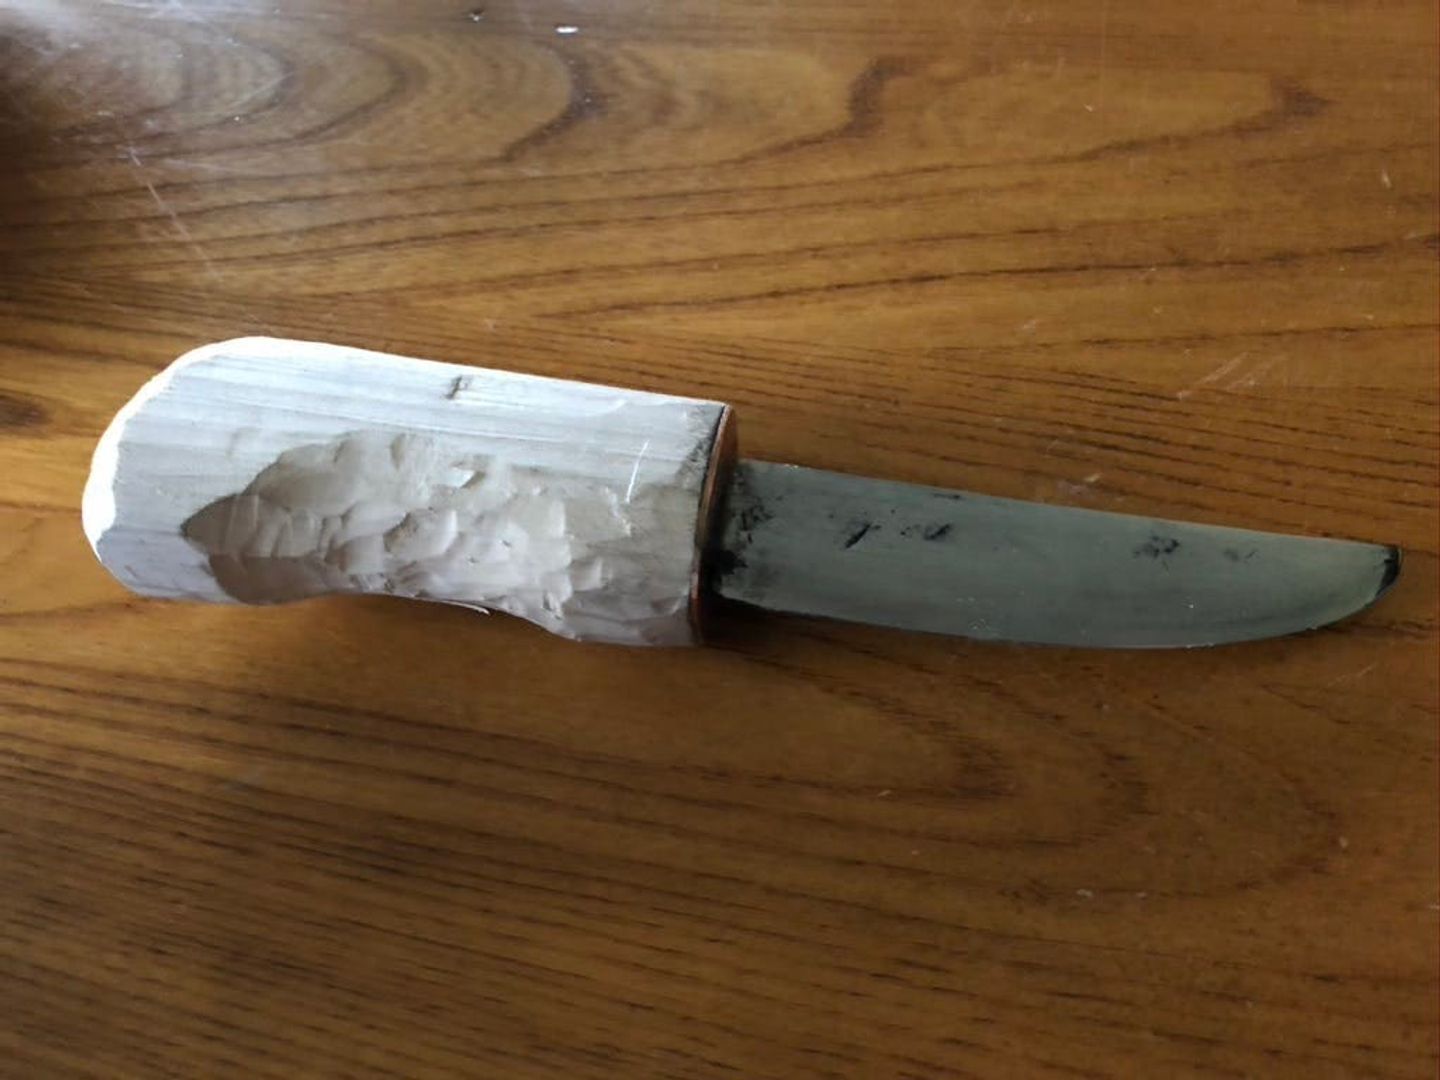
Carving the handle down to shape was the next step.
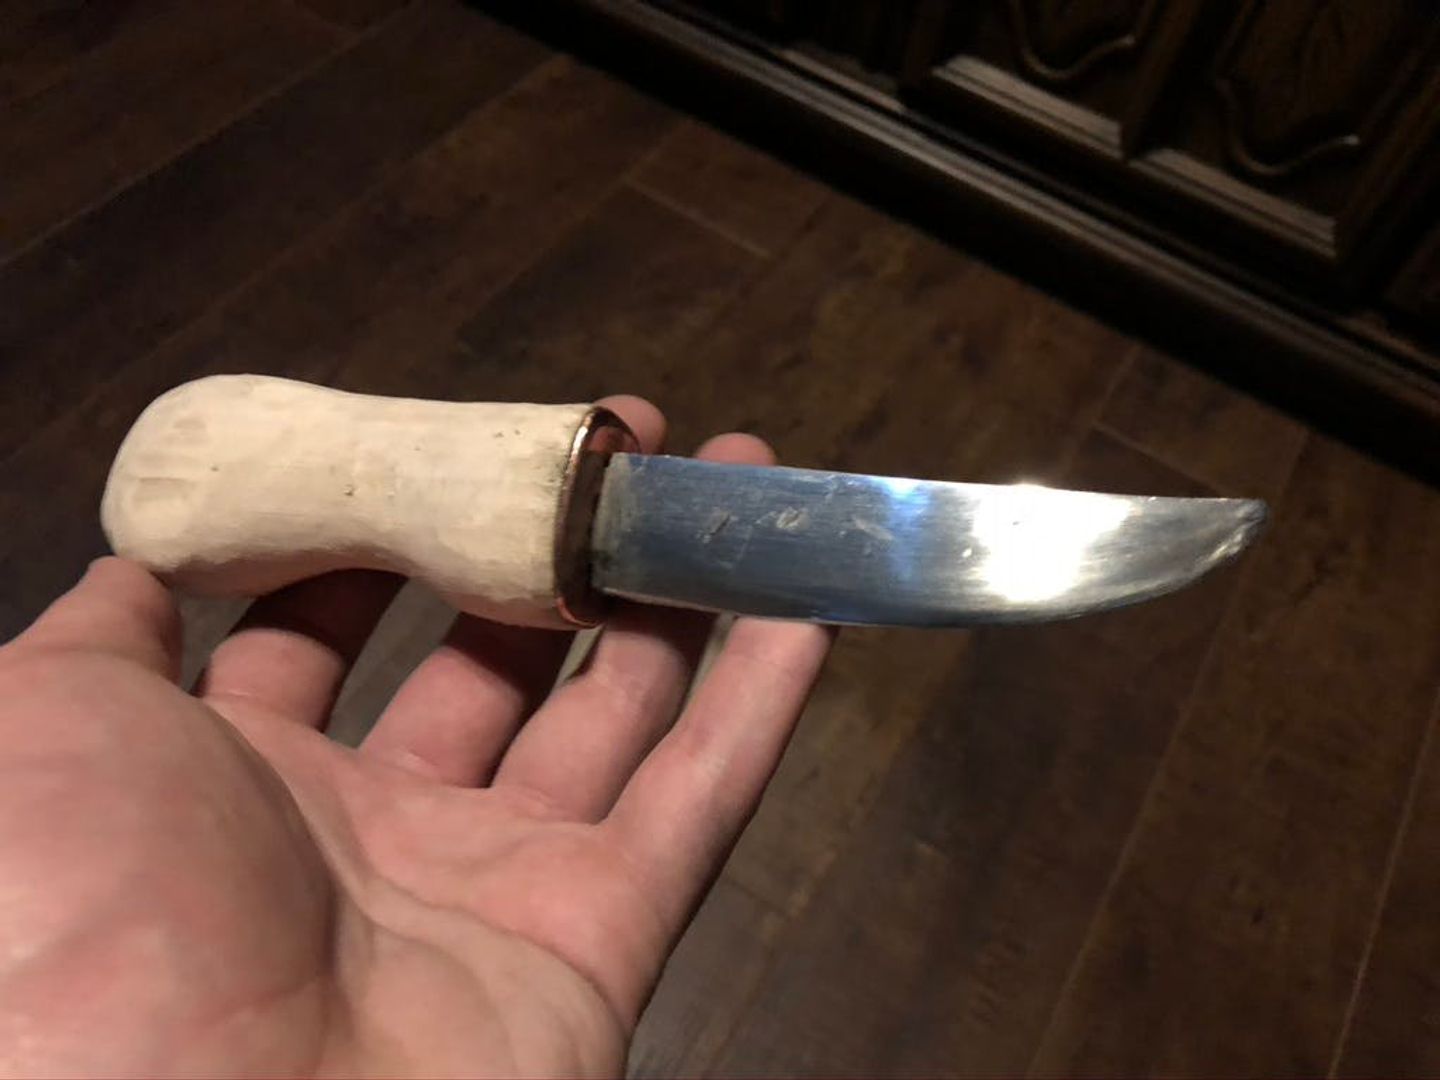
It was a rather short handle, but by leaving a ball on the end, it fit well in the palm.
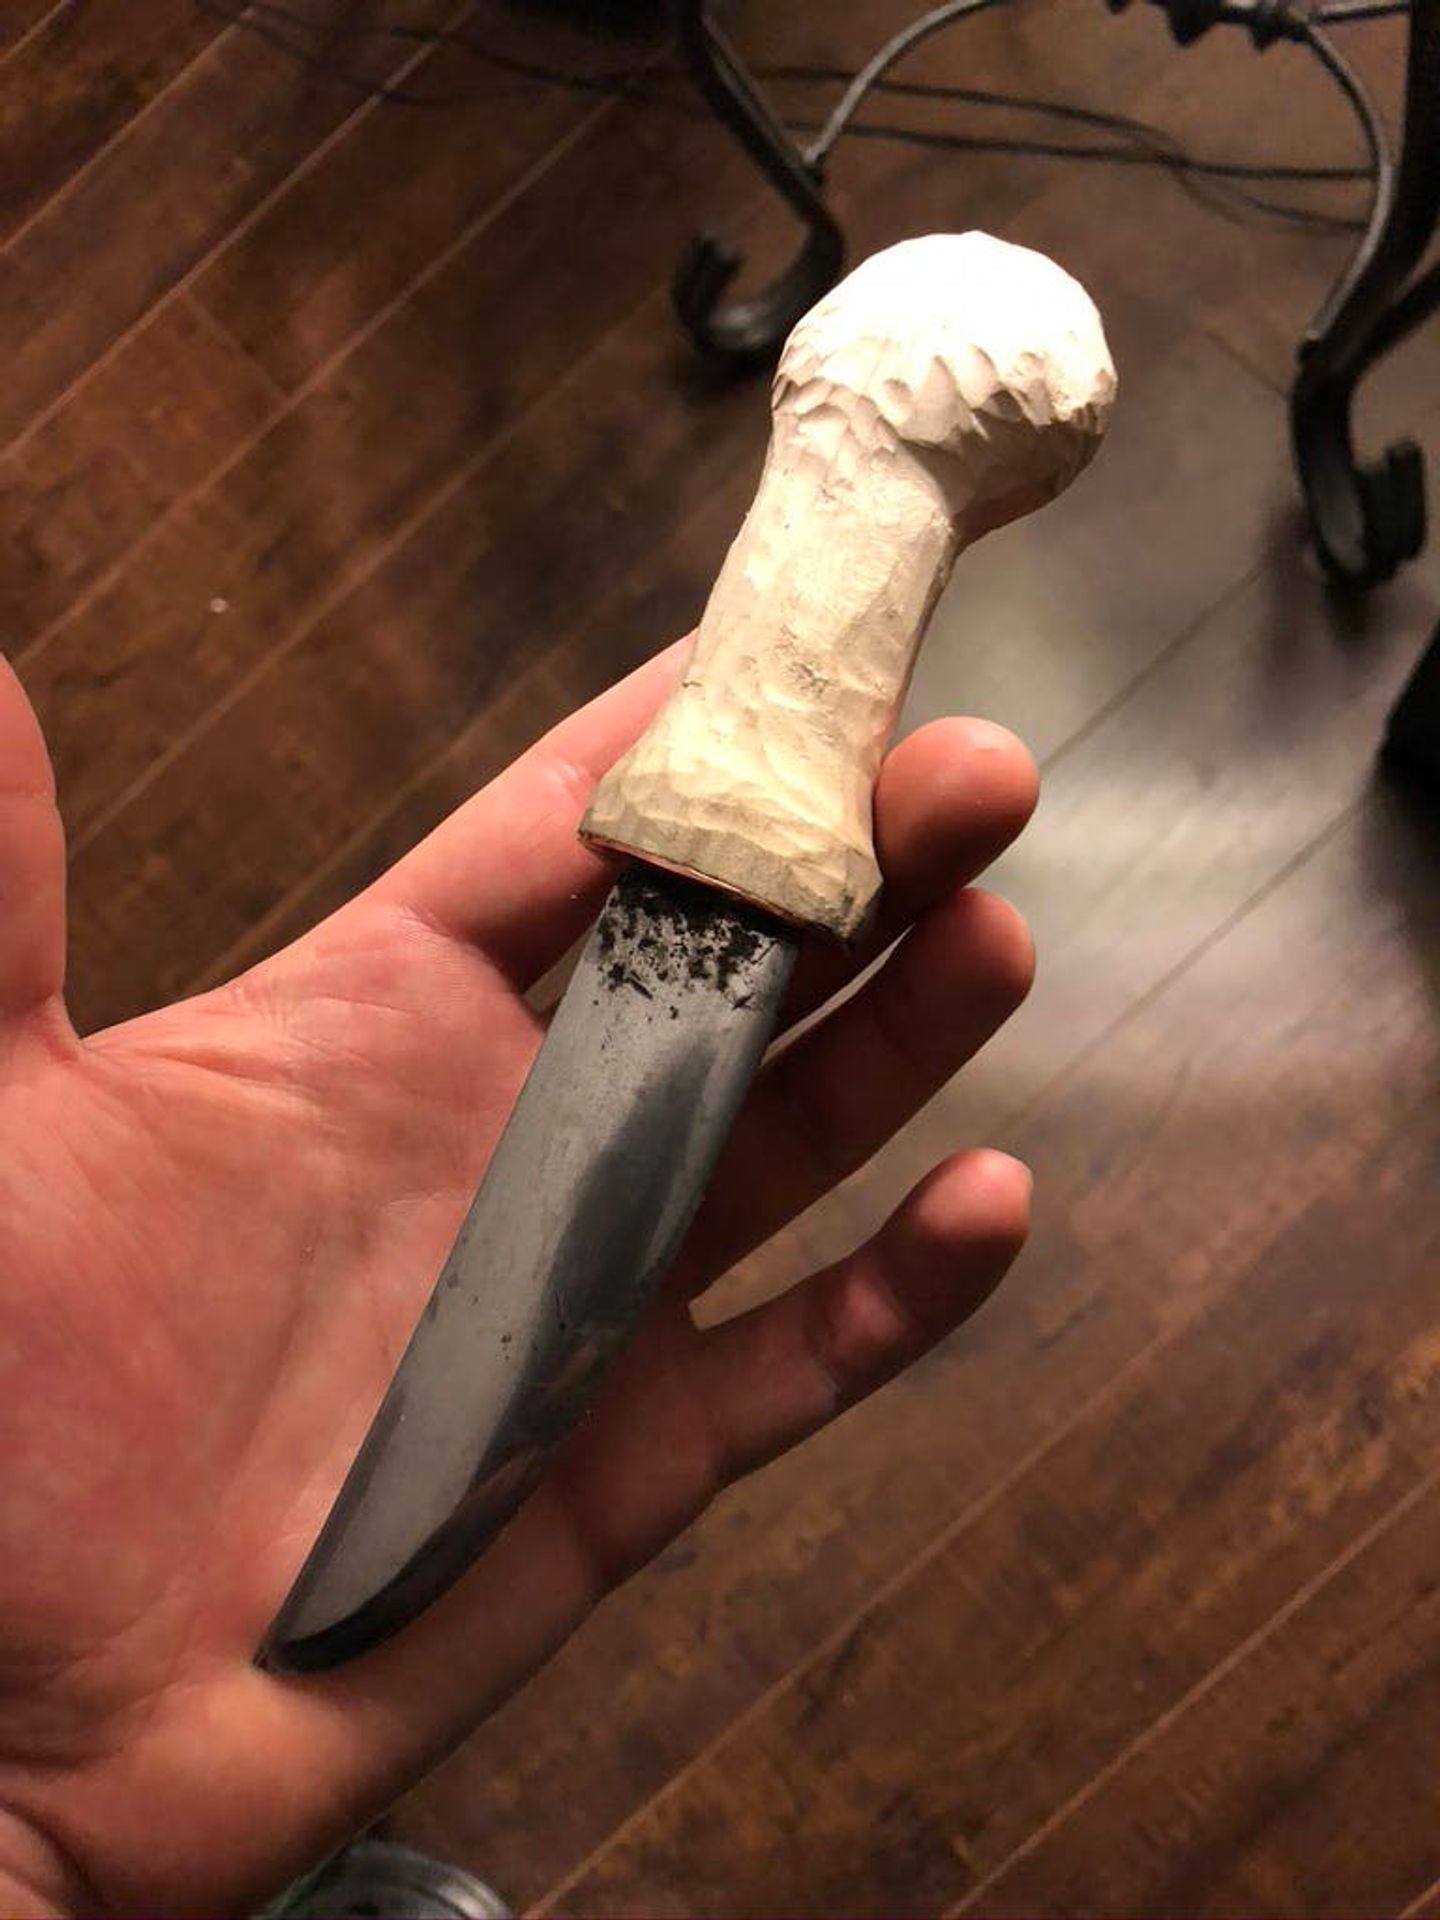
Now that it was rough carved to shape, the edges were filed down and sanded smooth.
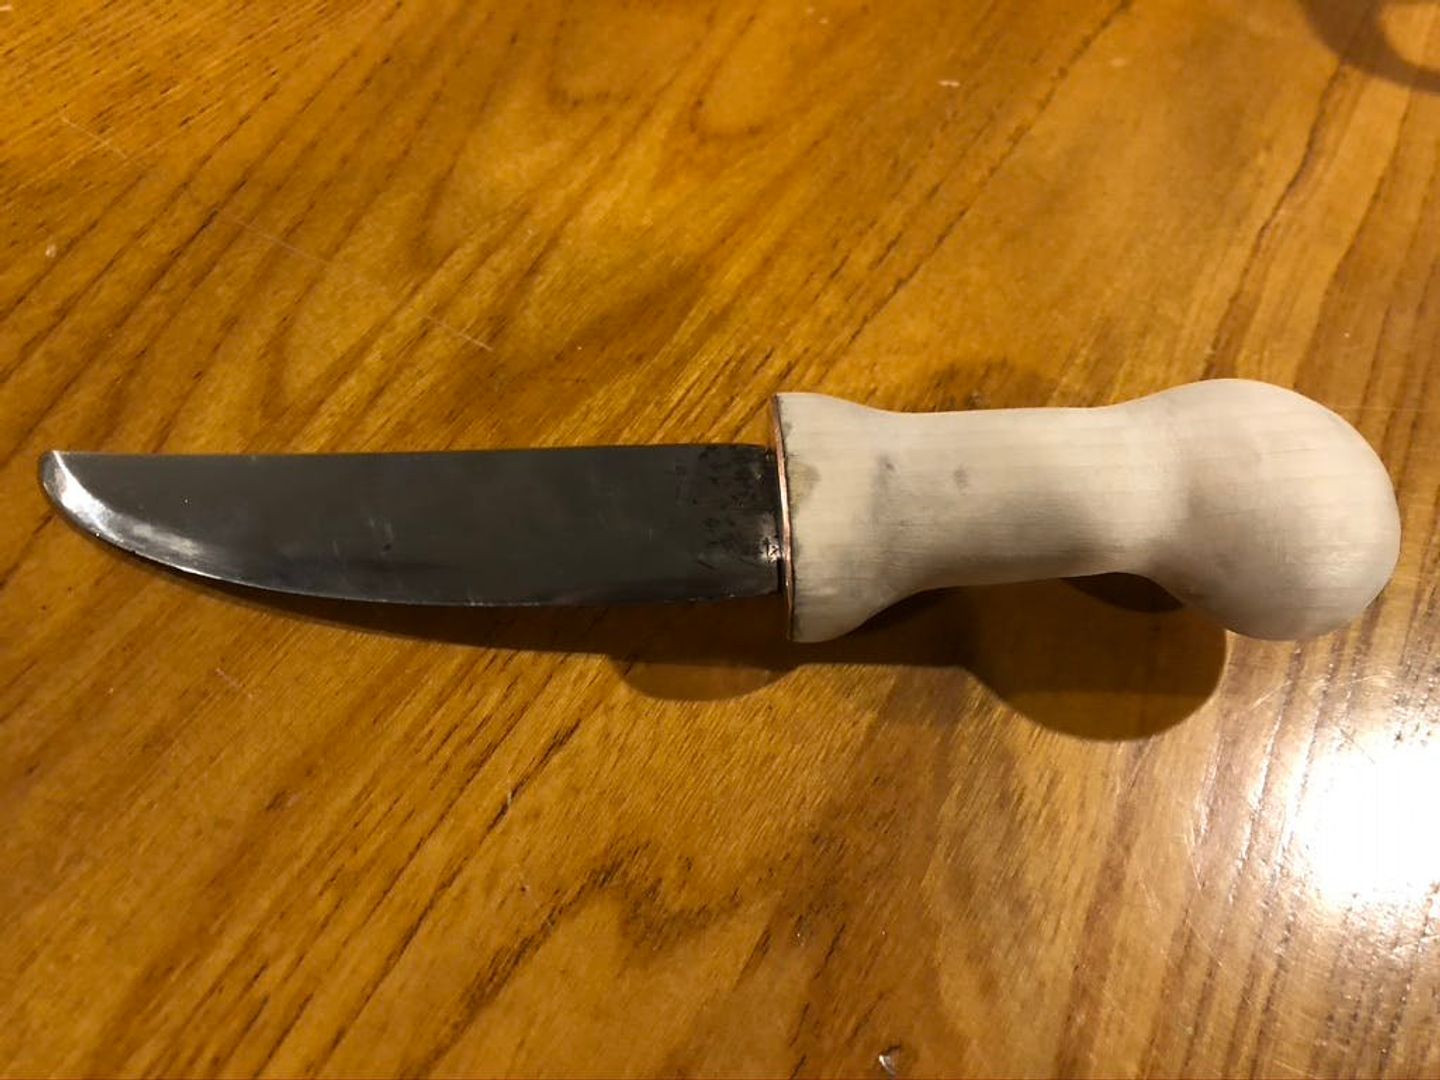
Now, the maple wood was very nice, though the plain whiteness felt rather dull. So I applied a technique that I've used in the past to draw out the grain. Simple burn it with a torch. Well I know that isn't at all novel, but the added step I used is I then sand it back down. Then I repeat this process a few times, leaving more grain mark than those nasty burn marks.
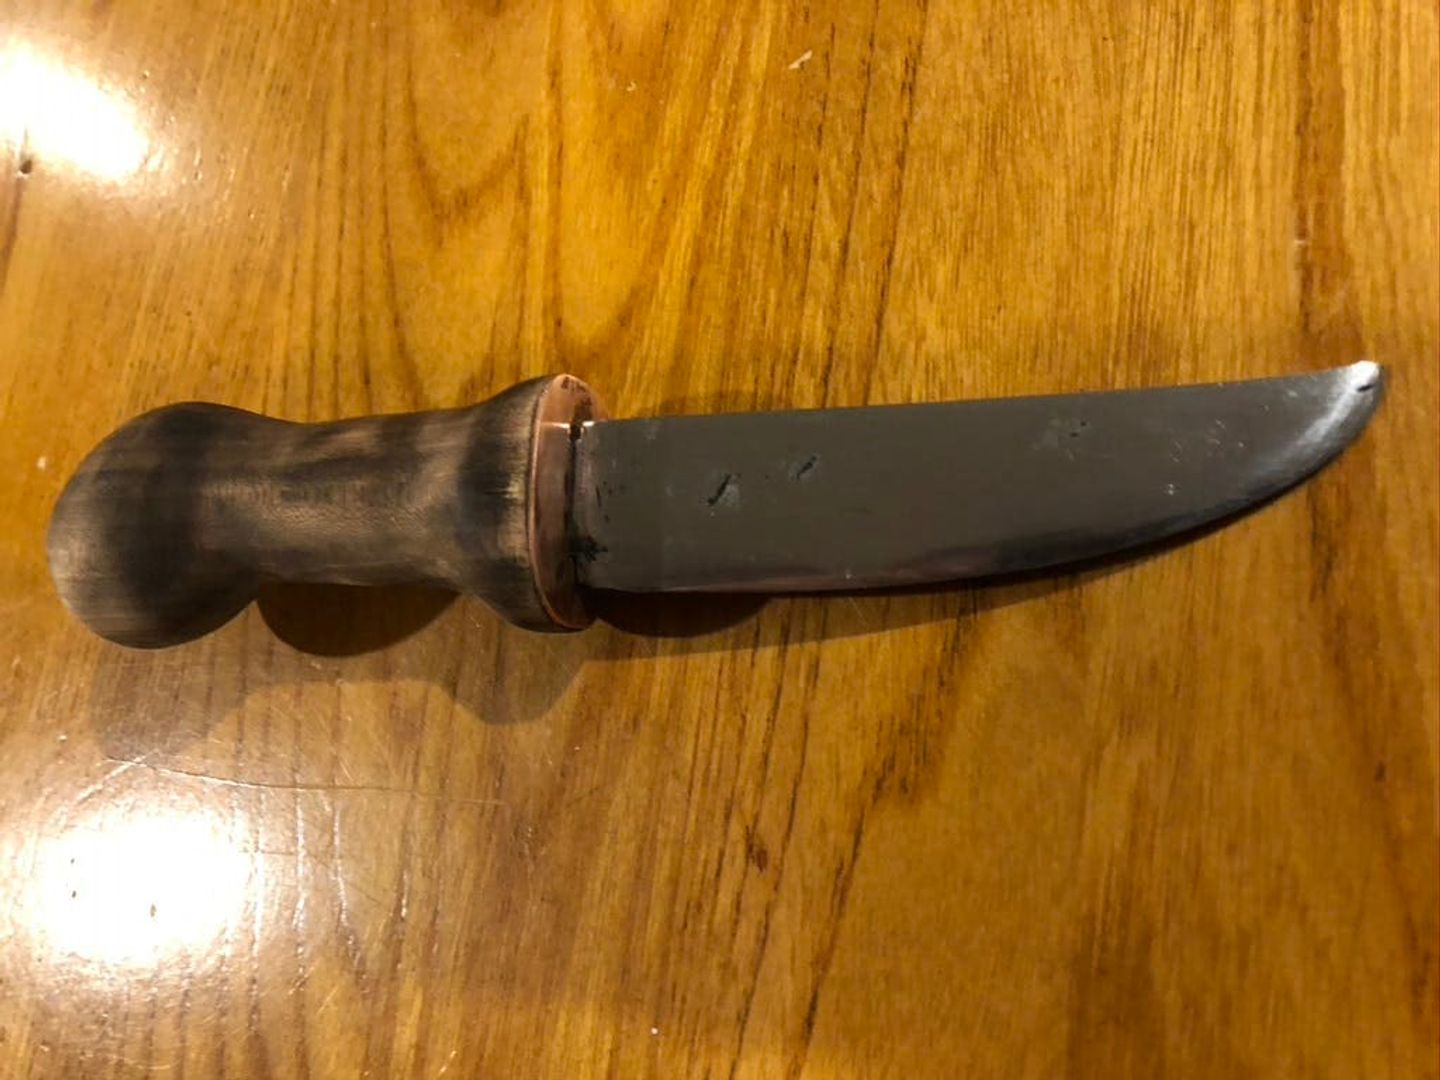
To give it a little extra character, I moved on to the wood burner. This was the only step I didn't technically do by hand. The burner is run off electricity but I'm not really interested in heating up thing rod of steel to get the same effect. I've done it before and it really isn't worth the effort.
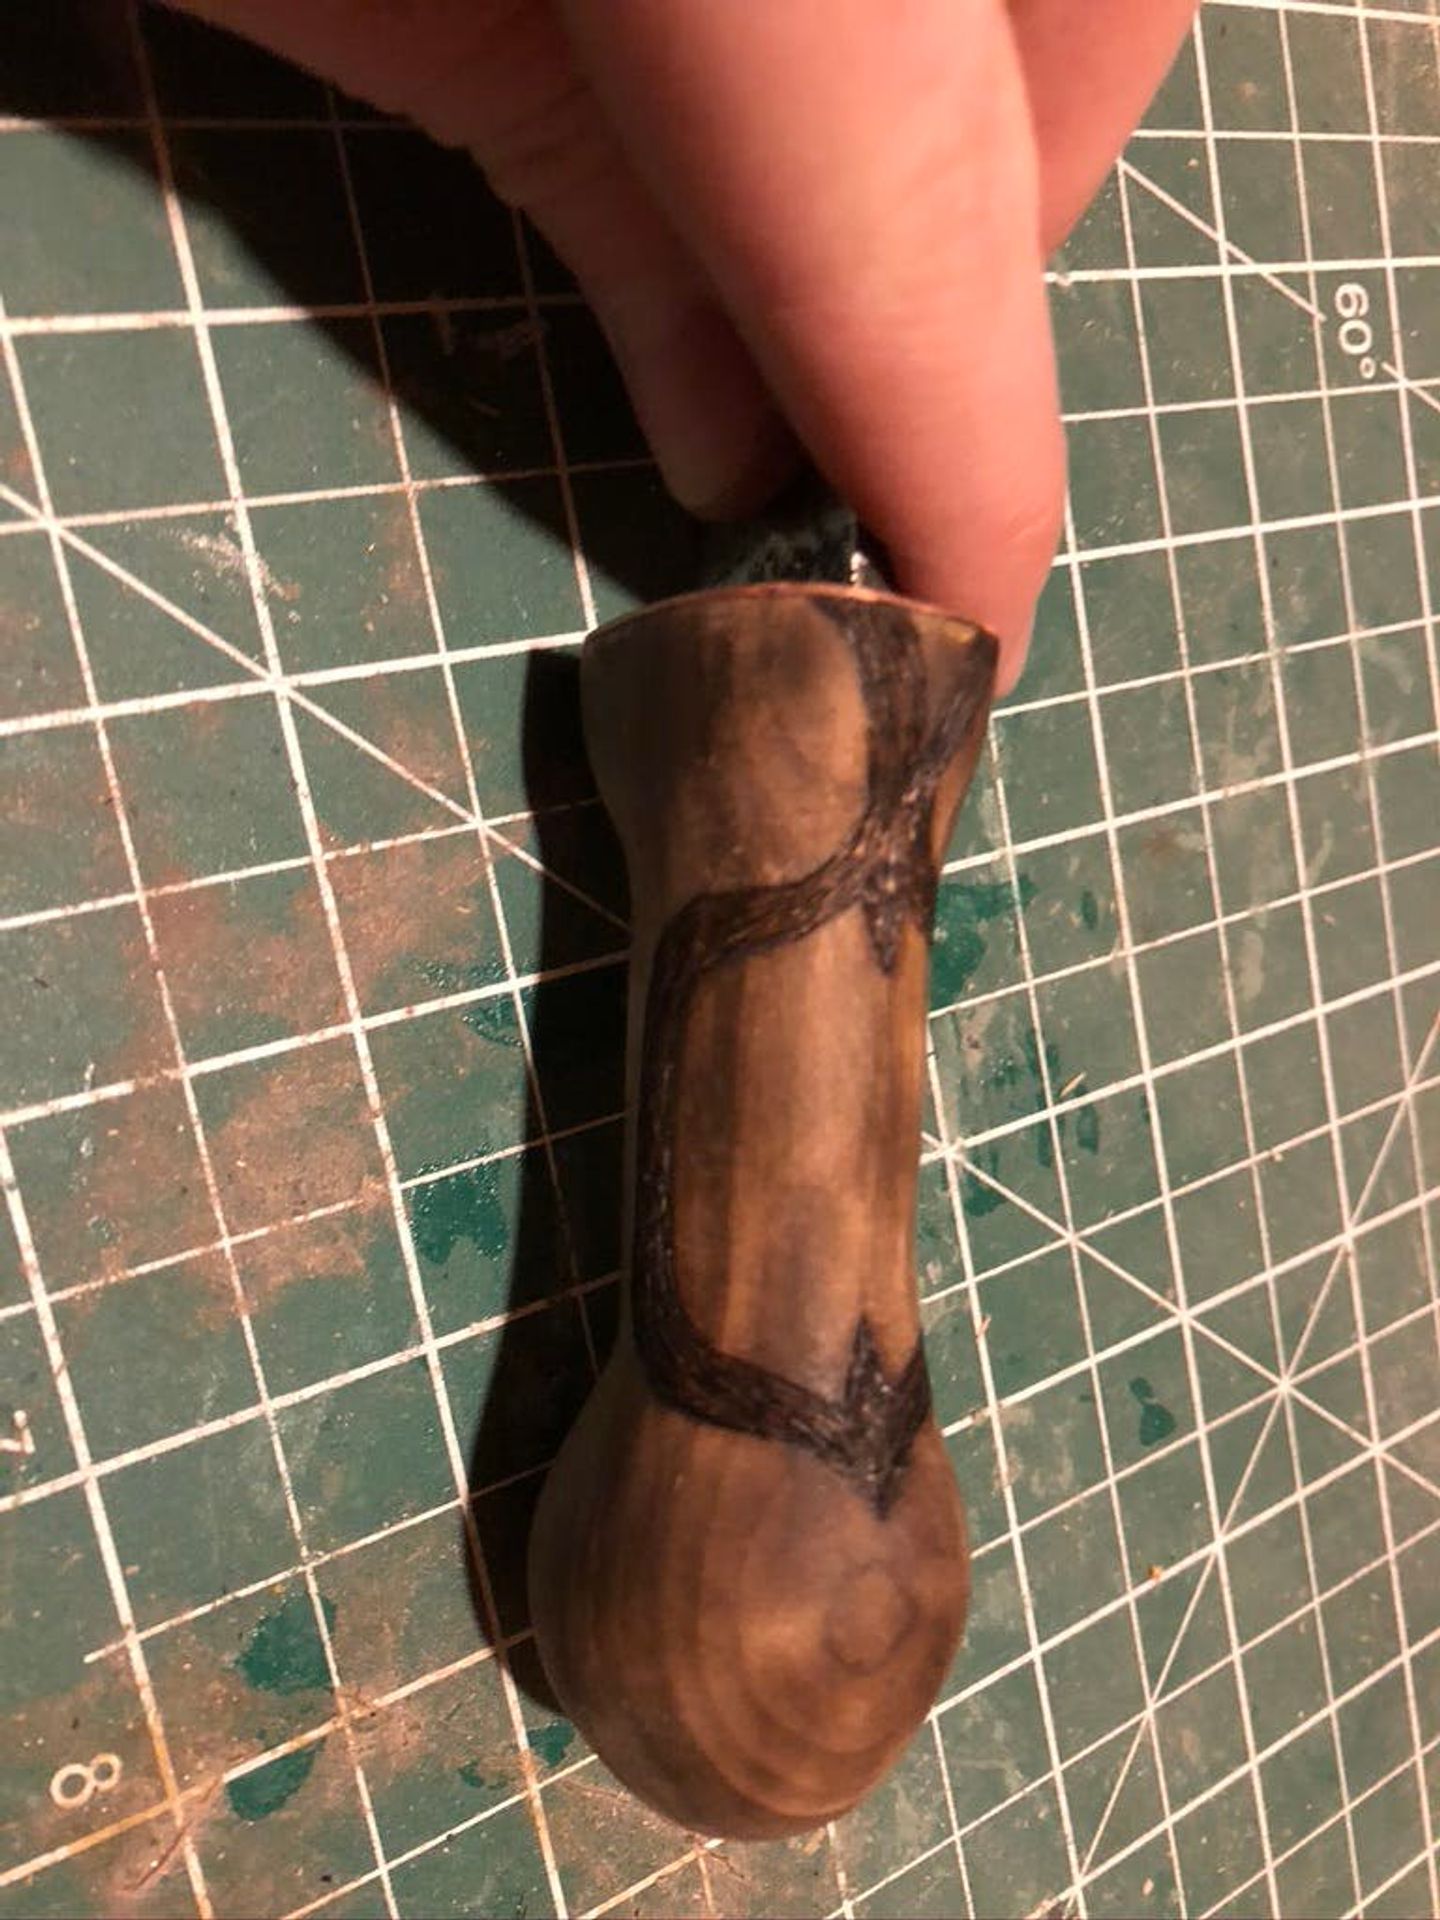
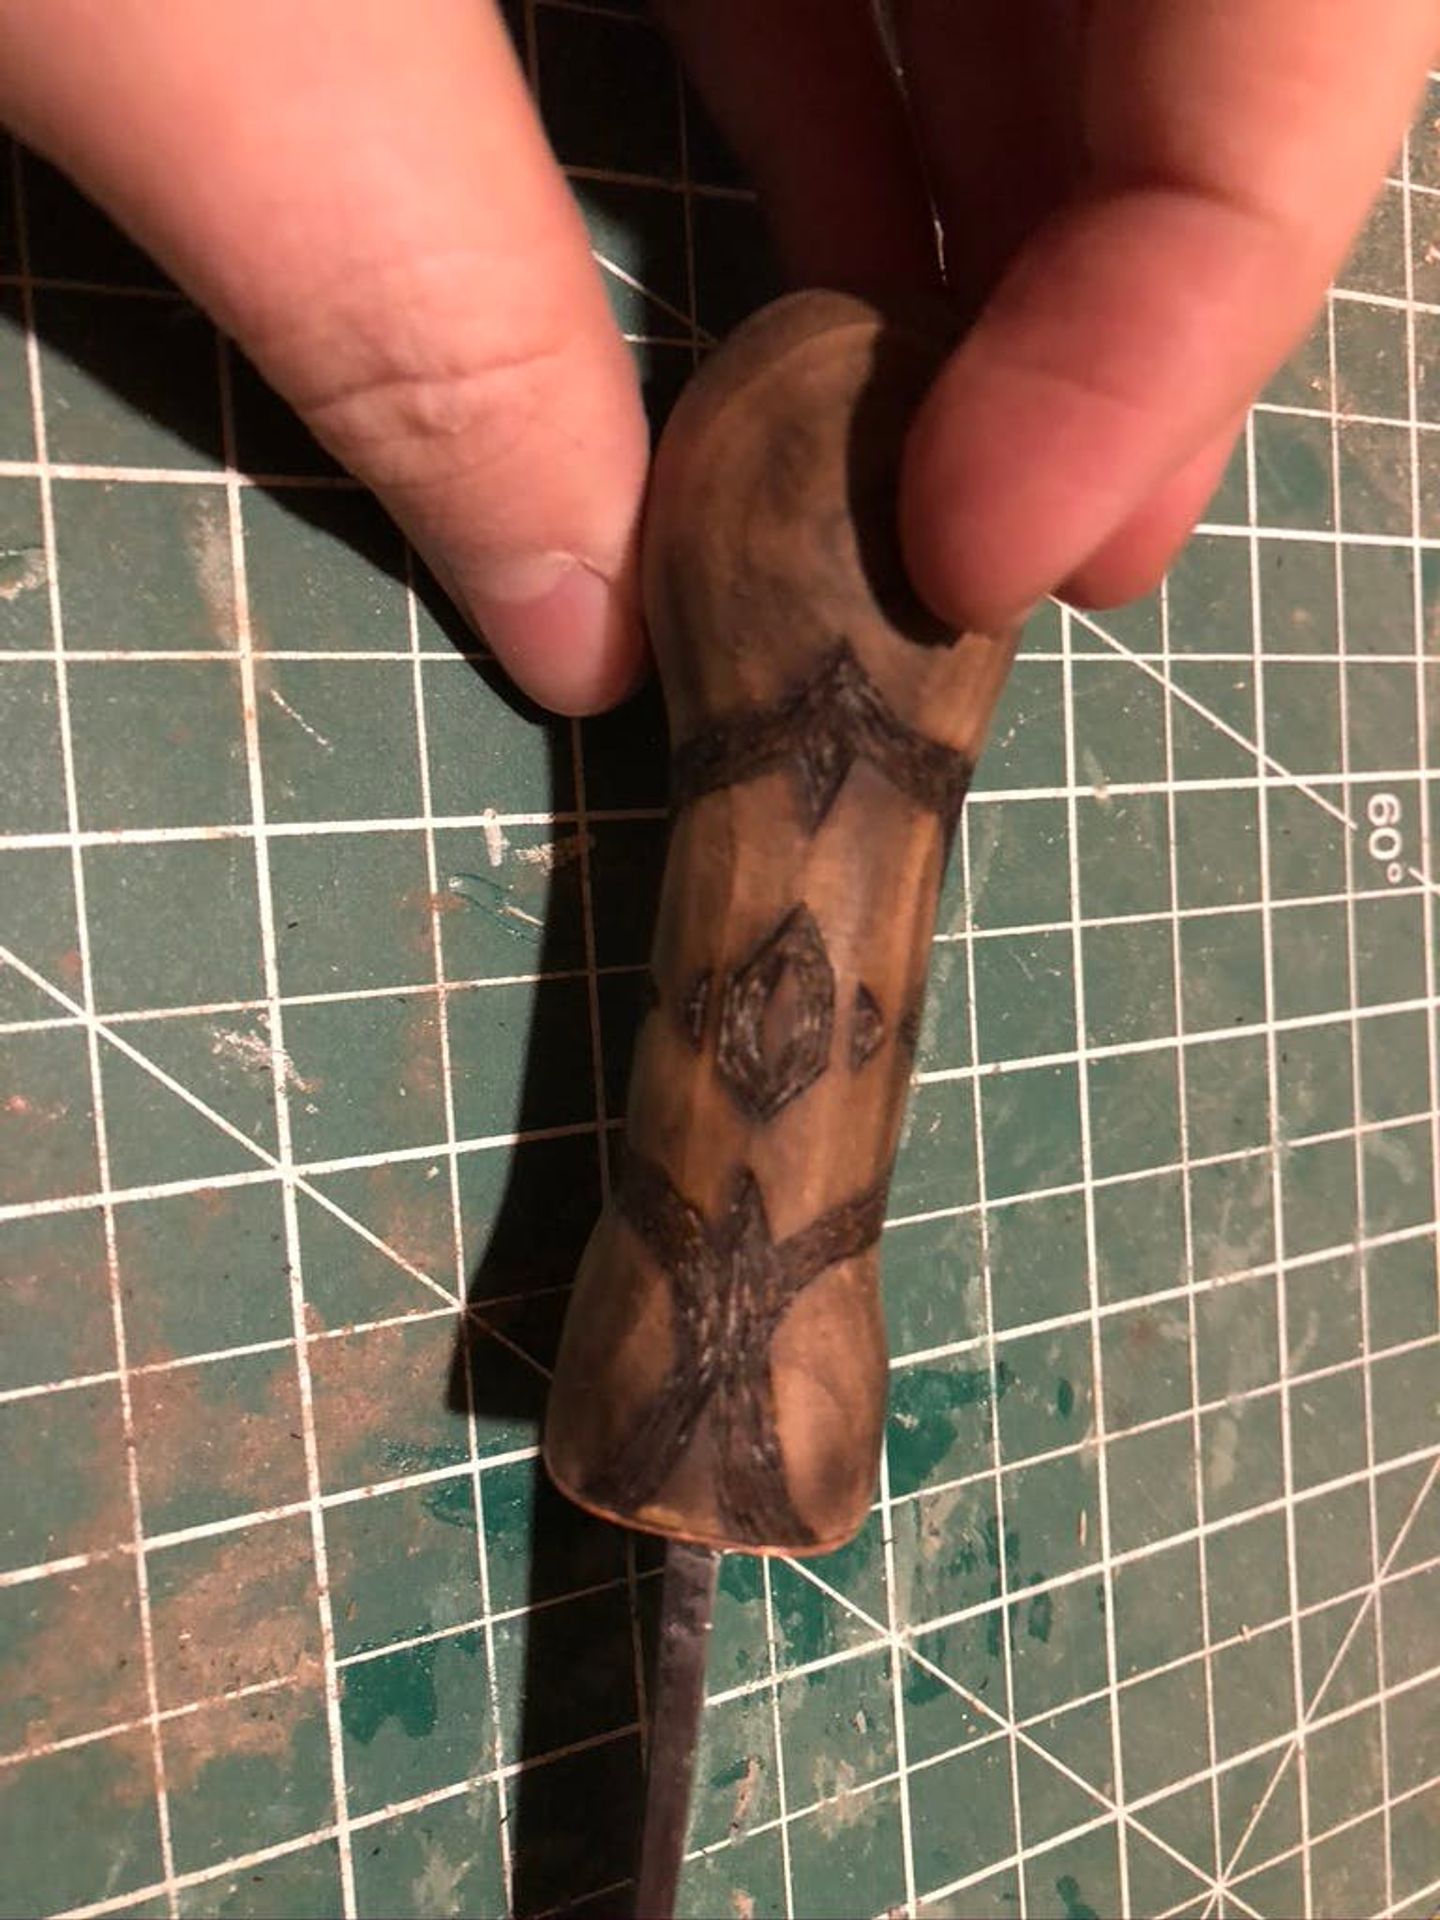
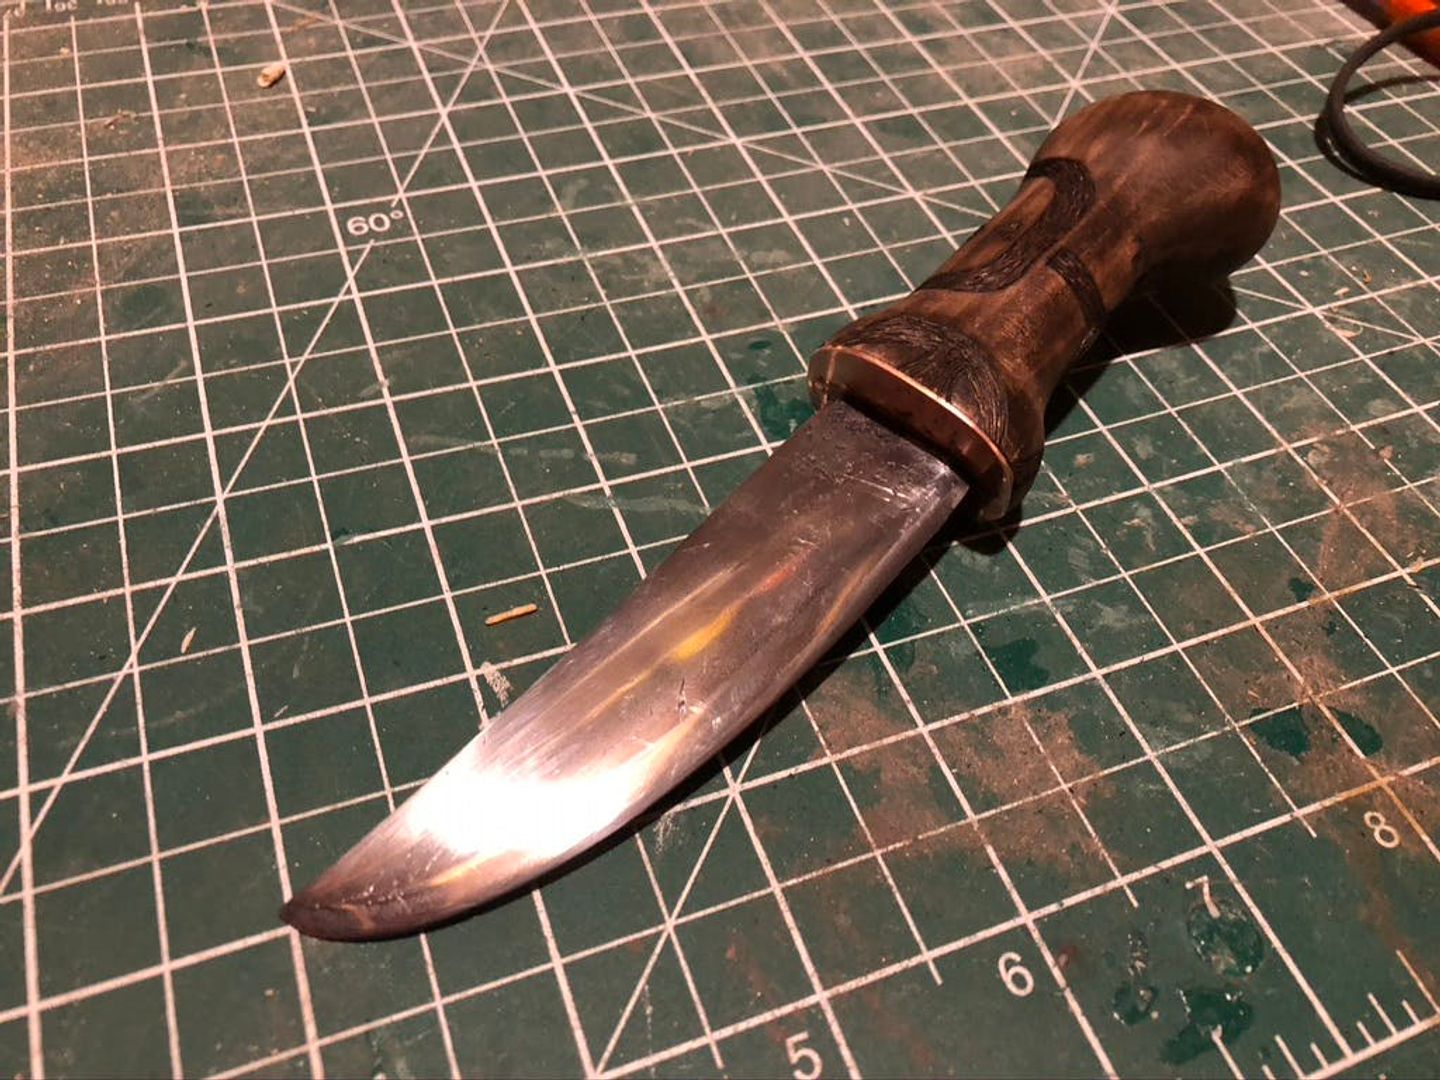
To finish it off, I coated it in double boiled linseed oil. It takes a while to dry but it gives a very nice finish.
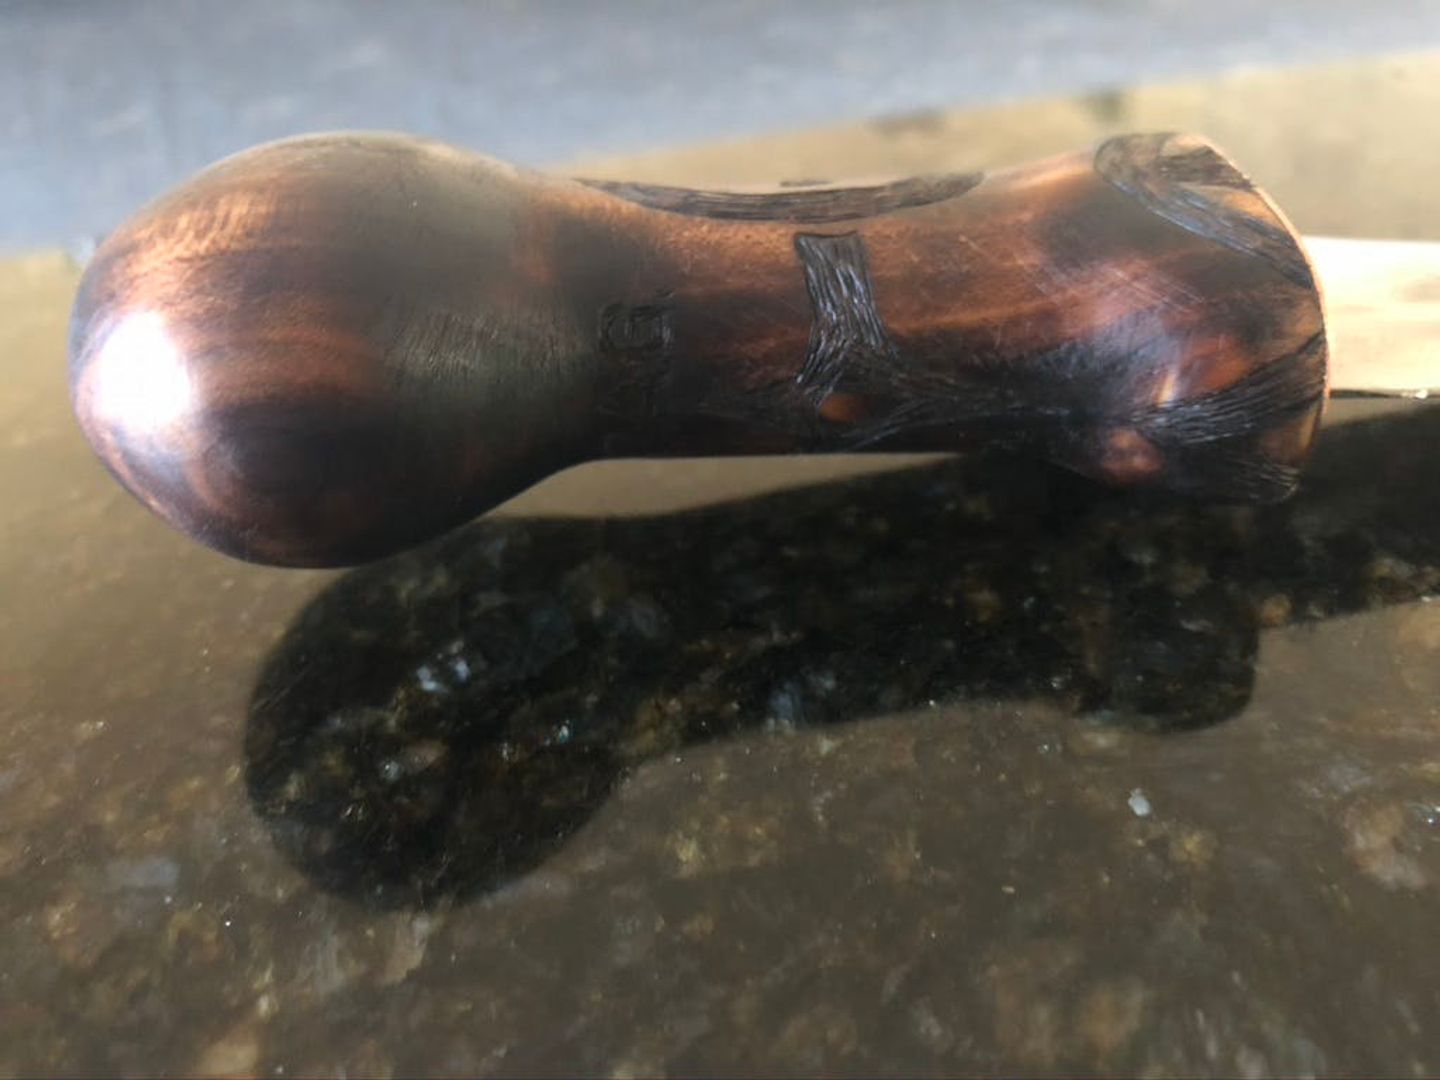
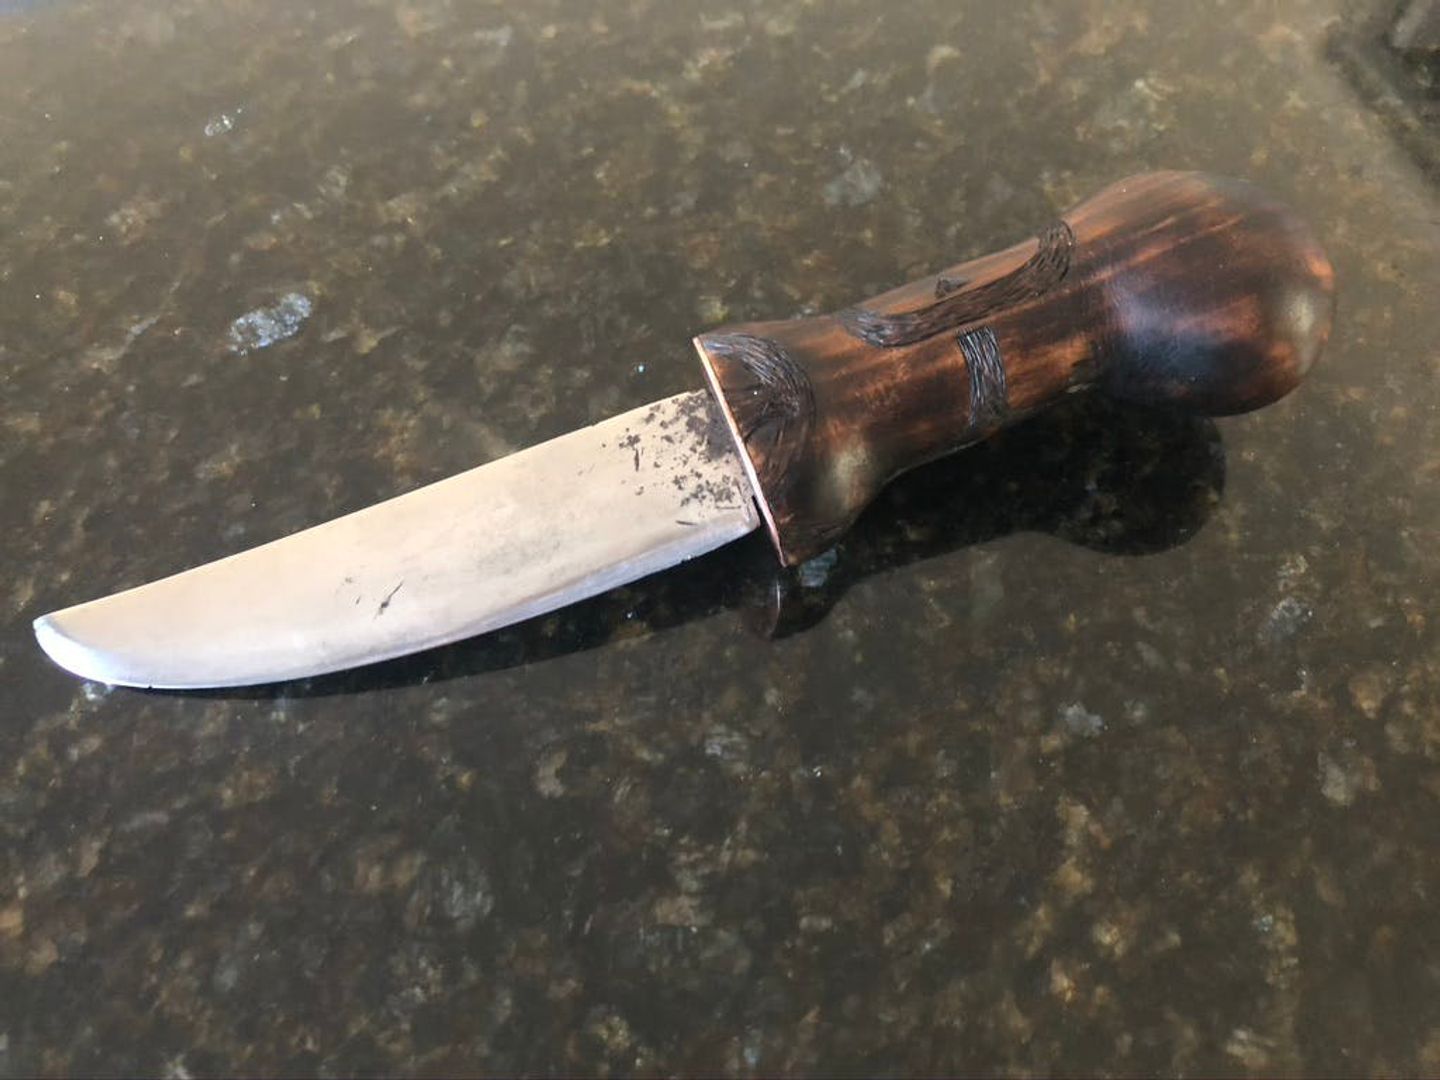
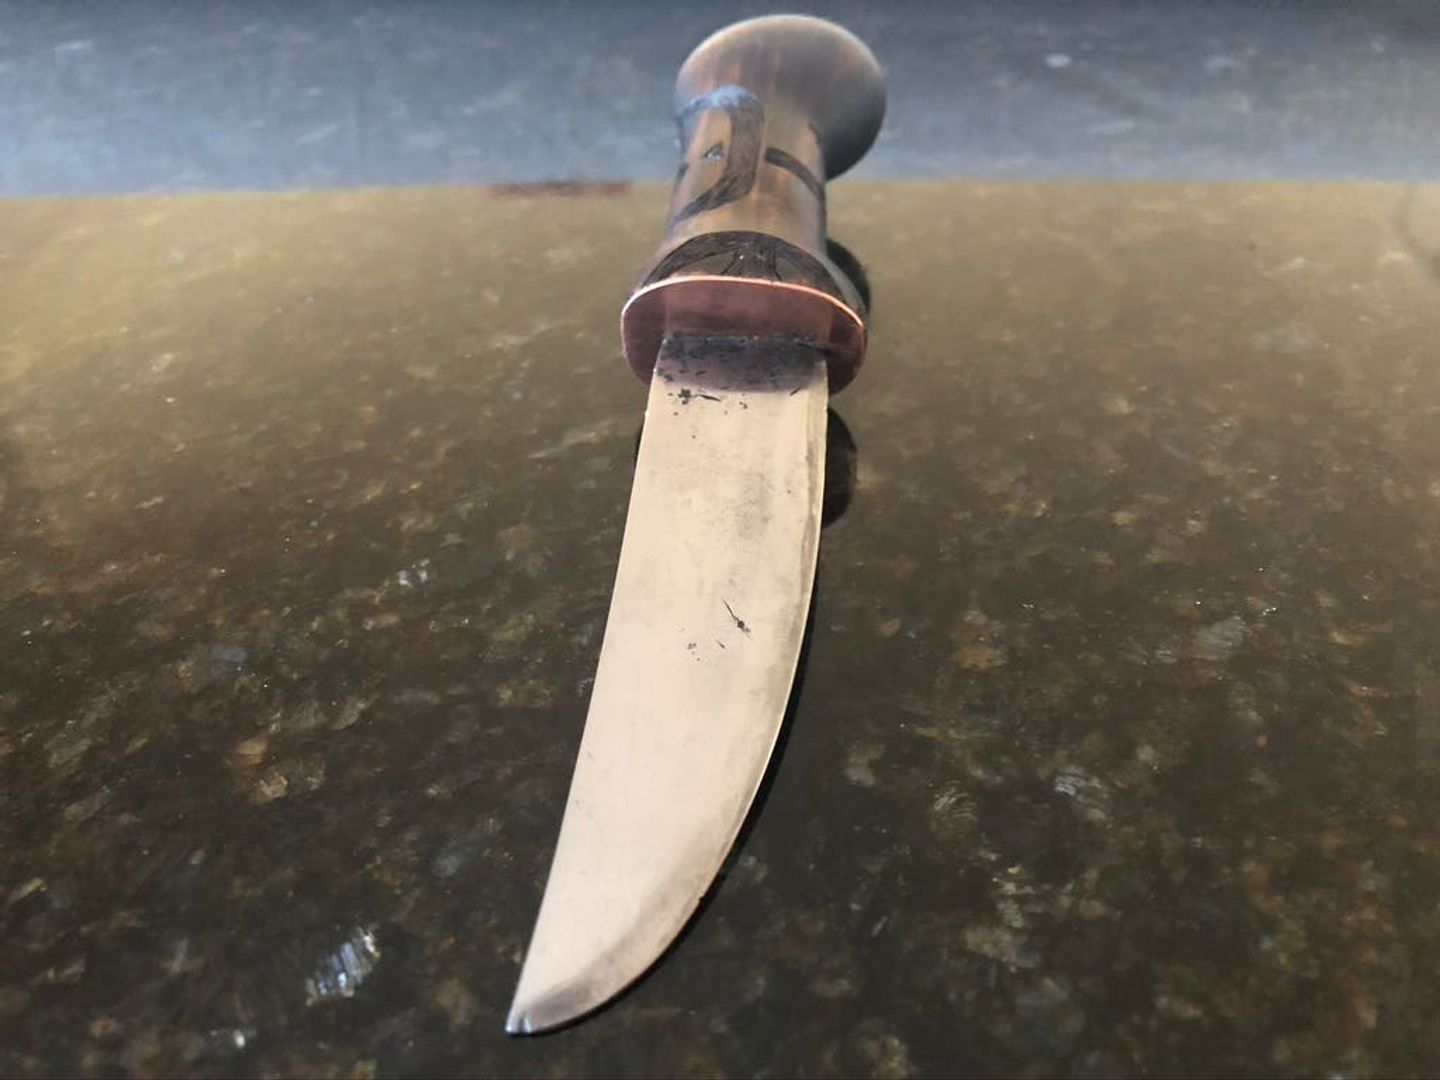
And there it is, my fourth knife. It isn't perfect; that would take all the fun away after all. But it is a vast improvement over its predecessors.
Agita The Forge All posts Have something to say or just want to get notified about new posts? Reach out!